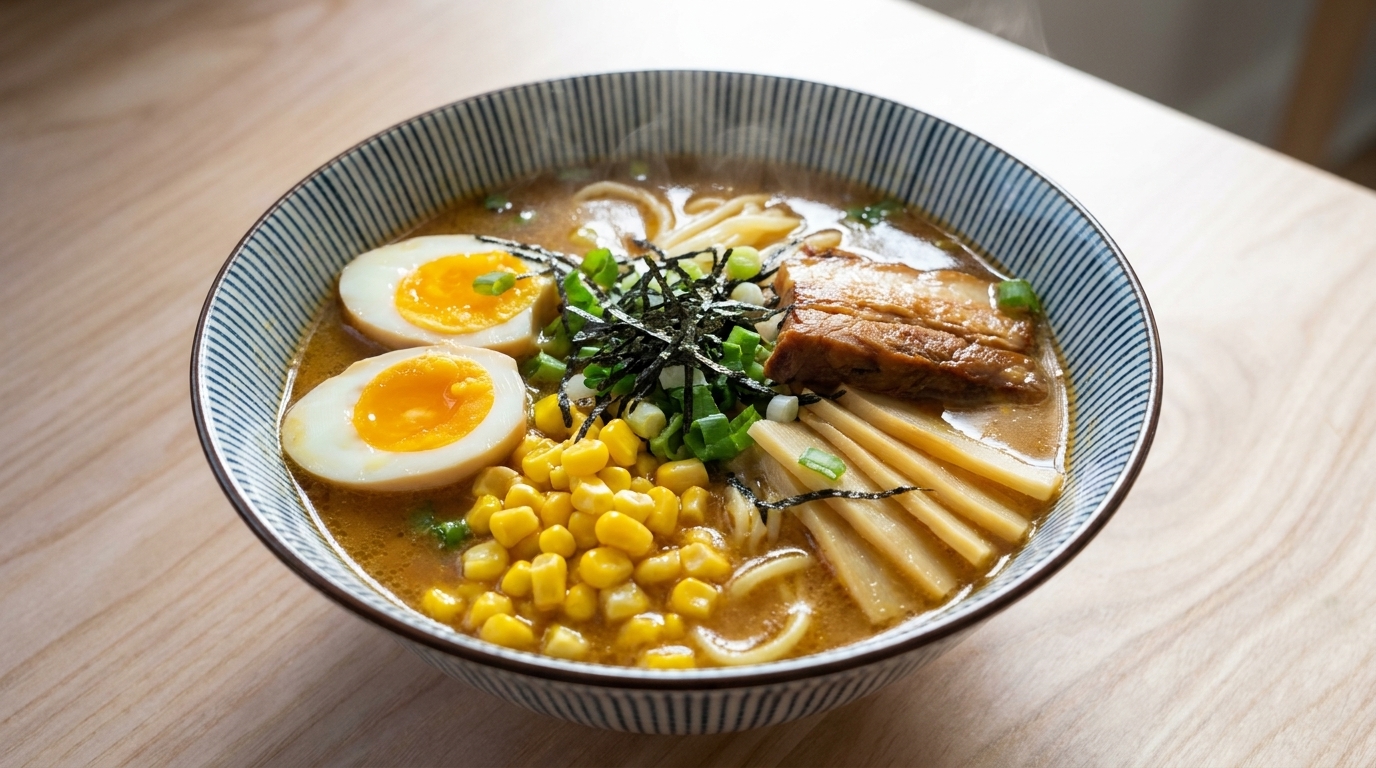
Creamy Soy Milk Miso Ramen (Tanyu Ramen)
A velvety Japanese comfort classic featuring a rich soy milk and miso broth, savory sautéed meat, and sweet corn toppings.
Soy milk miso ramen, often known as Tanyu Ramen, is a modern variation celebrated for its uniquely creamy yet light consistency. By blending unsweetened soy milk with savory miso paste and a hint of spice, you create a deeply satisfying broth that perfectly complements springy yellow noodles and sweet corn.
Ingredients
- 200 g ground pork or chicken
- 1 tbsp spicy bean paste (doubanjiang)
- 1 tbsp soy sauce
- 300 ml unsweetened soy milk
- 200 ml hot water
- 1 tbsp miso paste
- 200 g yellow ramen noodles
- 2 tbsp canned corn kernels
- 1 spring onion, chopped
- 1 soft-boiled egg, halved
- to taste chili oil
Instructions
- 1Sauté the ground meat
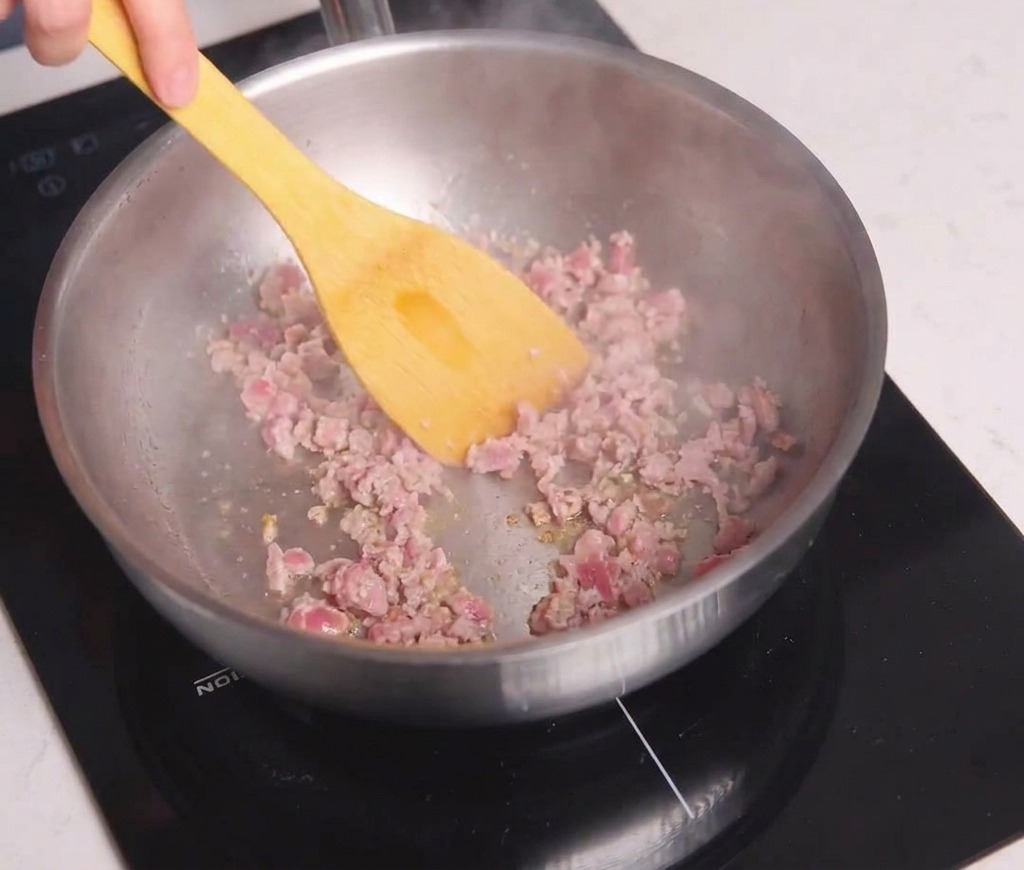
Place the ground meat into a preheated stainless steel pan. Use a yellow spatula to break up the meat and sauté it over medium-high heat until it is thoroughly browned and has released its natural oils.
Tip: Make sure the pan is sufficiently hot before adding the meat to ensure it browns quickly rather than steaming in its own juices. - 2Season with spicy bean paste
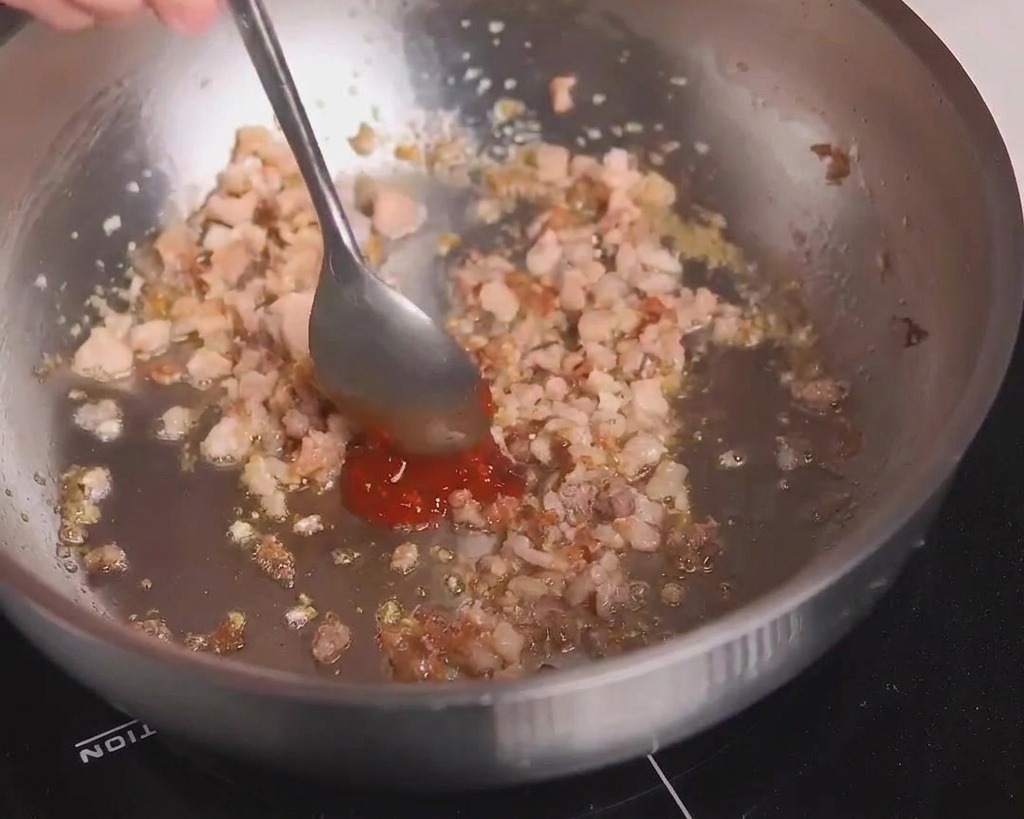
Add the spicy bean paste and a splash of soy sauce to the pan with the sautéed meat. Stir-fry the mixture together until the meat is evenly coated and the aromatics are fragrant and well-integrated.
Tip: Stir-frying the bean paste for a minute helps to toast the spices and mellow any harsh salty notes. - 3Add the soy milk base
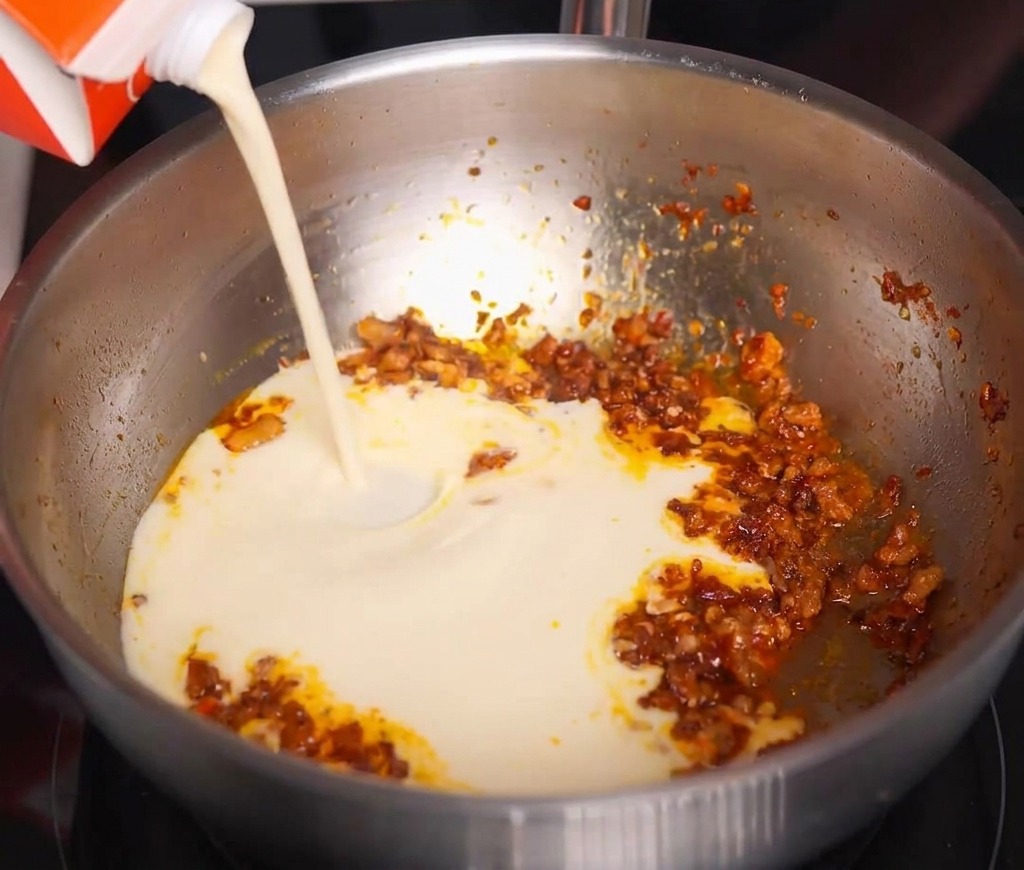
Carefully pour the unsweetened soy milk from the carton into the pan with the seasoned meat mixture. The soy milk creates a rich, velvety texture and provides a delicate nutty depth that serves as the foundation of the broth.
Tip: Pour the milk slowly and stir as you go to ensure a smooth emulsion with the oil and spices in the pan. - 4Create the soup base
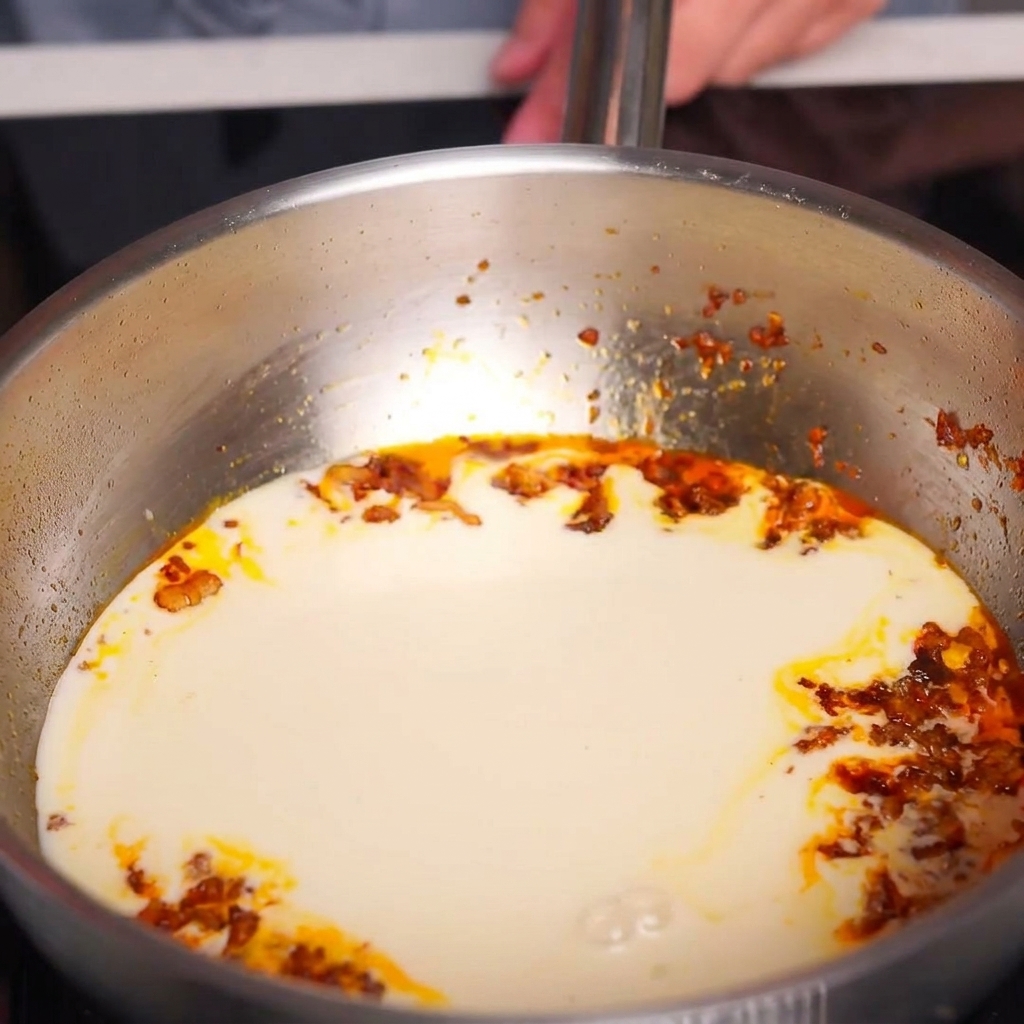
Add hot water to the pan to dilute the soy milk mixture and create the full soup base. This combination ensures the broth is flavorful and rich without being overly heavy.
Tip: Using hot water instead of cold water helps the soup return to a simmer quickly and preserves the texture of the soy milk. - 5Incorporate miso paste

Add a tablespoon of miso paste into the simmering broth. Miso adds a savory, fermented flavor that rounds out the spiciness of the bean paste and the creaminess of the soy milk.
Tip: For the smoothest results, whisk the miso into a small amount of warm broth in a separate bowl before adding it back to the main pot. - 6Stir the finished broth

Use a wooden spatula to stir the soup base thoroughly, ensuring the miso is completely dissolved and all the components are perfectly blended. Let the broth simmer gently to allow the flavors to meld.
Tip: Maintain a low, gentle simmer; boiling too vigorously can cause the soy milk to separate or lose its delicate texture. - 7Prepare the boiling water
Fill a large pot with water and bring it to a rolling boil over high heat. Having the water ready ensures that the noodles can be cooked and served immediately while the broth is at its peak temperature.
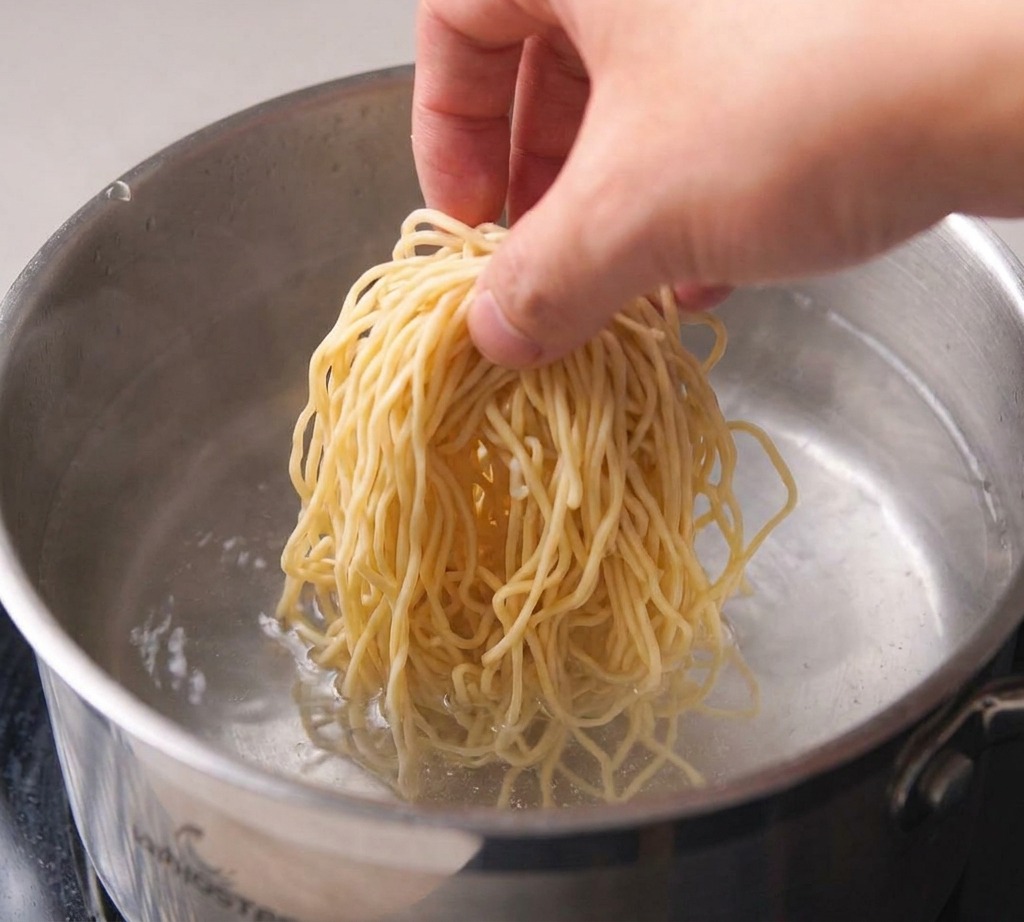
Tip: Adding a small pinch of salt to the boiling water can help enhance the natural flavor of the ramen noodles. - 8Cook and drain the noodles
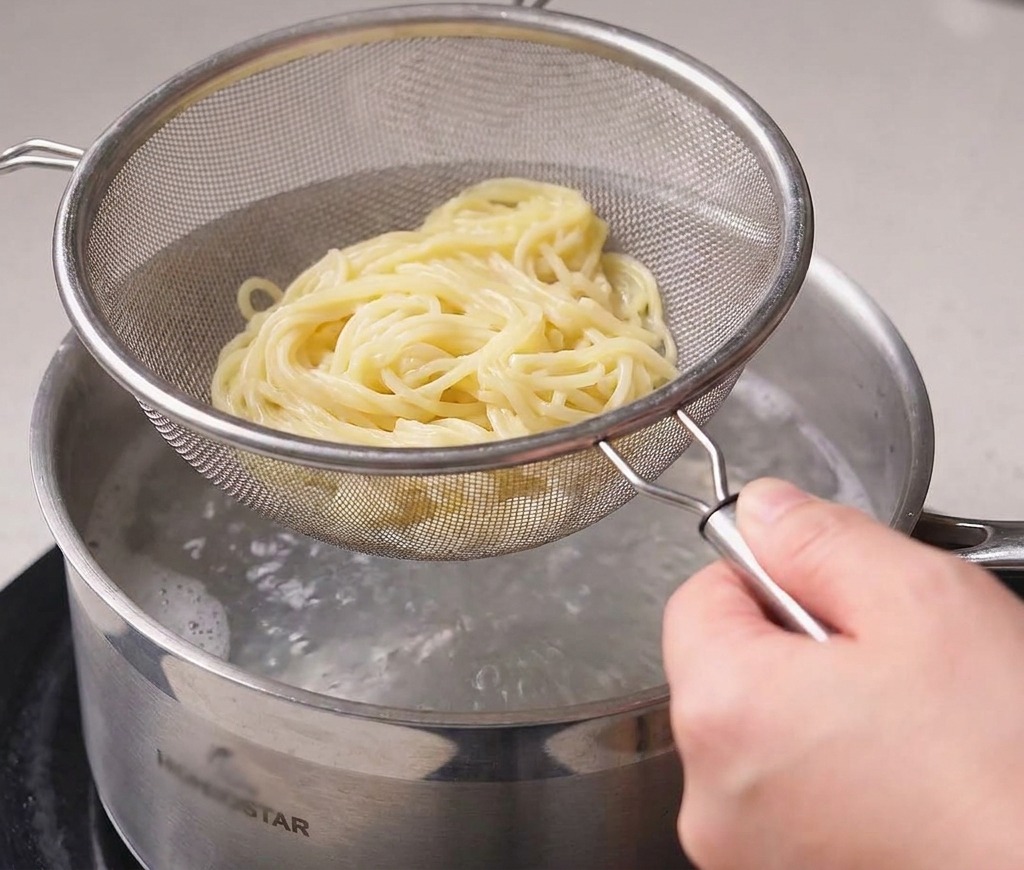
Add the yellow noodles to the boiling water and cook until they reach an al dente texture. Use a mesh strainer to lift the noodles out and shake them firmly to remove all excess water before plating.
Tip: Stir the noodles gently with chopsticks immediately after adding them to the water to prevent sticking. - 9Pour the miso soup base
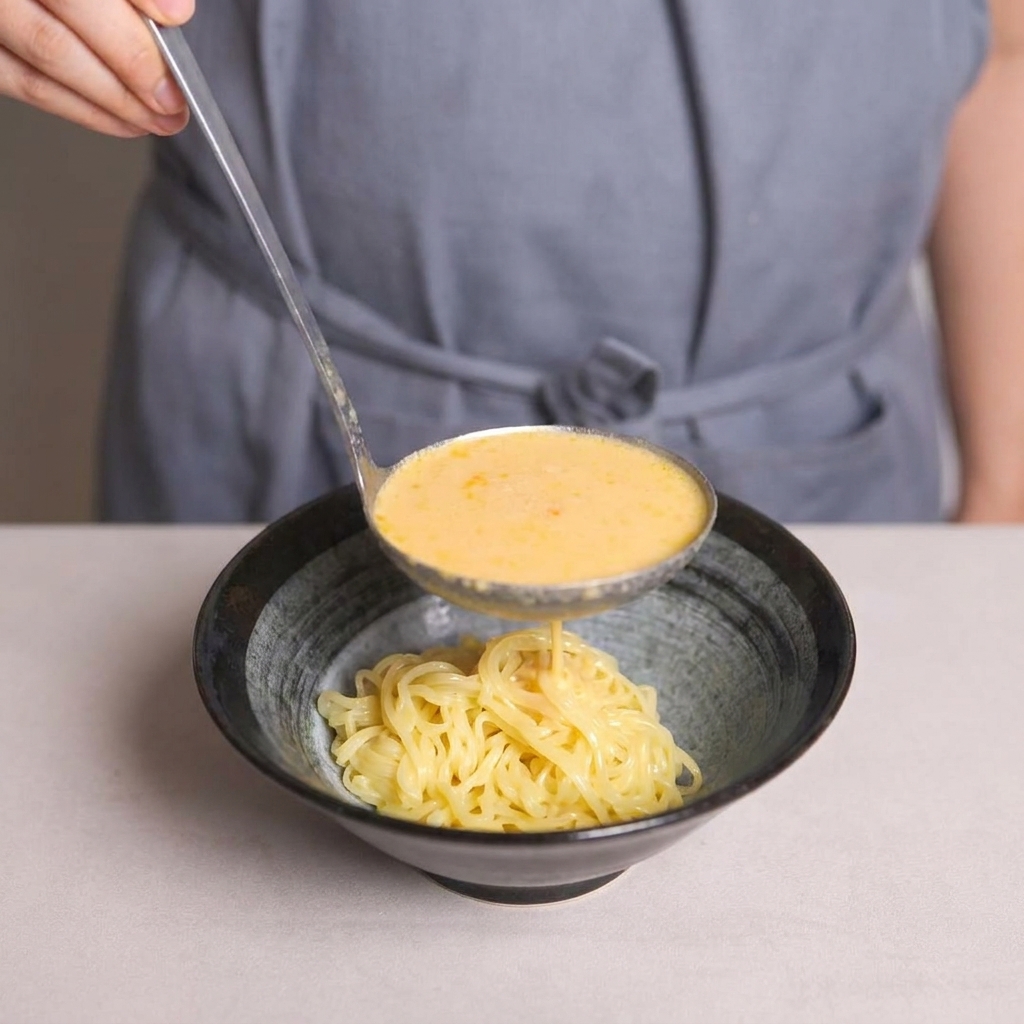
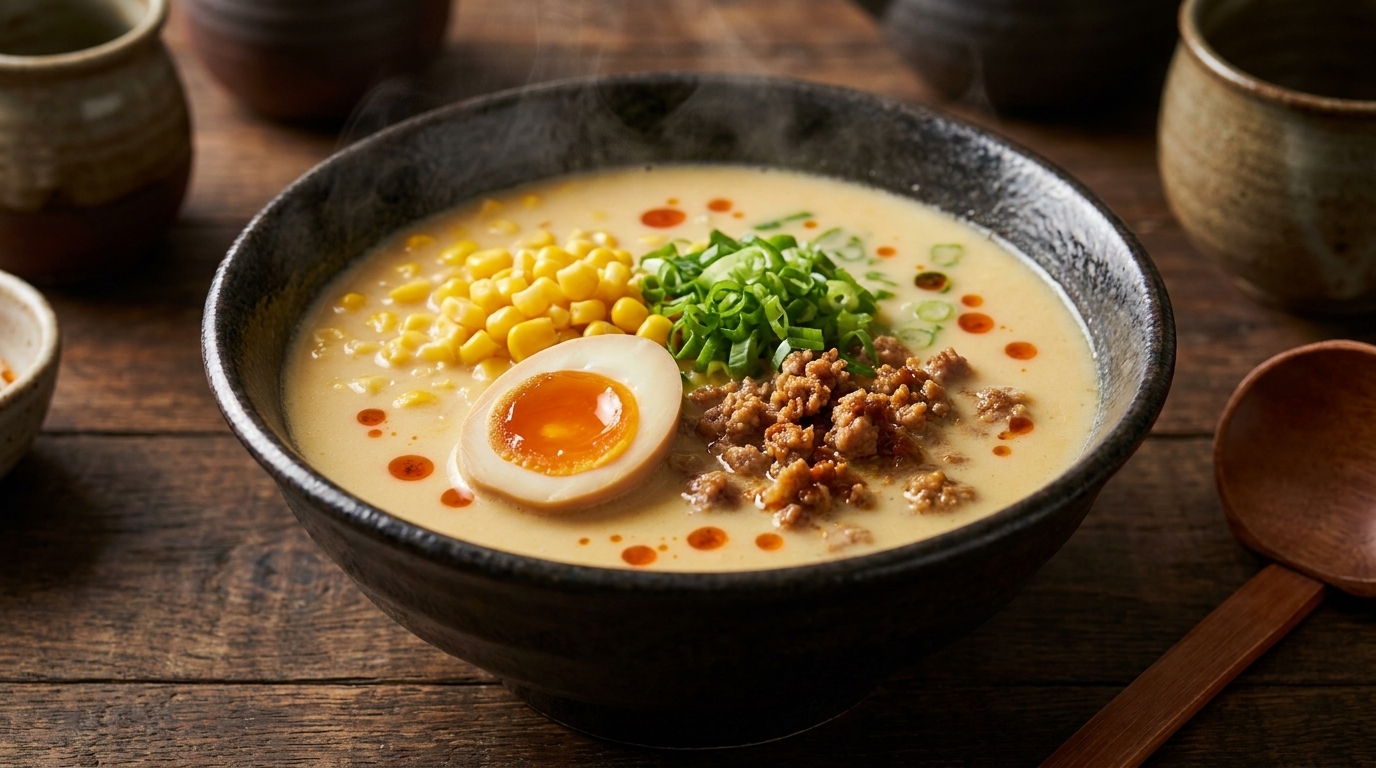
Ladle the creamy miso and soy milk broth over the noodles in your serving bowl. The soy milk creates a rich, velvety texture that makes the soup incredibly comforting without being too heavy.
Tip: Ensure your soup is very hot when pouring to maintain the temperature of the dish once the cool toppings are added. - 10Add the sweet corn

Once the noodles are placed in the soup base, add a generous spoonful of canned corn kernels to the bowl. The natural sweetness of the corn provides a pleasant contrast to the savory and slightly spicy miso soy milk broth, adding both flavor and texture to the dish.
Tip: Be sure to drain the canned corn thoroughly before adding it to the bowl to avoid diluting the rich and creamy ramen broth. - 11Garnish with spring onions

Sprinkle a handful of freshly chopped spring onions over the ramen. These add a vibrant pop of color and a mild, sharp bite that cuts through the creaminess of the soup, balancing the overall flavor profile of your homemade ramen.
Tip: Using both the white and green parts of the spring onion will provide a better variety of textures and a more complex onion flavor. - 12Add the jammy egg

As the final touch, add a half-cut soft-boiled egg to the bowl. The jammy yolk is the soul of the ramen, providing a rich, creamy element that melts into the broth and coats the noodles as you eat.
Tip: For a more authentic flavor, use a marinated ramen egg that has been soaked in soy sauce, mirin, and ginger.