Silky Egg Chicken Rice
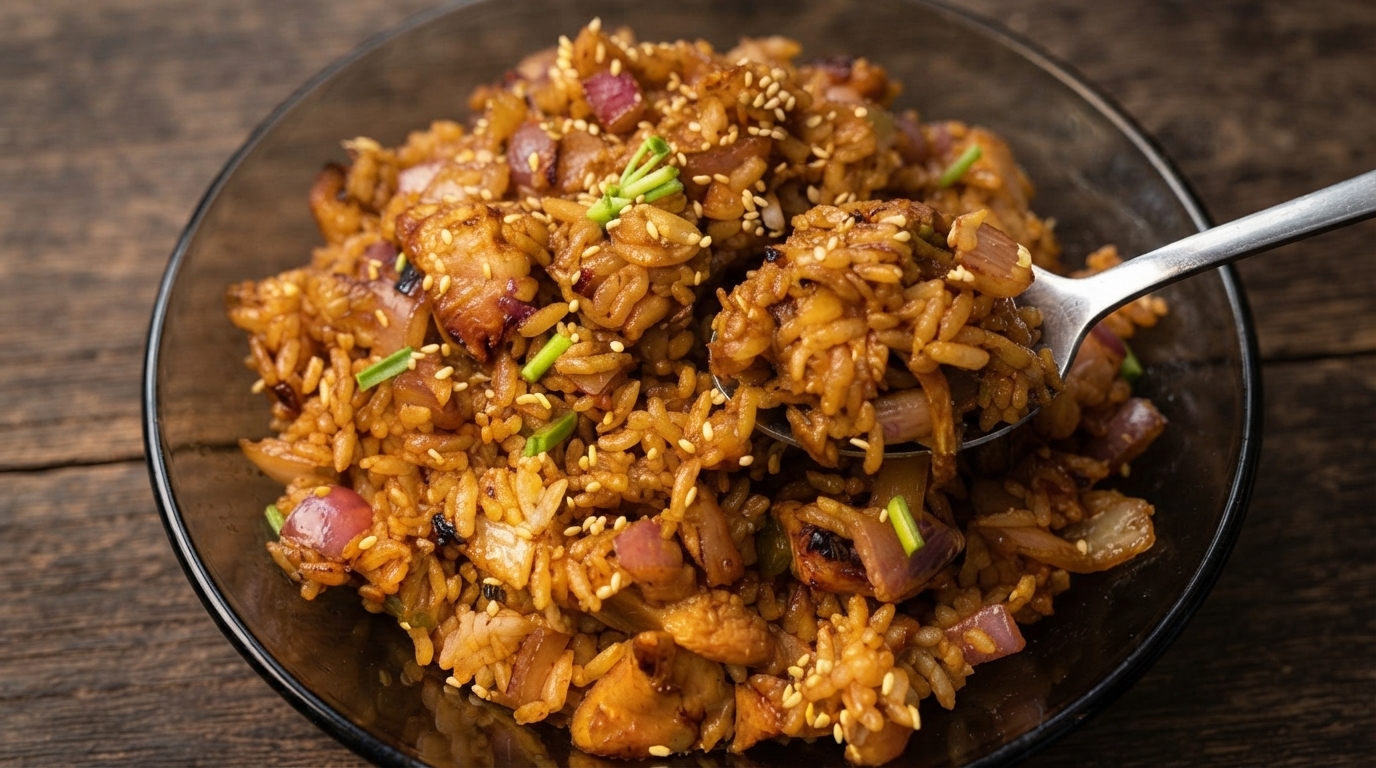
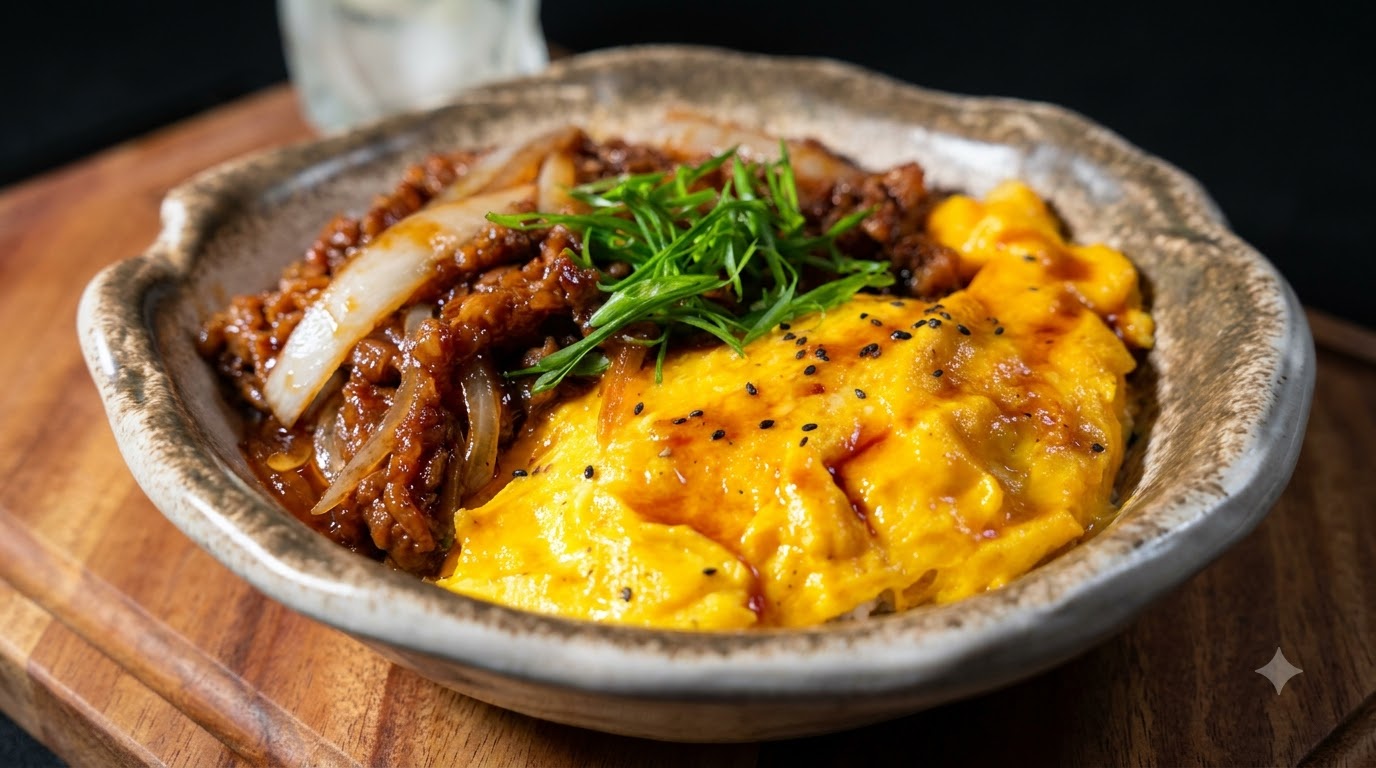
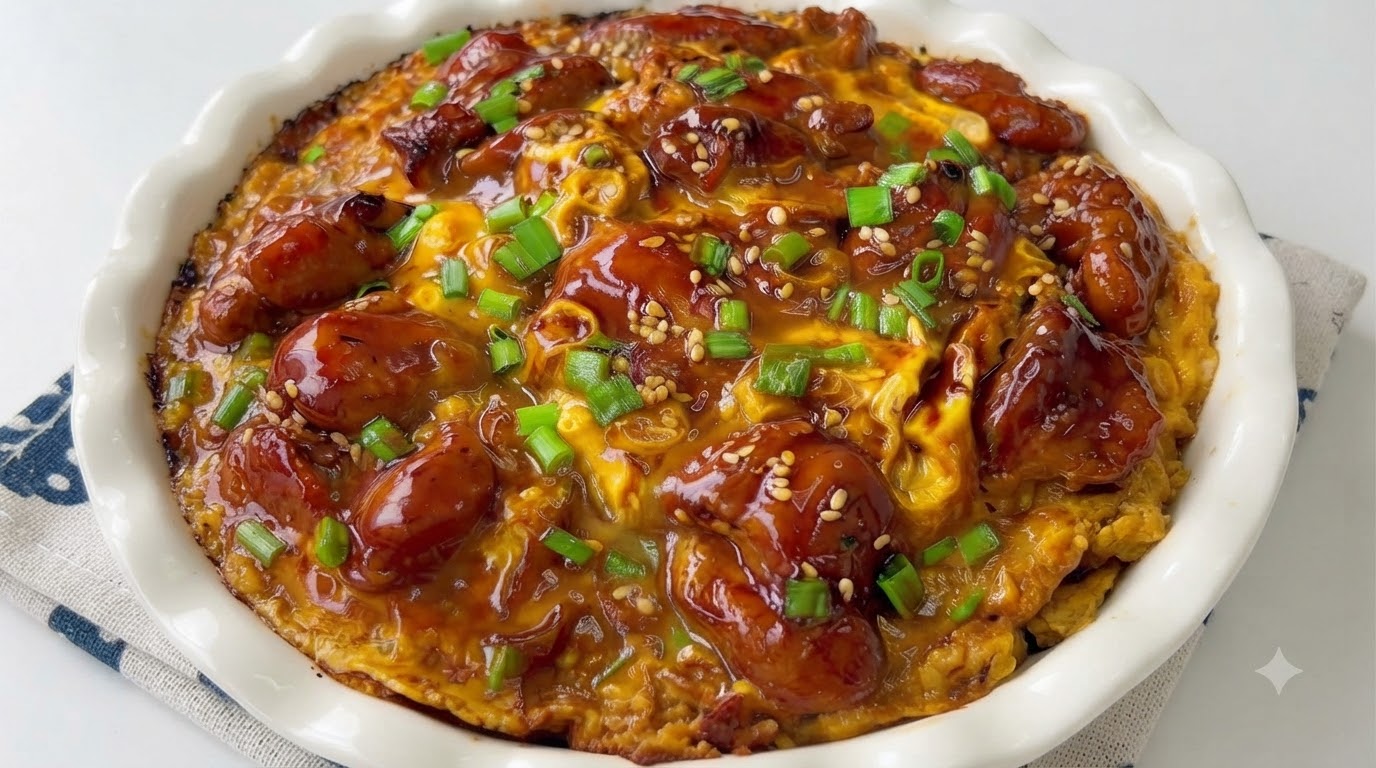
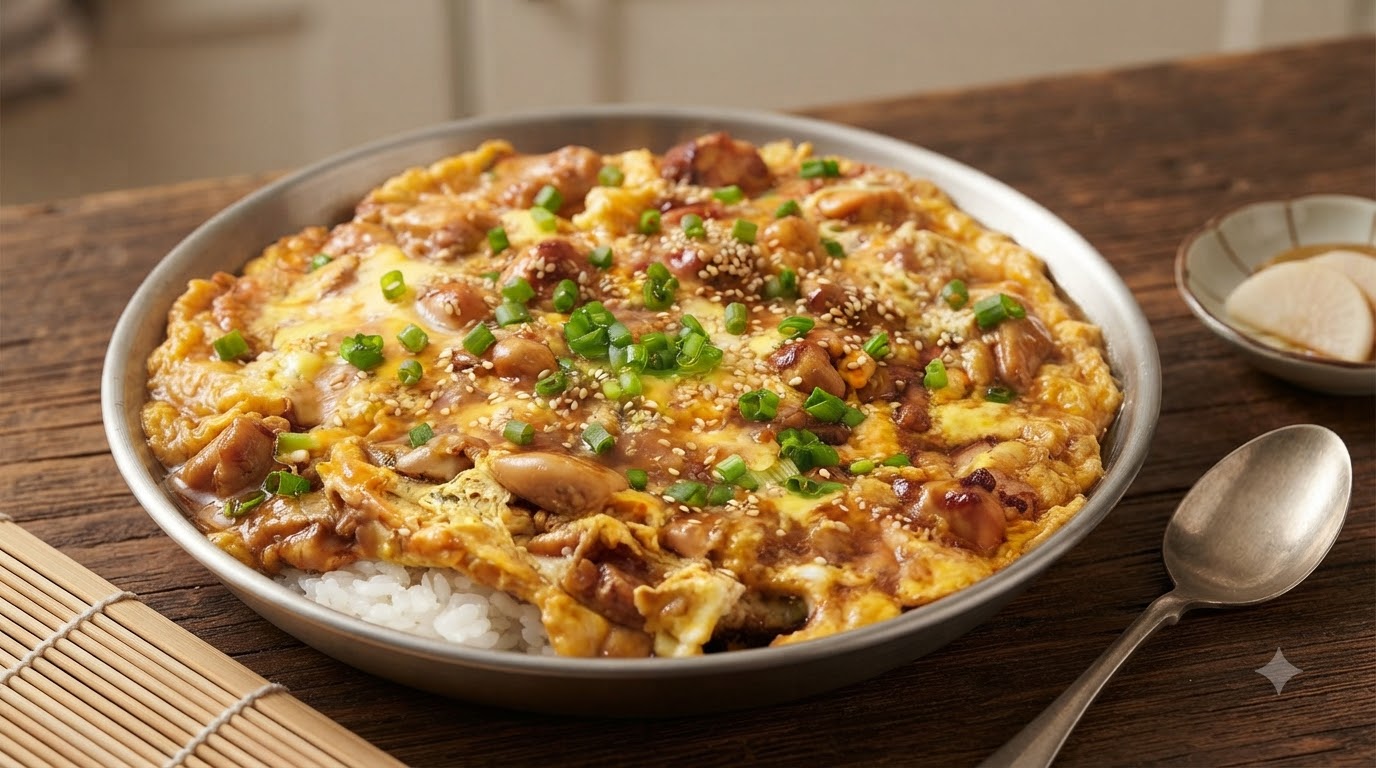
Tender, marinated chicken thighs pan-fried to a golden brown, simmered in a savory soy glaze, and blanketed in ultra-silky, velvety scrambled eggs over fluffy steamed rice.
Silky egg chicken rice is a comforting and deeply satisfying dish where tender chunks of chicken thigh are coated in a rich, savory brown sauce and topped with a creamy, custard-like layer of eggs. The secret lies in adding a splash of water to the beaten eggs to achieve that signature velvety texture, making every bite over warm white rice an absolute delight.
Ingredients
- 2 large chicken thighs
- 3 eggs
- 2 tbsp light soy sauce
- 0.5 tbsp oyster sauce
- 0.5 tbsp chicken bouillon
- 0.5 tbsp dark soy sauce
- 1 tbsp white sugar
- to taste black pepper powder
- to taste cooking oil
- a few stalks scallions
- to taste white sesame seeds
- 1 bowl steamed white rice
Instructions
- 1Cut the chicken
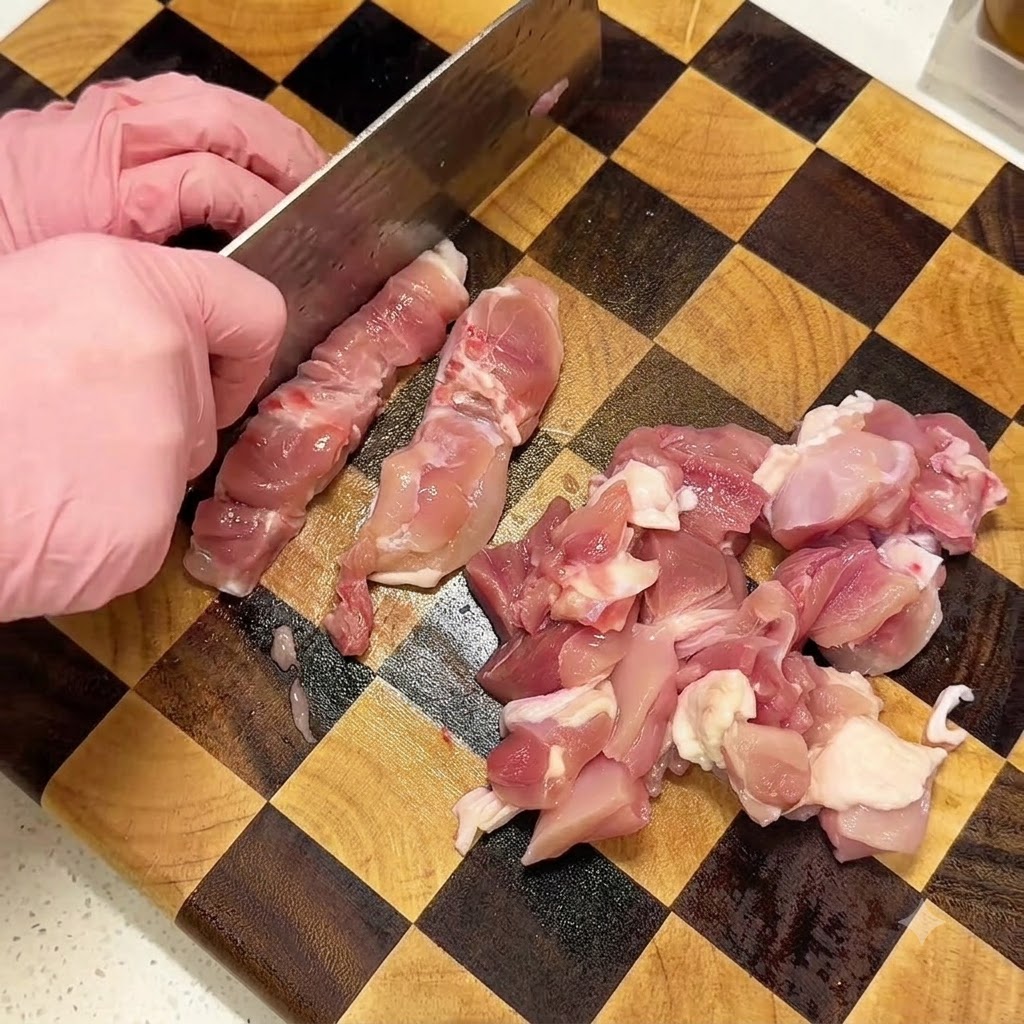
Start by preparing two large deboned chicken thighs. First, cut them into long rectangular strips, then dice them into small square pieces. Make sure not to cut them too small, as the meat will shrink and could easily dry out when pan-fried.
Tip: Keeping the chicken pieces uniform in size ensures they cook evenly and retain their moisture. - 2Season the Chicken
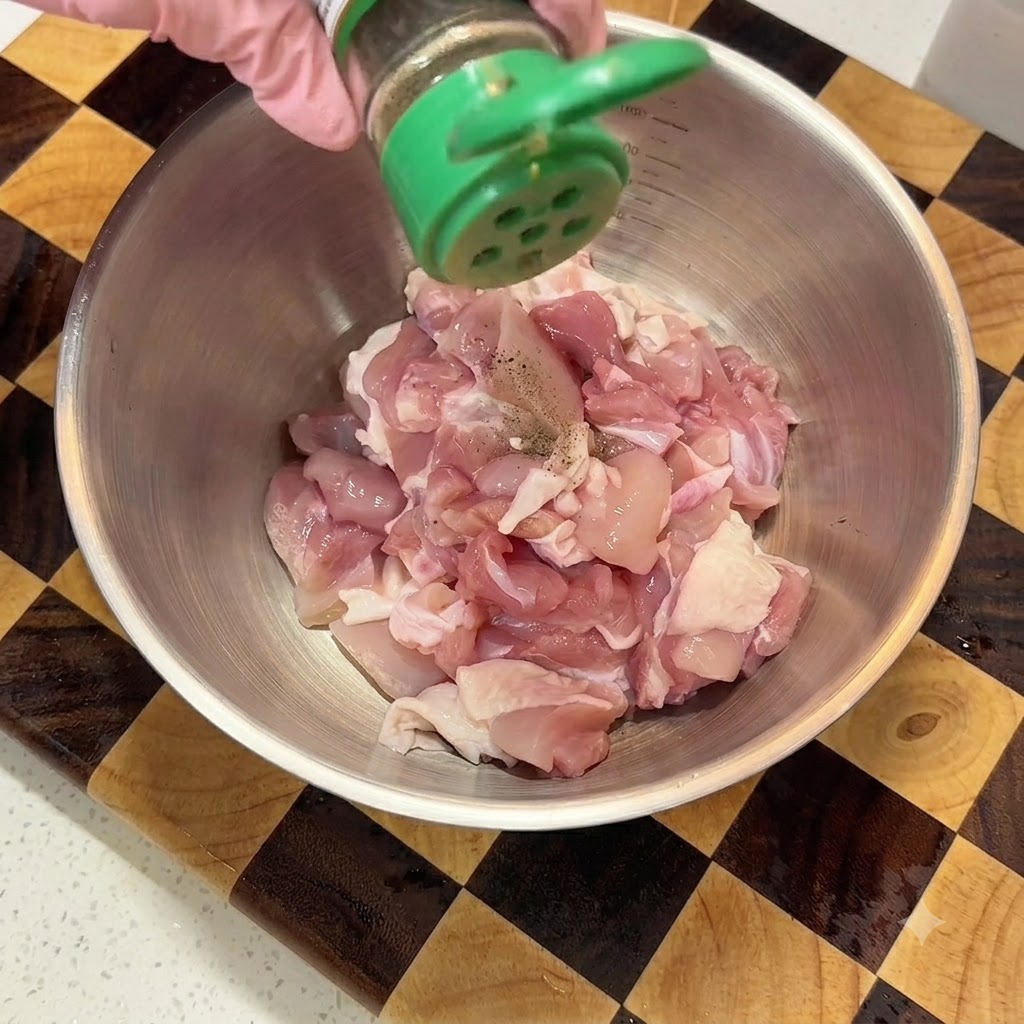
Place the diced chicken into a mixing bowl to marinate. Add your seasonings, including black pepper, to flavor the meat and remove any gaminess. Allow the chicken to marinate for at least 20 minutes.
Tip: Do not rush this step. Allow the chicken to marinate for at least 20 minutes so it absorbs all the flavors. - 3Mix the marinade
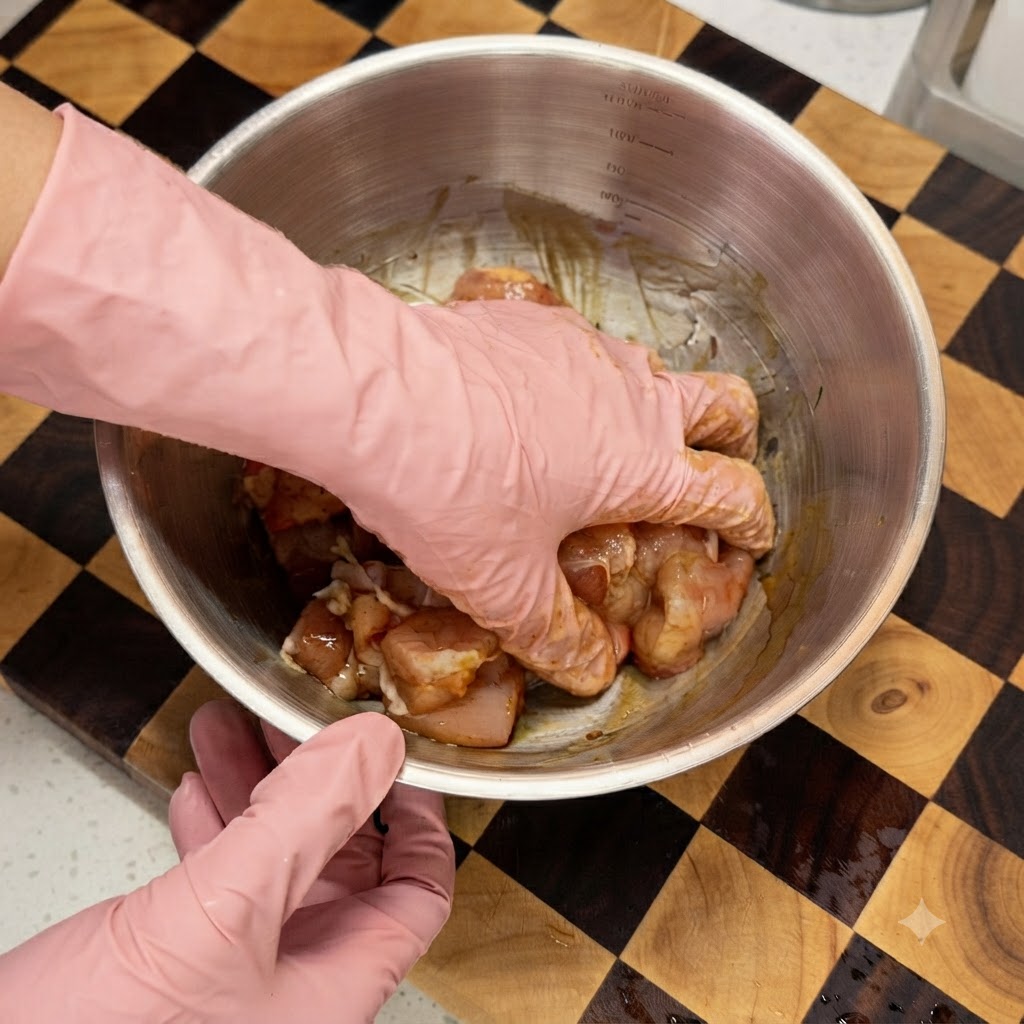
Thoroughly mix the chicken pieces with the seasonings by hand to ensure every piece is evenly coated. Once well mixed, you can spray a little cooking oil over the top to help lock in the meats moisture.
Tip: Massaging the marinade into the meat by hand helps tenderize the chicken and forces the flavors deeper into the tissue. - 4Prepare the garnishes
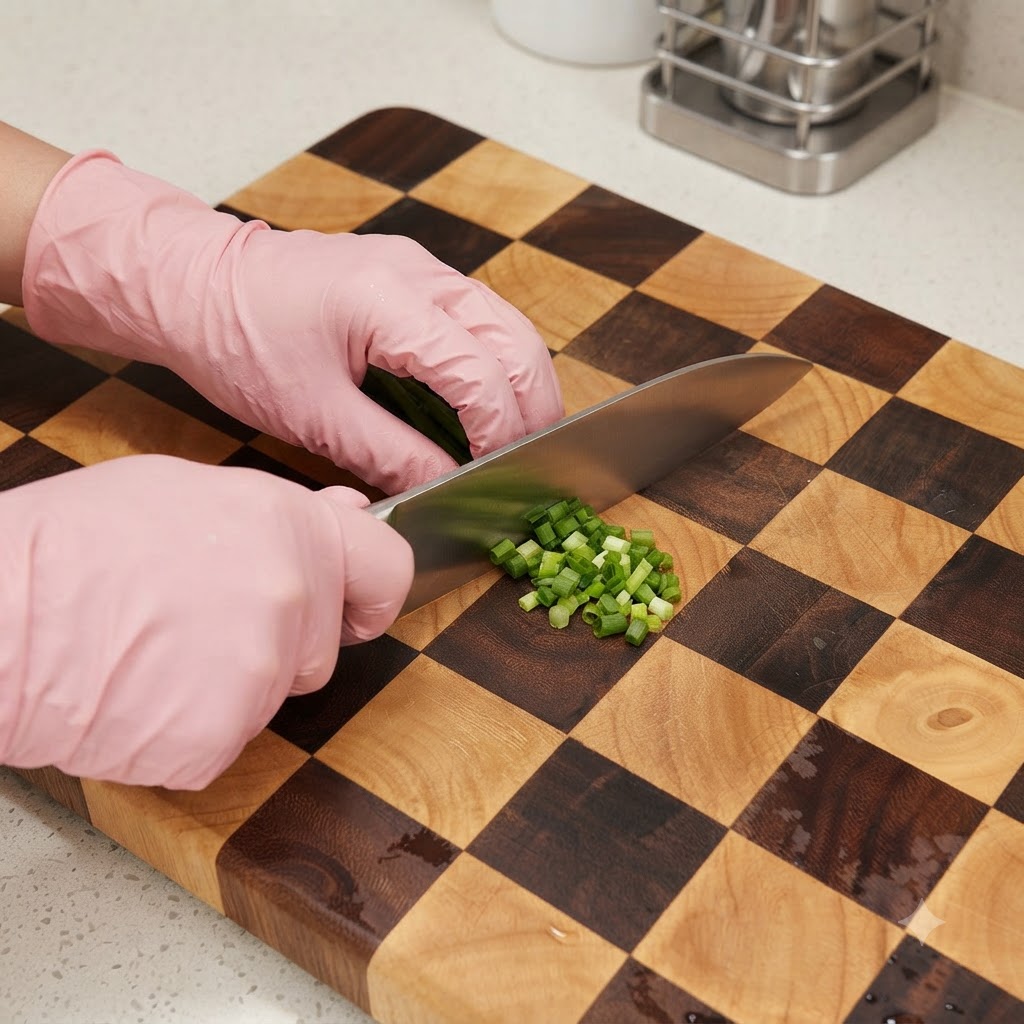
While the chicken marinates, prepare your simple garnishes. Take a few stalks of fresh scallions (green onions) and chop them finely on your cutting board. These will add a pop of color and fresh flavor at the end.
Tip: Make sure your knife is sharp so it cleanly slices through the delicate green onions without crushing them. - 5Blend the savory sauce
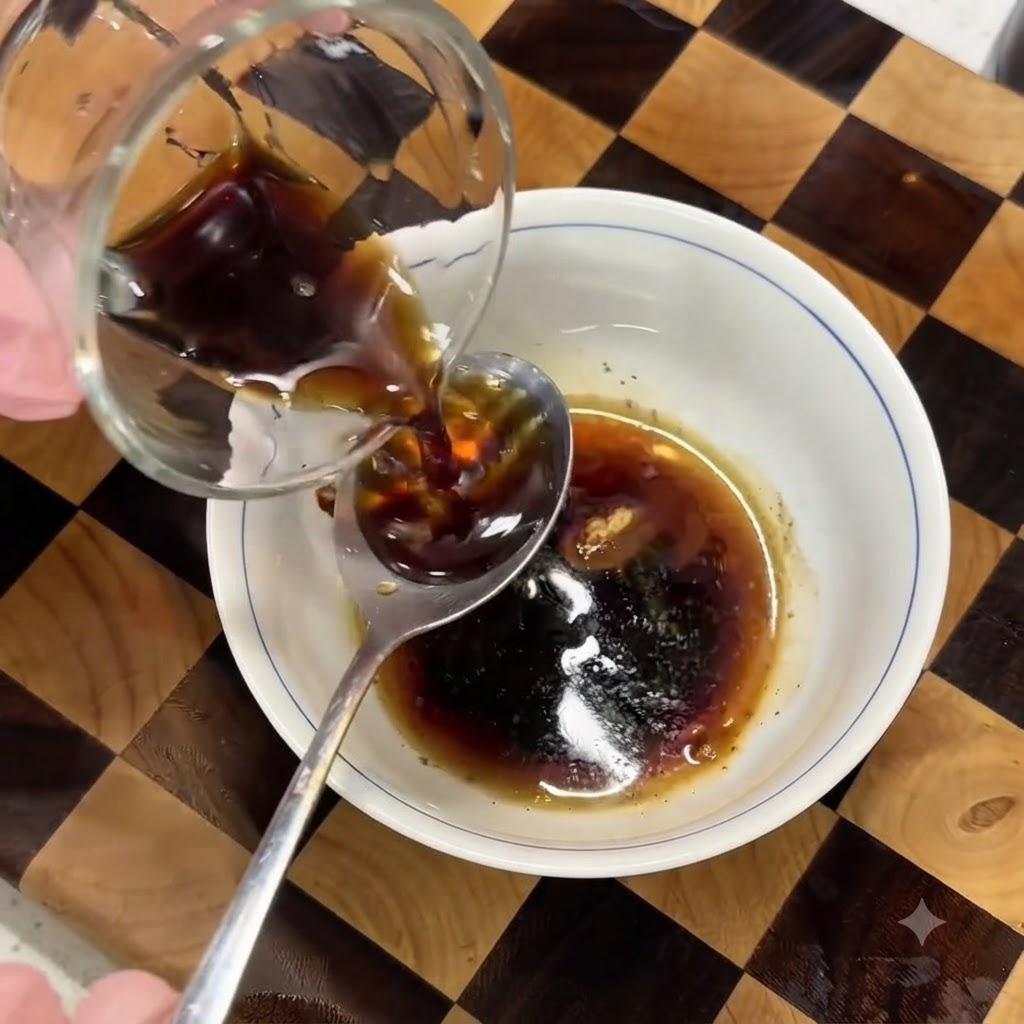
In a small white bowl, combine two spoons of light soy sauce, half a spoon of oyster sauce, a sprinkle of black pepper, half a spoon of chicken bouillon, half a spoon of dark soy sauce, and one spoon of white sugar. Add half a small bowl of clear water and stir evenly until dissolved.
Tip: Stir well to ensure the sugar and bouillon are fully dissolved before adding the sauce to the pan. - 6Prepare the eggs
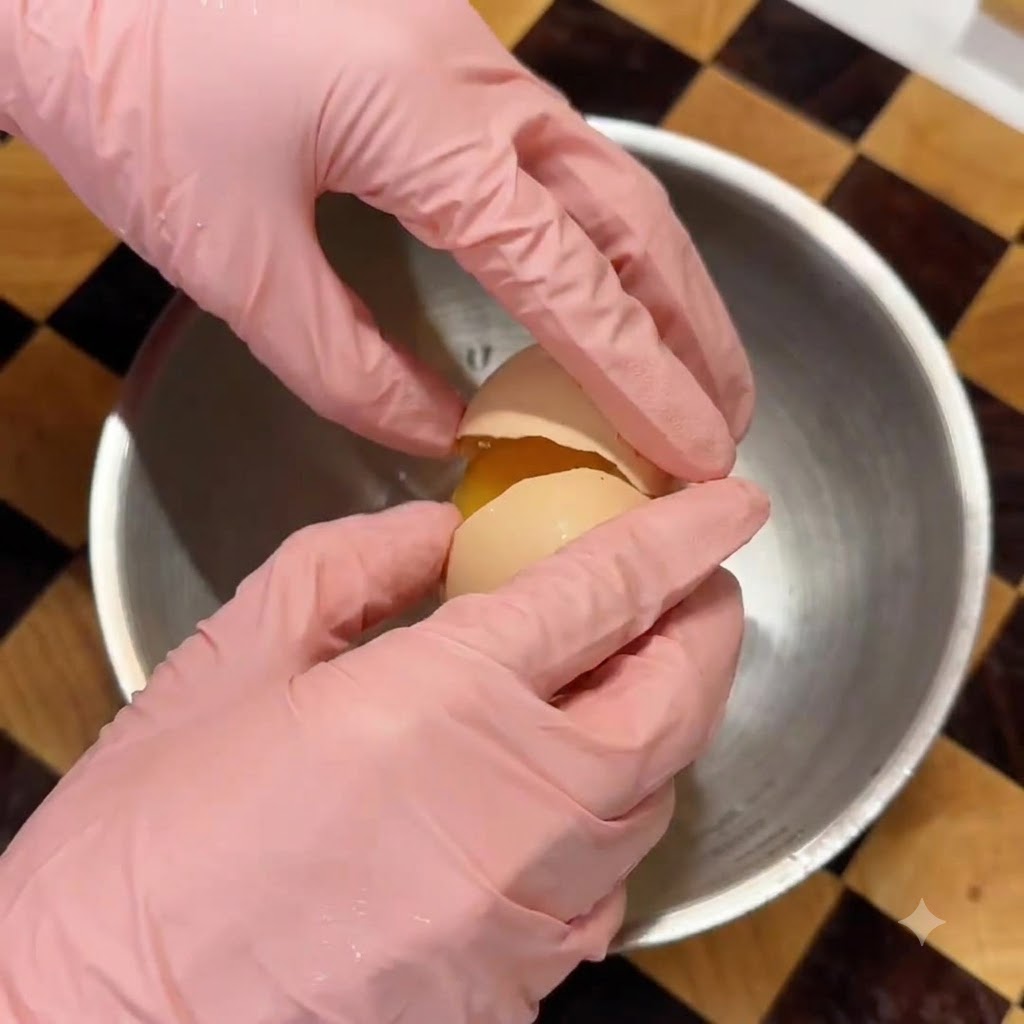
Crack three fresh eggs into a clean metal bowl. If you are serving a larger portion, feel free to add a few more. Add a spoonful of clear water to the eggs and stir them evenly to ensure a tender and smooth texture.
Tip: Adding a small splash of water to the beaten eggs is a great trick for making any scrambled eggs extra fluffy and soft. - 7Beat the Eggs
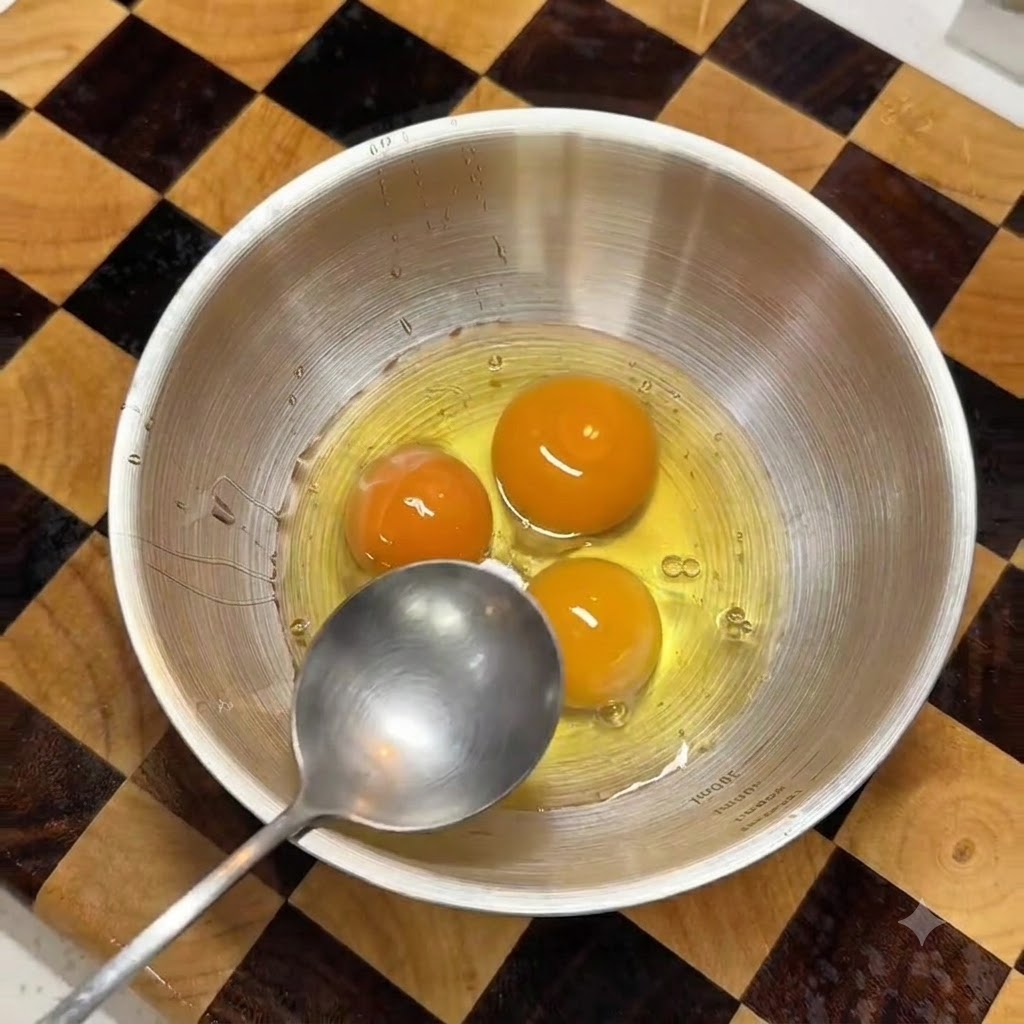
Crack three eggs into a clean bowl, add a spoonful of clear water, and stir evenly to ensure the eggs turn out very tender and smooth.
Tip: Adding a little water to the eggs is a great trick for making them extra tender and smooth. - 8Pan-Fry the Chicken
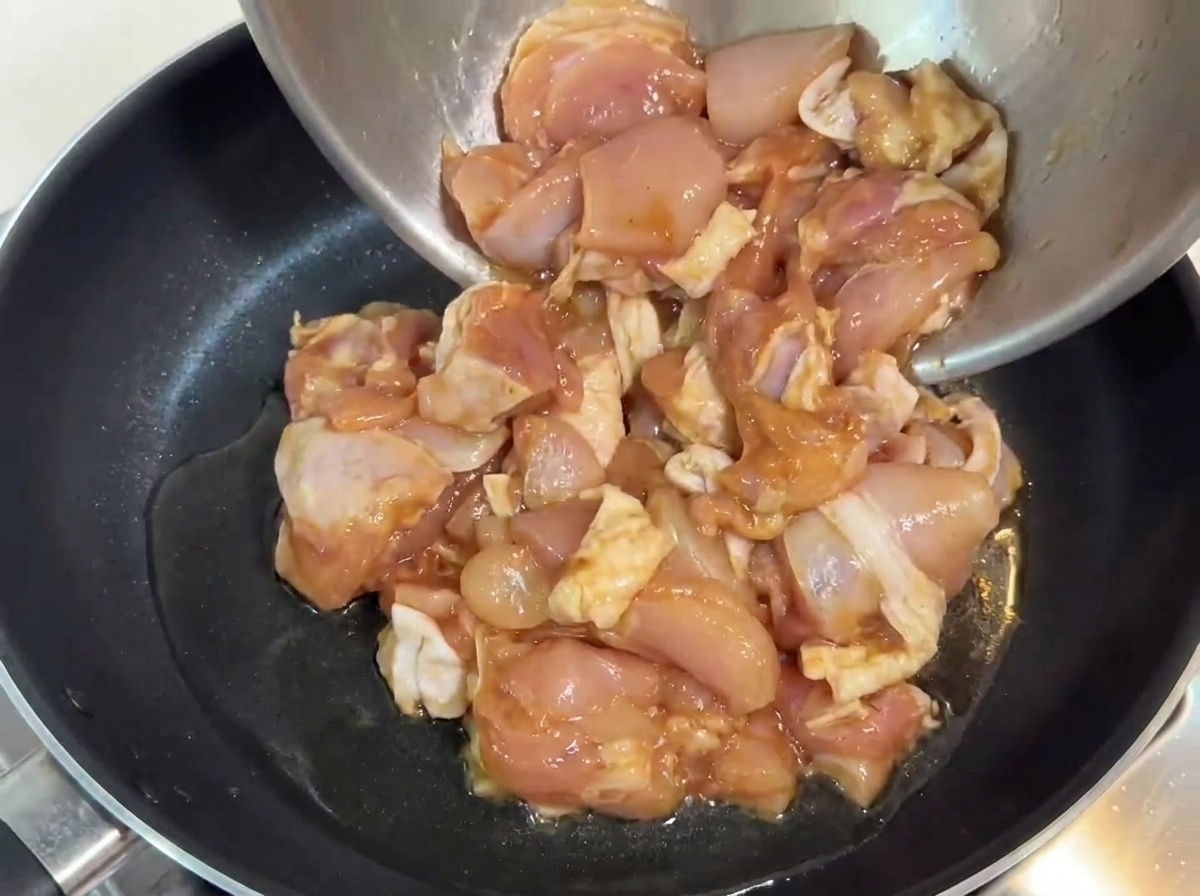
Pour cooking oil into a heated flat-bottomed pan over medium-low heat, then add the marinated chicken pieces.
Tip: Use a non-stick pan for a higher success rate when frying chicken thighs. - 9Pan-Fry the Chicken Pieces
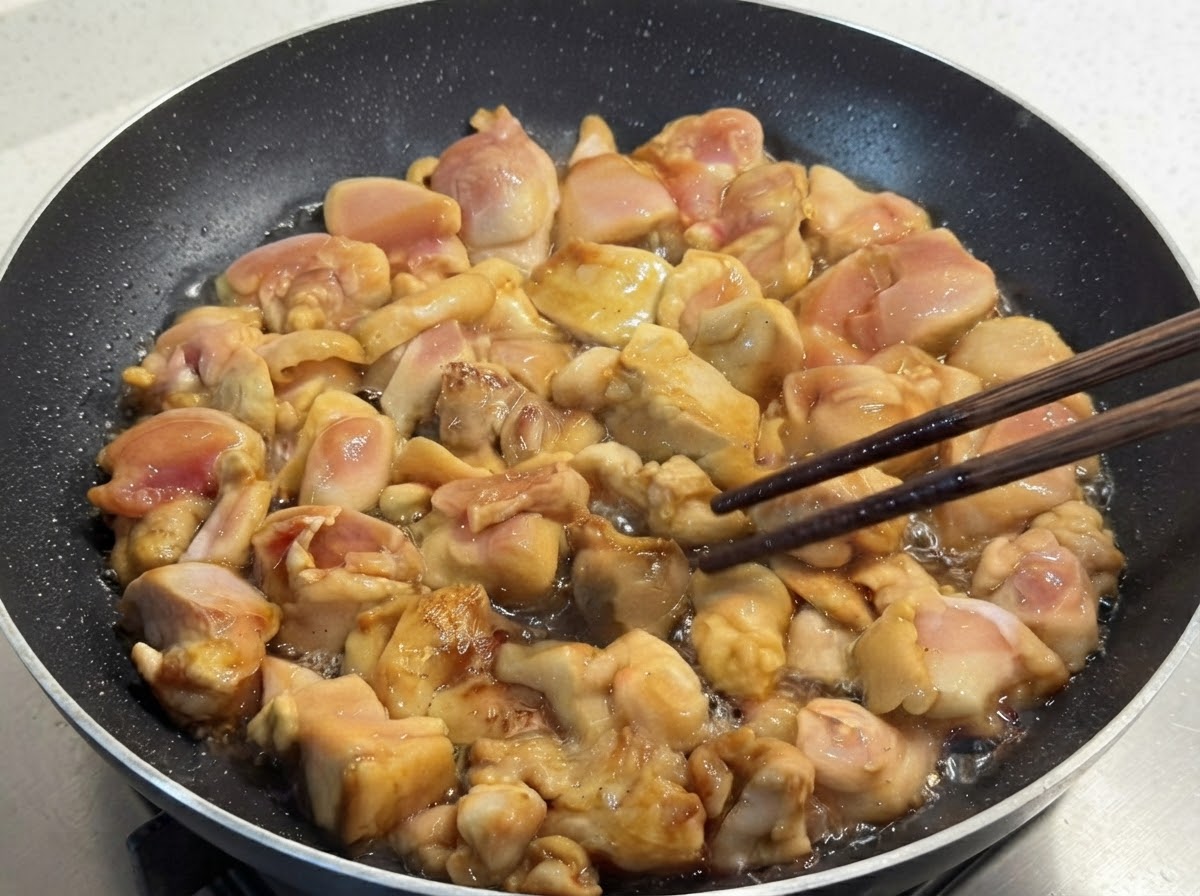
Pour cooking oil into a heated flat-bottomed pan over medium-low heat. Add the marinated chicken pieces, spread them out evenly, and pan-fry slowly. Do not rush to flip; wait until the bottom side develops a rich, scorched yellow color before turning them over.
Tip: Using a non-stick pan is highly recommended for this step to prevent the chicken from sticking and tearing, resulting in a much higher success rate. - 10Pour in the savory sauce
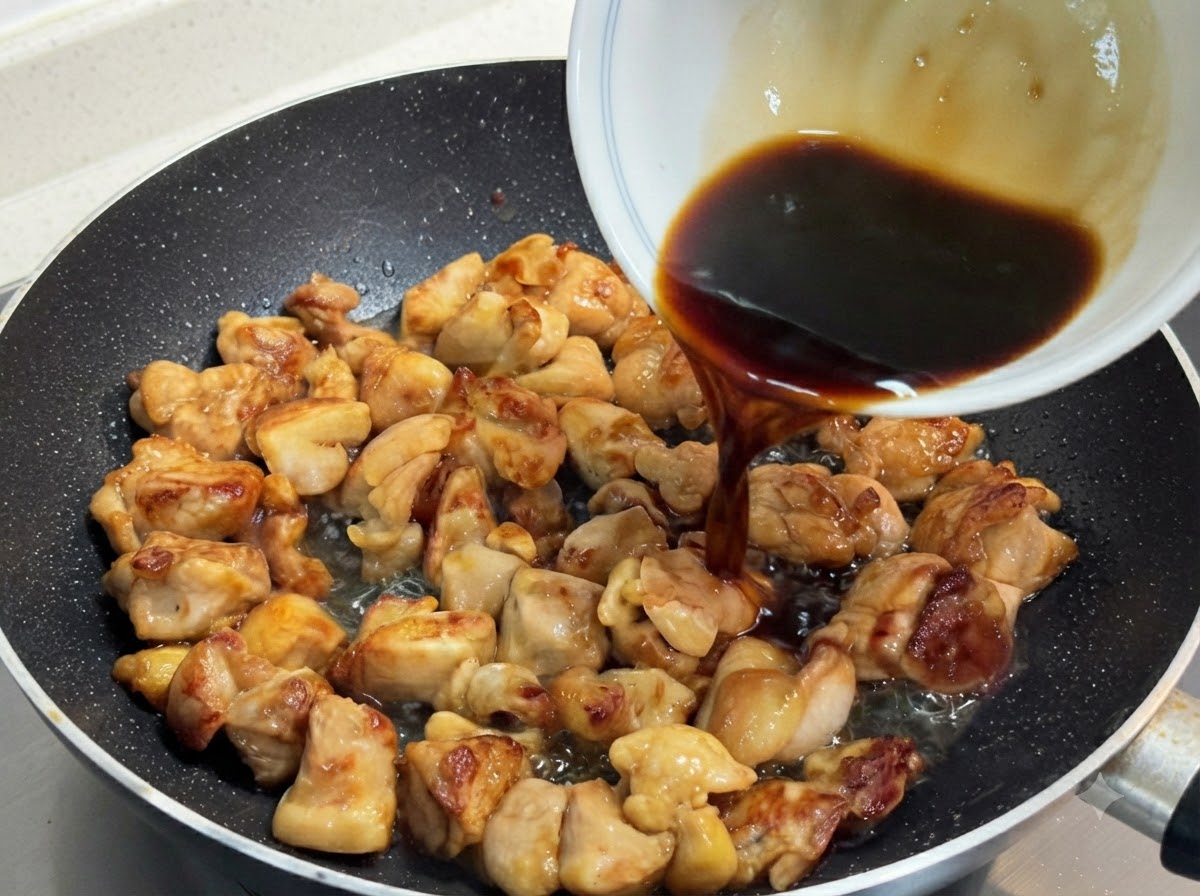
When the surface of the chicken pieces shows a beautiful golden-brown color, pour the prepared sauce mixture directly into the pan. Keep the heat on medium-low, cover the pan with a lid, and let it simmer for about 3 minutes to allow the chicken to absorb the flavors.
Tip: Avoid frying the chicken for too long before adding the sauce; otherwise, the meat will lose its moisture and become very dry. - 11Simmer the Chicken
Keep the heat on medium-low, cover the pan with a lid, and simmer the chicken in the sauce for about 3 minutes.
Tip: Simmering allows the chicken to fully absorb the savory flavors of the sauce. - 12Add the Egg Liquid
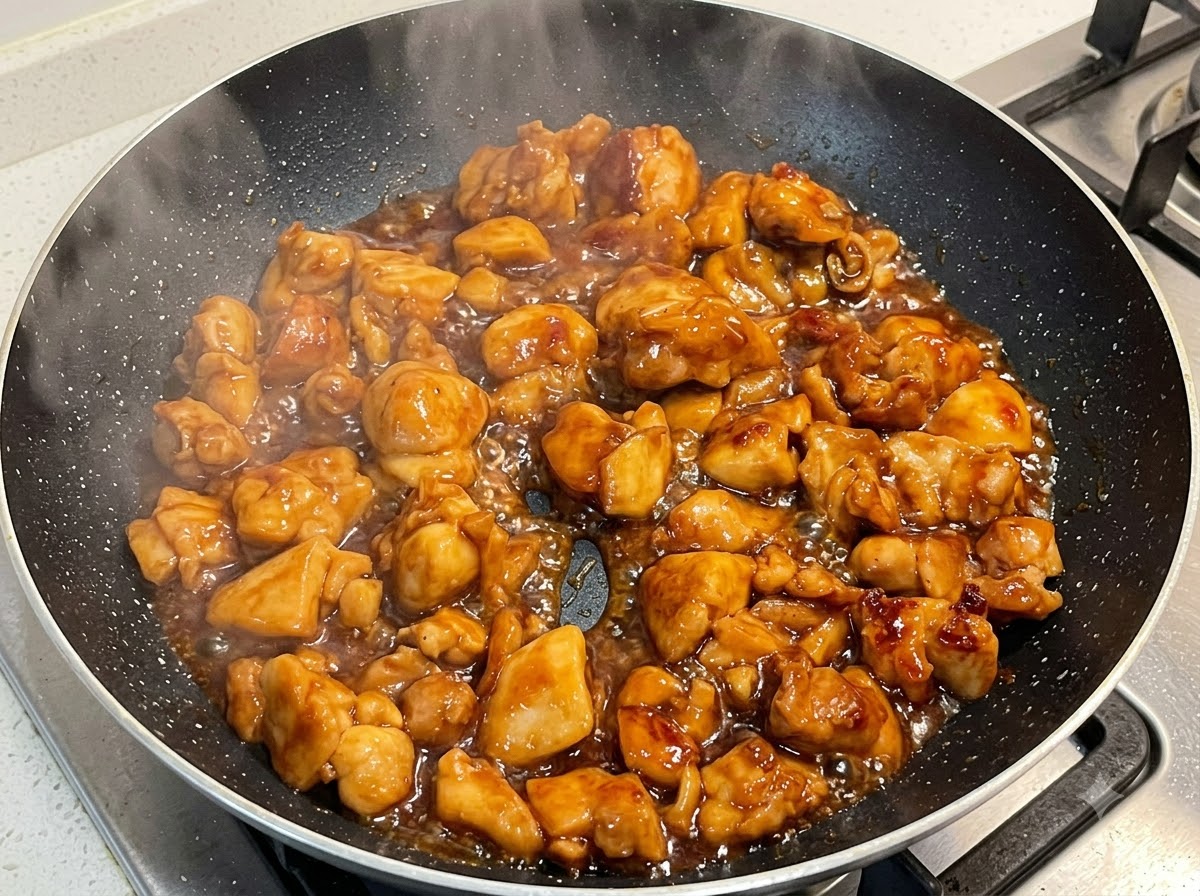
Once the chicken has simmered in the sauce and the sauce has thickened slightly, pour the beaten egg mixture directly over the surface without stirring. Cover the pan and simmer for another 2 minutes.
Tip: Do not stir the eggs immediately after pouring them in to ensure a silky texture. - 13Simmer with the egg covered
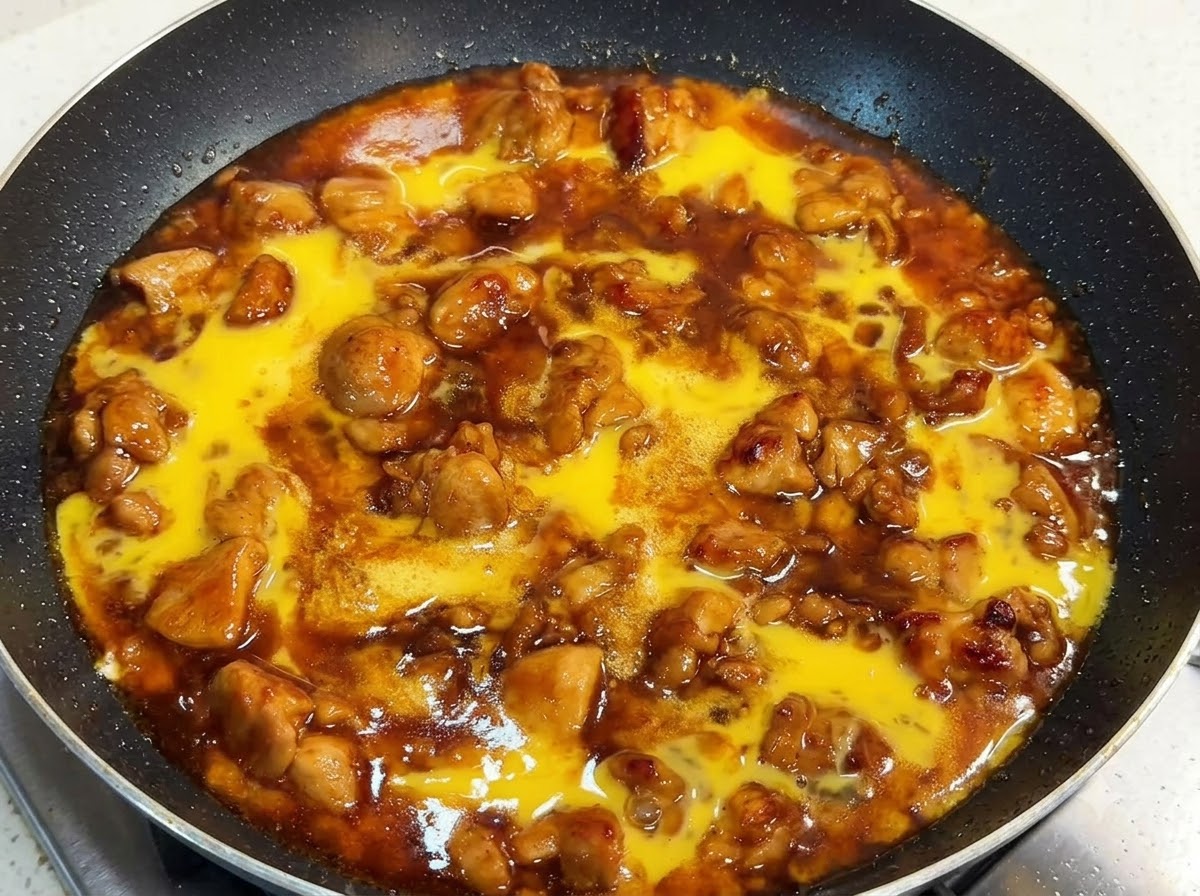
Pour the beaten egg liquid directly onto the surface of the simmering chicken without stirring, then cover the pan with the lid and cook for another 2 minutes until the eggs are silky and tender.
Tip: Do not stir the eggs right after pouring; keeping them undisturbed creates a smooth, velvety layer over the chicken. - 14Garnish and serve
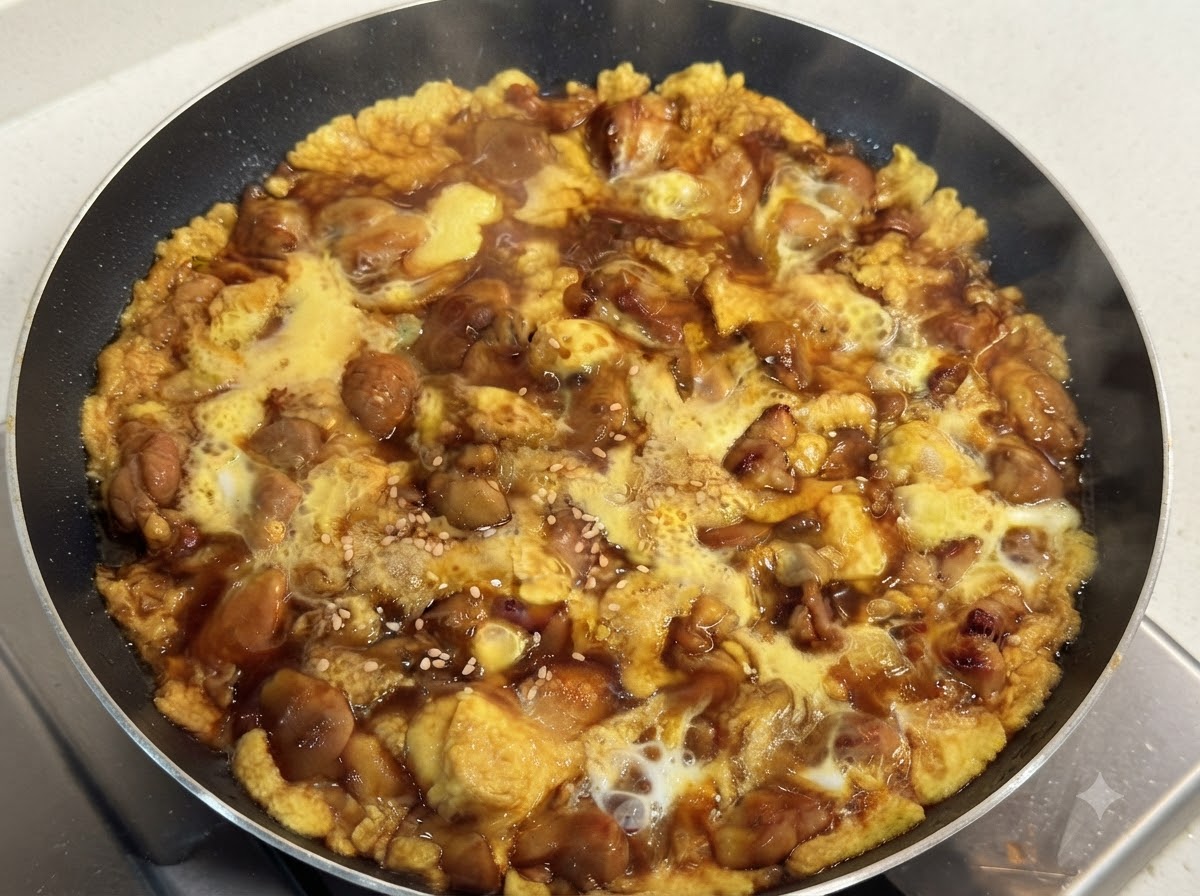
After simmering for 2 minutes, uncover the pan. The egg should be perfectly set yet still silky and tender. Sprinkle the top with white sesame seeds and finely chopped green onions for added aroma and texture. Serve this rich, flavorful mixture immediately over a bowl of hot steamed rice.
Tip: Do not stir or move the egg after pouring it in. Letting it simmer undisturbed ensures it remains incredibly tender and smooth.