Traditional Oyakodon (Japanese Chicken
Egg Rice Bowl)
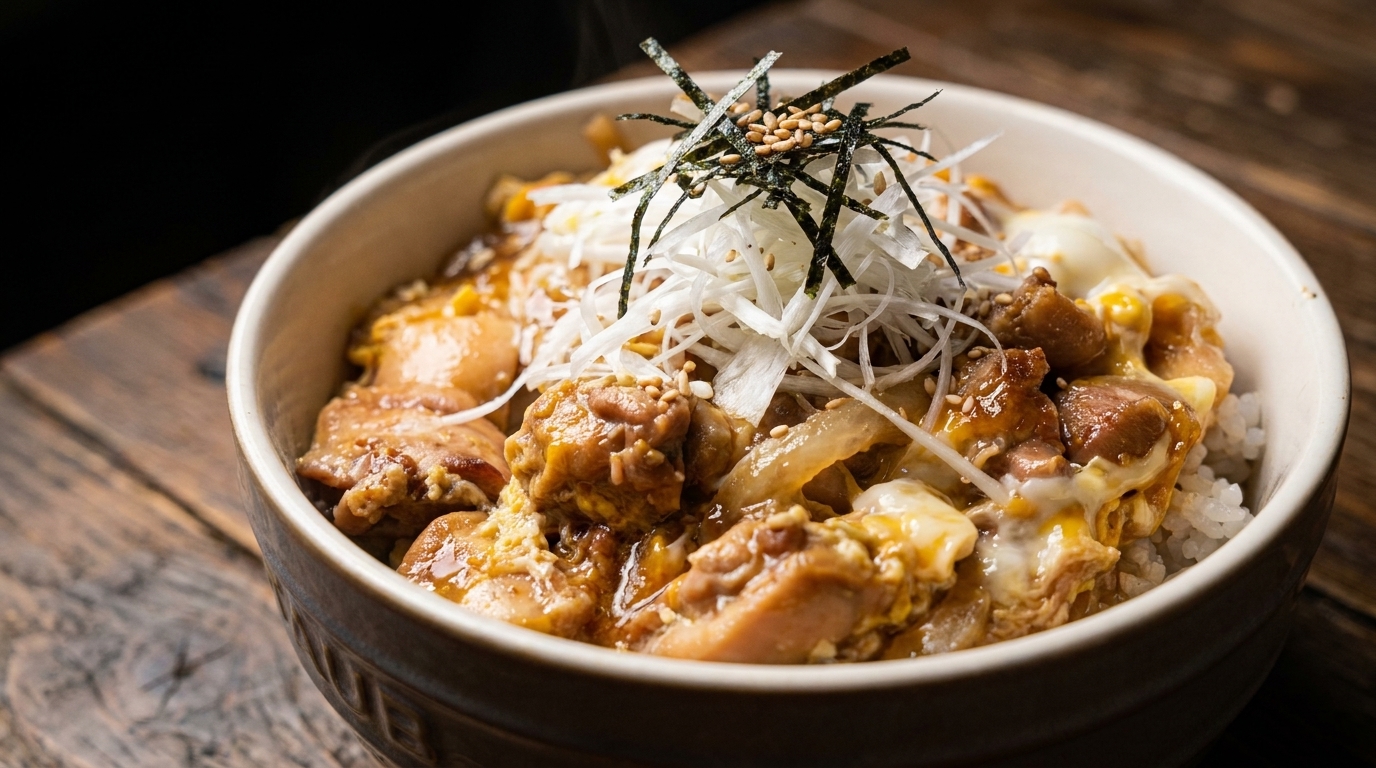
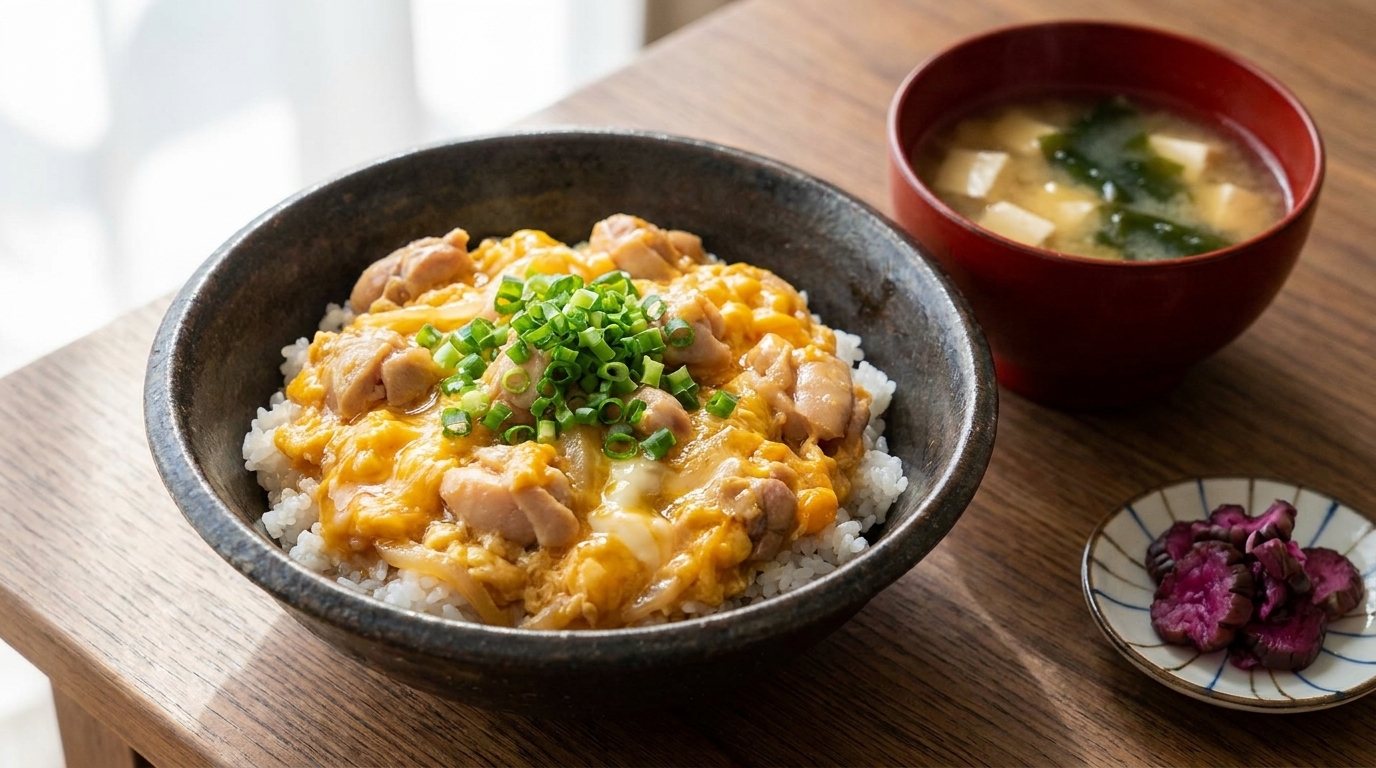
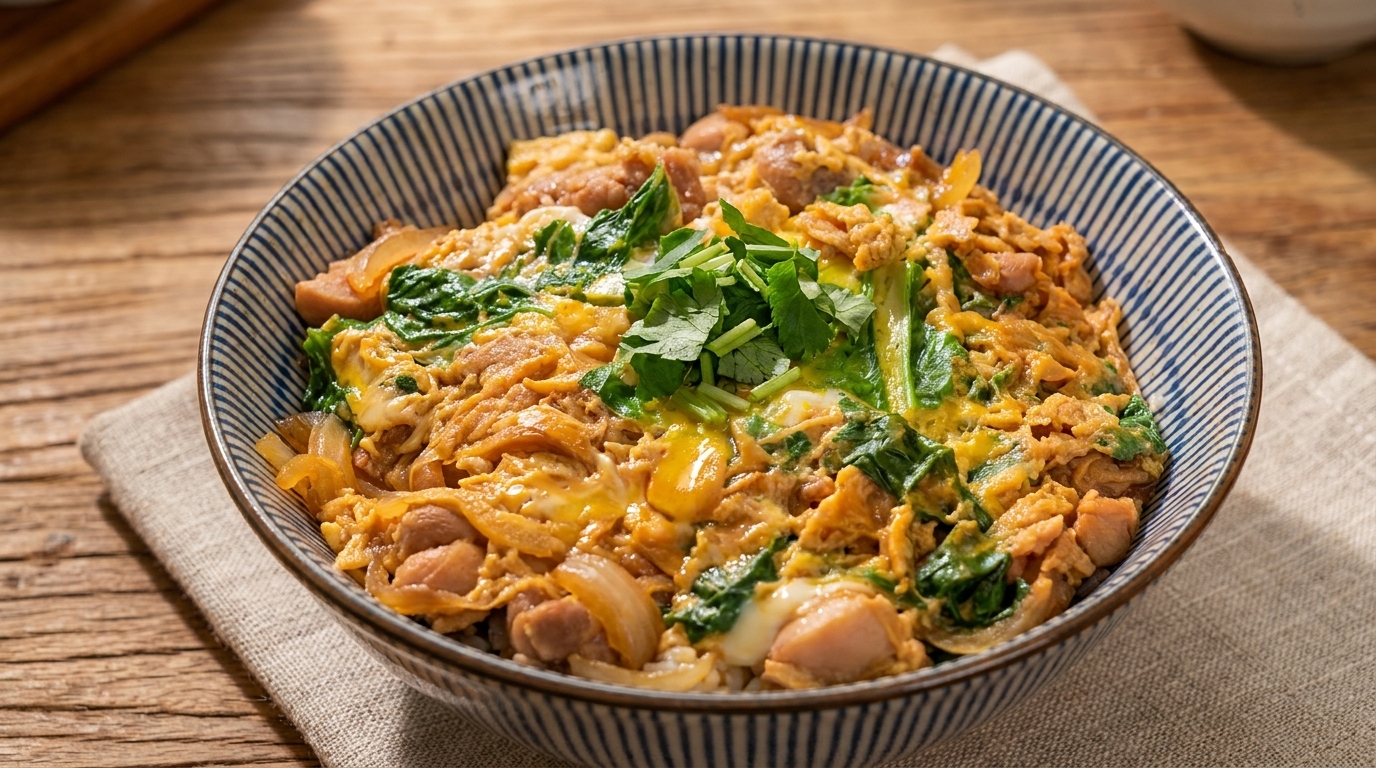
A soulful Japanese classic: tender chicken and sweet onions simmered in savory dashi, blanketed by a silky, semi-set egg layer over fluffy steamed rice.
The name of this dish literally translates to parent and child bowl, a poetic reference to its main ingredients: chicken and egg. This comfort food staple relies on a delicate balance of sweet mirin and savory dashi to create a rich, umami filled sauce that soaks perfectly into the rice. It is a quick, one pan meal that exemplifies the Japanese philosophy of simple yet high quality ingredients.
Ingredients
- 300 g chicken drumstick meat, skin removed and sliced
- 12 large white onion, thinly sliced
- 150 ml dashi broth
- 3 large eggs
- 2 tbsp soy sauce
- 2 tbsp mirin
- 1 tbsp sake
- handful celery leaves
- 1 head baby bok choy
- 2 bowls steamed white rice
Instructions
- 1Prepare the chicken
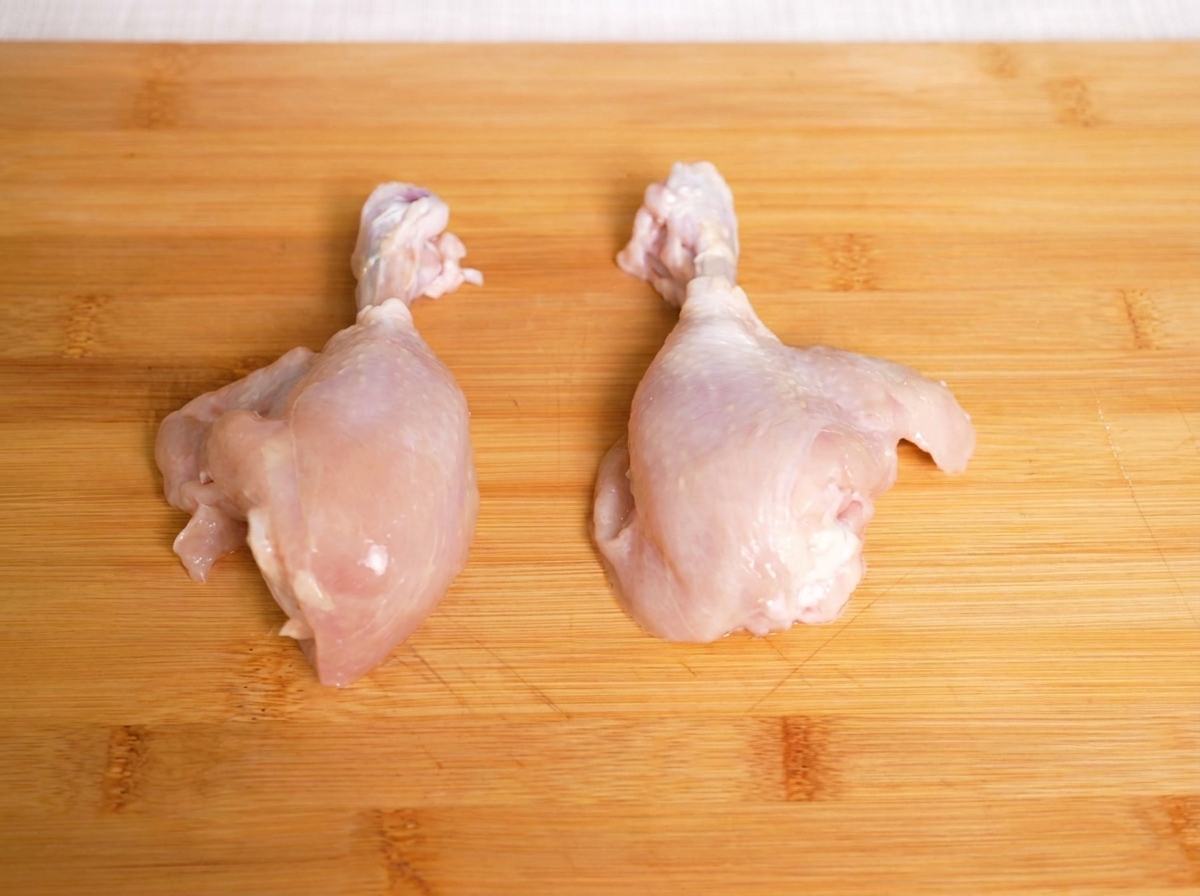
Place the raw chicken drumsticks on a clean cutting board. Remove the skin and carefully slice the meat into thin, even pieces. Cutting the chicken thinly ensures it will cook quickly and evenly in the simmering broth.
Tip: If you prefer a richer flavor, you can leave the skin on, but removing it makes for a cleaner, traditional Oyakodon. - 2Slice the onion
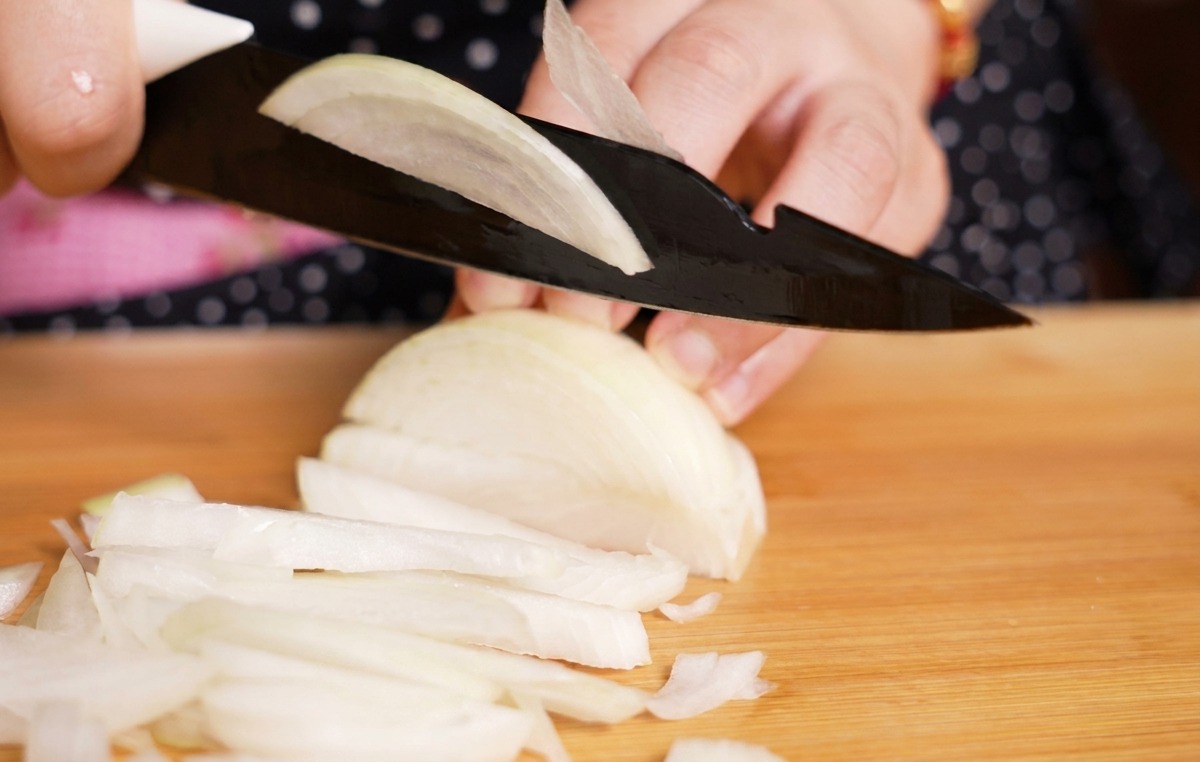
Take a raw white onion and place it on your cutting board. Using a sharp knife, slice the onion into thin, even strips. These slices will soften during the simmering process, releasing their natural sweetness into the Oyakodon sauce.
Tip: Try to keep the slices uniform in thickness so they cook at the same rate and provide a consistent texture in the final dish. - 3Prepare the greens
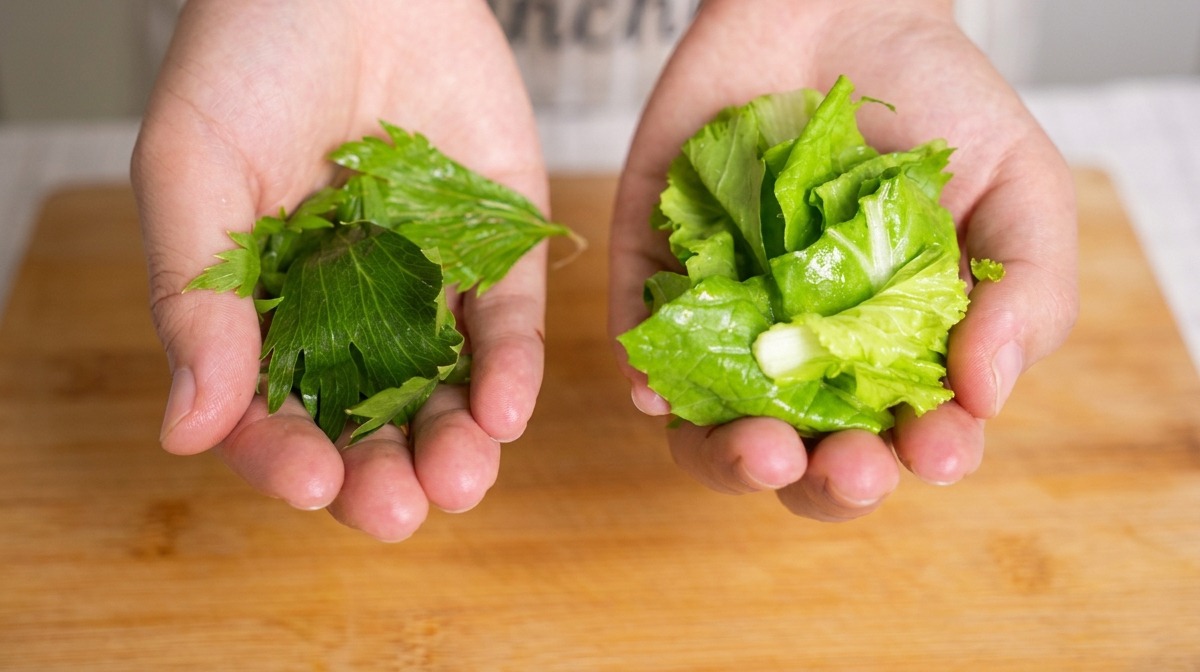
Prepare your green vegetables by cutting the celery leaves and baby bok choy into small sections. These greens serve as excellent substitutes for traditional Japanese Mitsuba and water greens, providing a fresh, crisp contrast to the savory chicken and eggs.
Tip: If you prefer a milder flavor, use more baby bok choy; for a more aromatic punch, increase the ratio of celery leaves. - 4Simmer the seasoning base
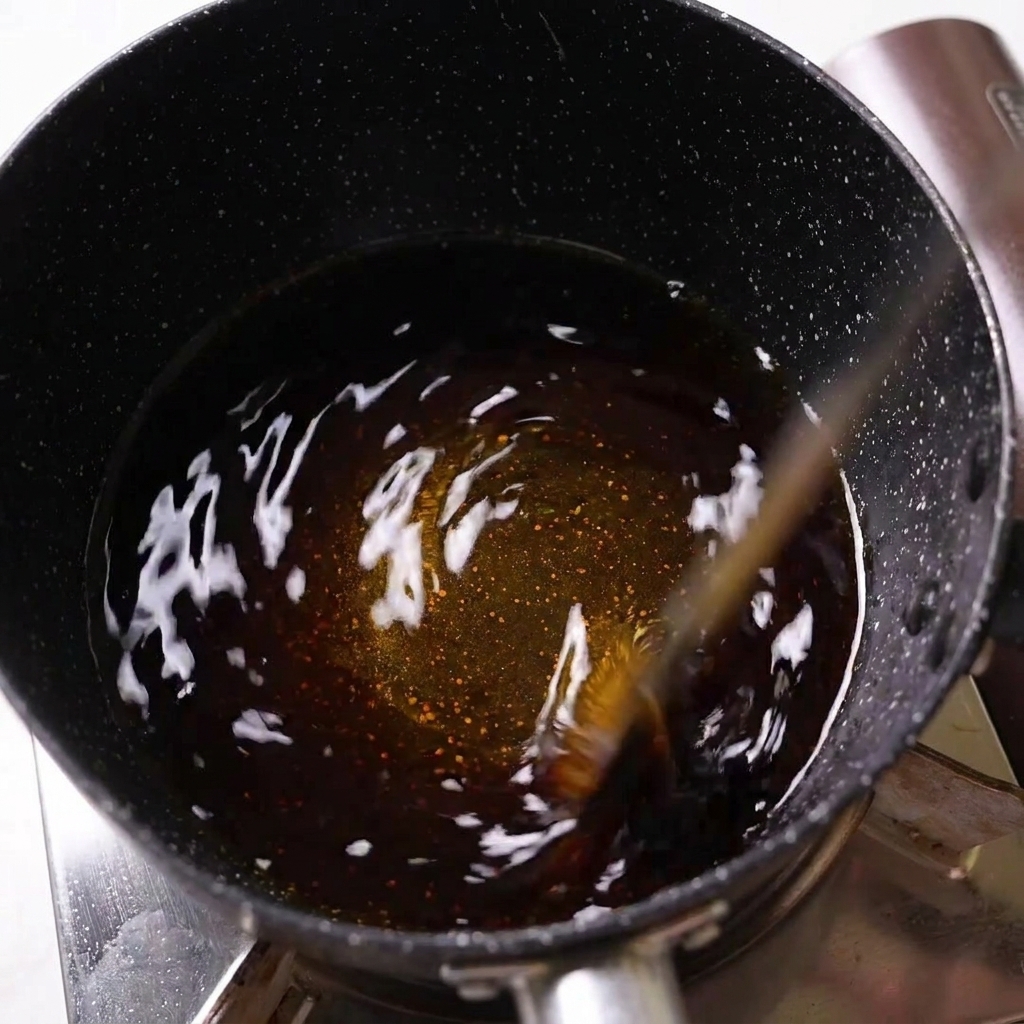
Combine the soy sauce, mirin, and sake in a black speckled pan. Stir the mixture over low heat and allow it to simmer for about one minute. This step helps the aromas blend and creates the signature sweet and salty foundation for the dish.
Tip: Avoid using high heat at this stage, as you want the seasonings to meld gently without scorching the sugars in the mirin. - 5Add the chicken

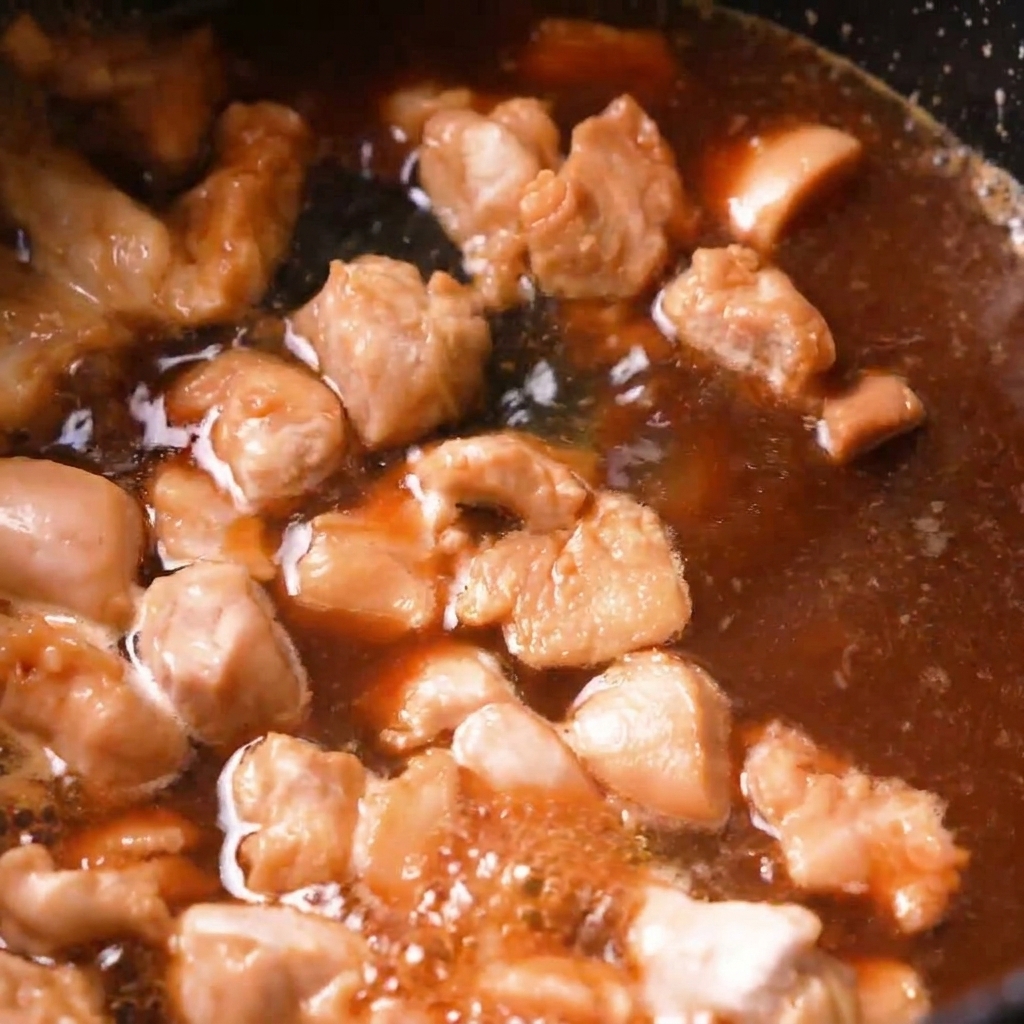
Carefully place the thin slices of skinless chicken into the simmering seasoning base. Ensure the pieces are spread out so they can absorb the flavors of the soy sauce mixture as they begin to cook.
Tip: Using skinless chicken keeps the broth clear and prevents the dish from becoming overly greasy. - 6Pour in the dashi broth
Once the surface of the chicken has changed color and is partially cooked, pour the dashi broth into the pan. This savory stock made from bonito and kelp adds a deep umami flavor that is essential for an authentic Oyakodon.
Tip: If you do not have fresh dashi, you can use dashi granules dissolved in water as a quick and convenient alternative. - 7Add the sliced onions
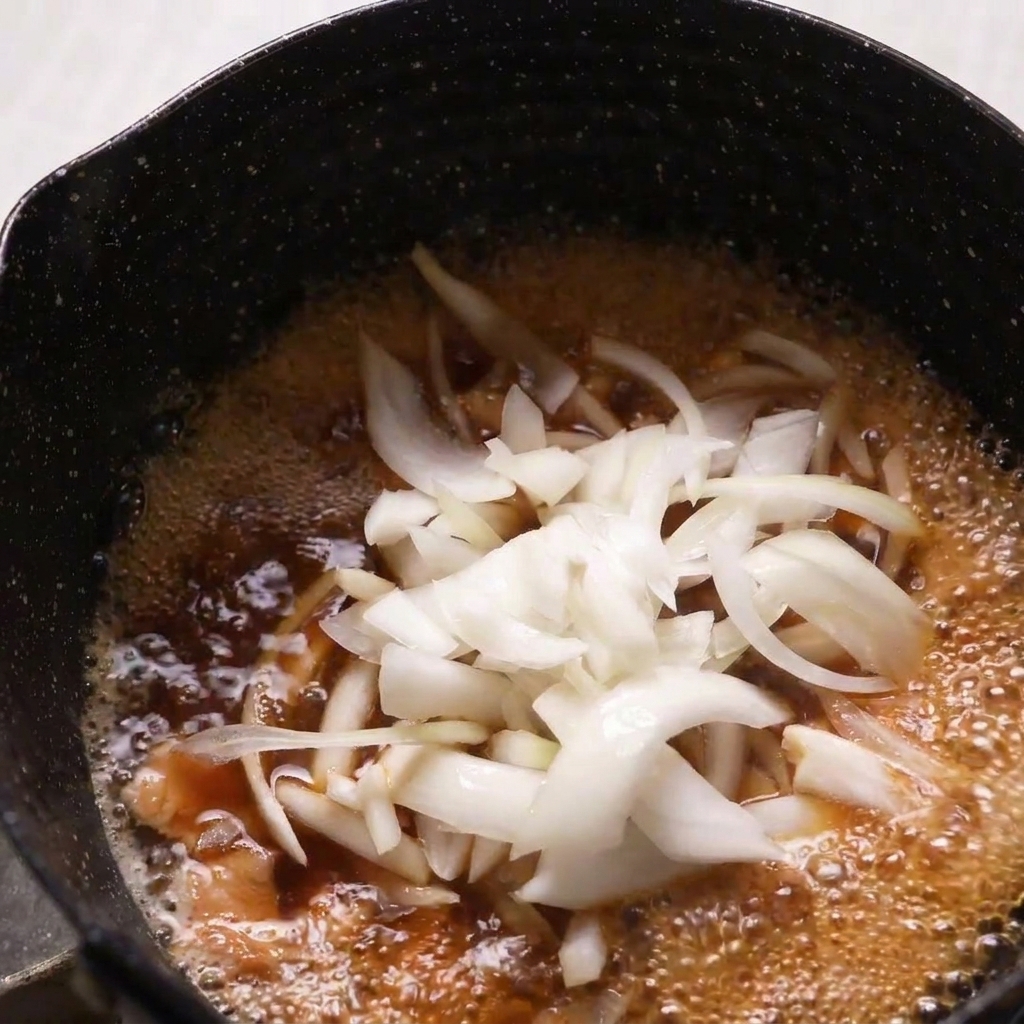
Once the chicken has begun to change color in the simmering dashi broth, add the thinly sliced onions. Allow them to cook down until they soften and turn translucent, releasing their natural sweetness into the fragrant soup.
Tip: Slice the onions thinly so they melt perfectly into the egg and chicken mixture. - 8Lightly beat the eggs
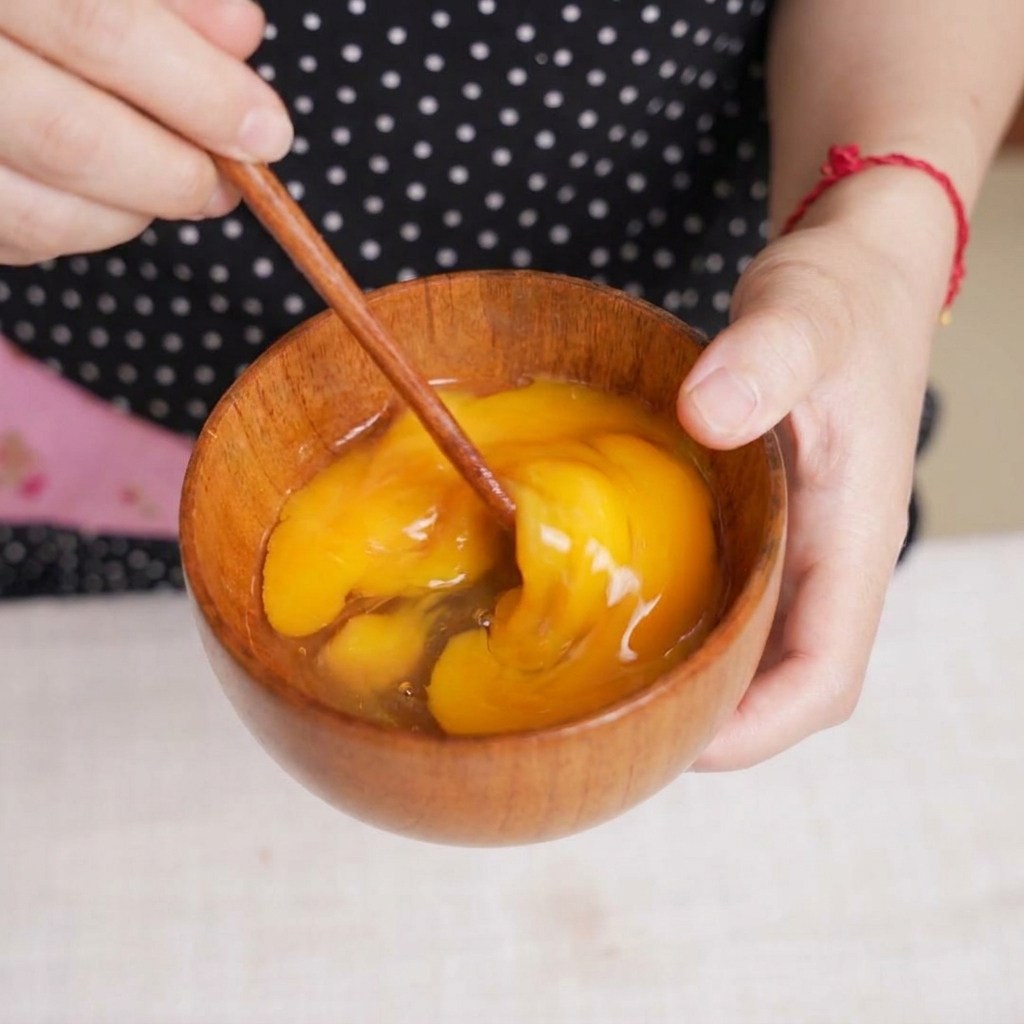
Crack the raw eggs into a small bowl and gently beat them using wooden chopsticks. The secret to a perfect Oyakodon is not to over-mix; leaving distinct streaks of whites and yolks creates a beautiful marbled texture when cooked.
Tip: Only beat the eggs a few times — just enough to break the yolks. Over-beating will result in a tough omelet rather than a silky texture. - 9Pour the first half of the egg
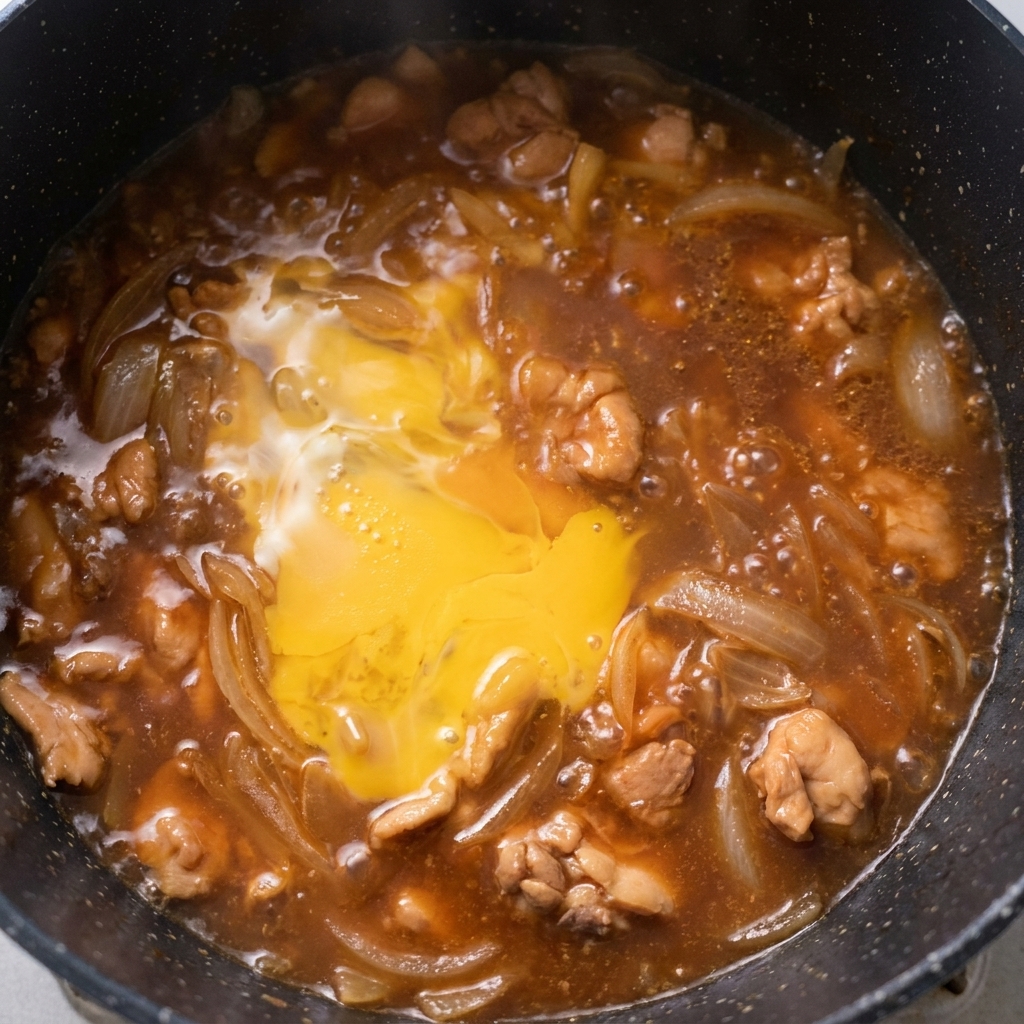
Carefully add exactly half of the lightly beaten egg mixture over the bubbling chicken and onions in the pan. Simmer over low heat for a short while, allowing this first layer of egg to set slightly and bind the ingredients together.
Tip: Adding the egg in two distinct stages ensures that part of it cooks through fully while the rest remains incredibly soft and creamy. - 10Add the refreshing greens
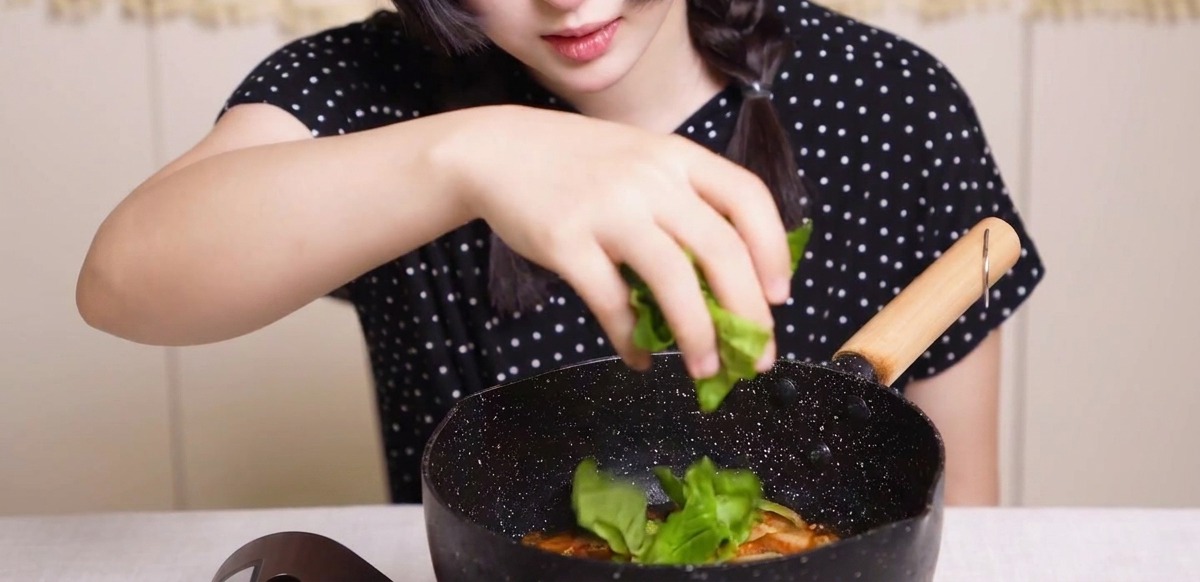
Scatter the cut celery leaves and baby bok choy over the chicken and eggs. These greens cut through the richness of the dish and add a bright, fresh flavor. Let them sit on top for a moment to wilt slightly from the rising steam.
Tip: If you prefer a softer texture, you can gently push the greens into the simmering sauce, but avoid over-stirring to keep the egg layers intact. - 11Add the remaining egg
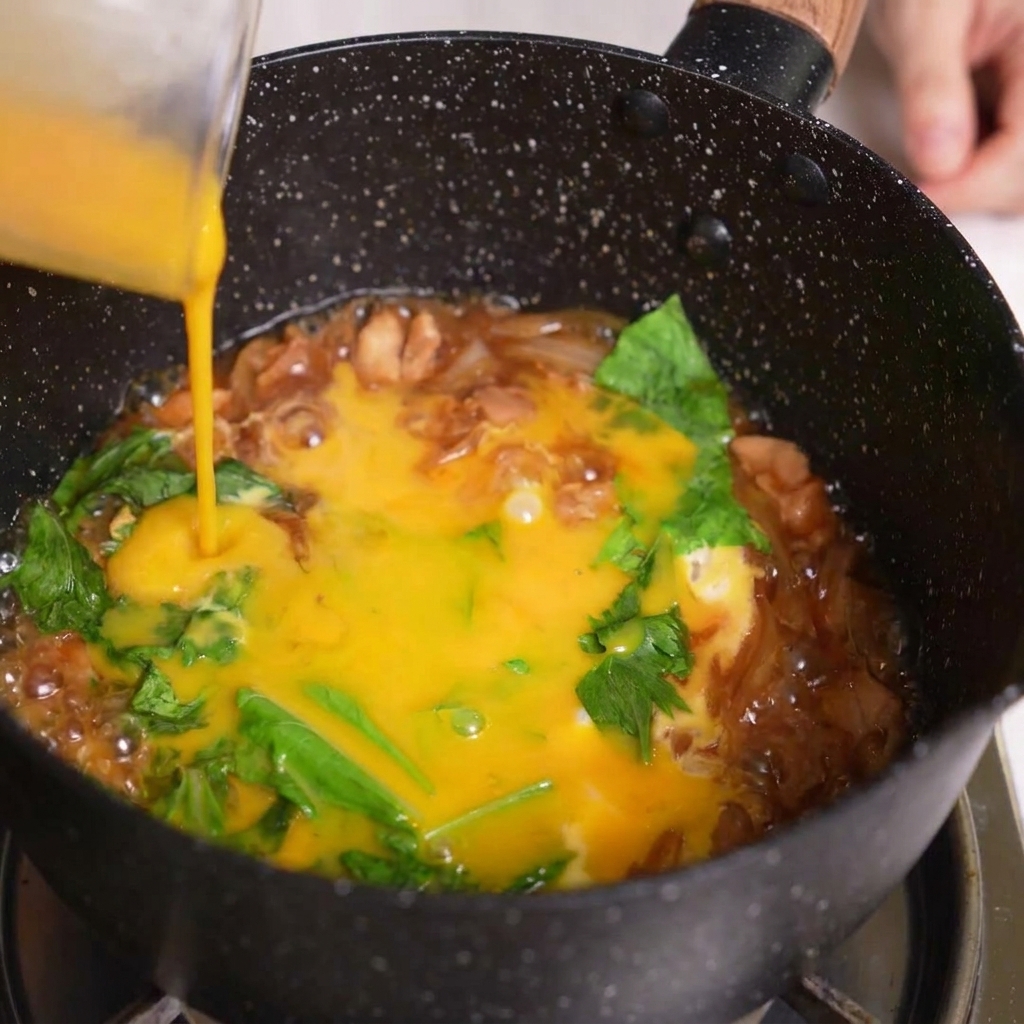
Pour the rest of the beaten egg mixture over the top of the ingredients in the pan. Simmer briefly until the eggs reach your desired doneness, ensuring they remain wonderfully soft and luscious.
Tip: If you are not using pasteurized eggs, simmer slightly longer until fully cooked, but be careful not to dry out the dish.