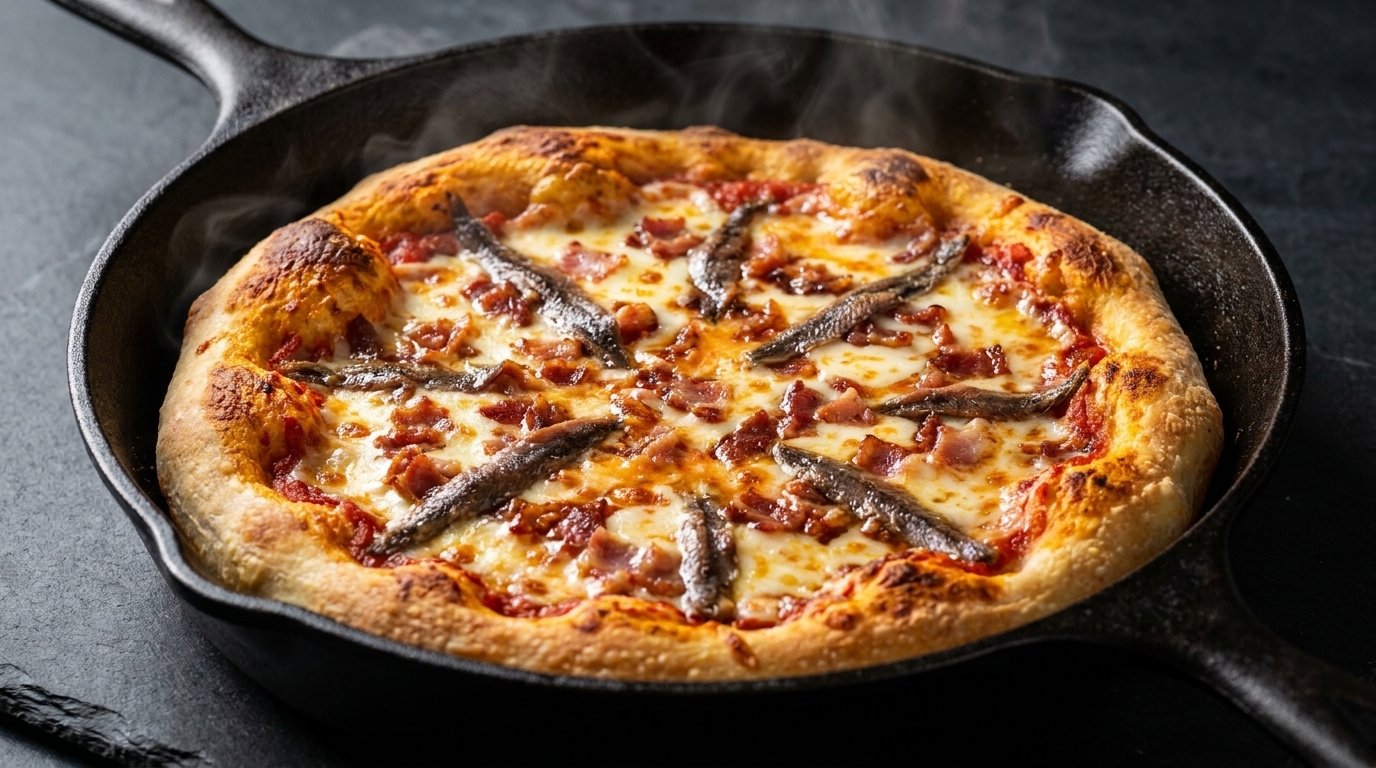
Crispy Skillet Anchovy
Bacon Pizza
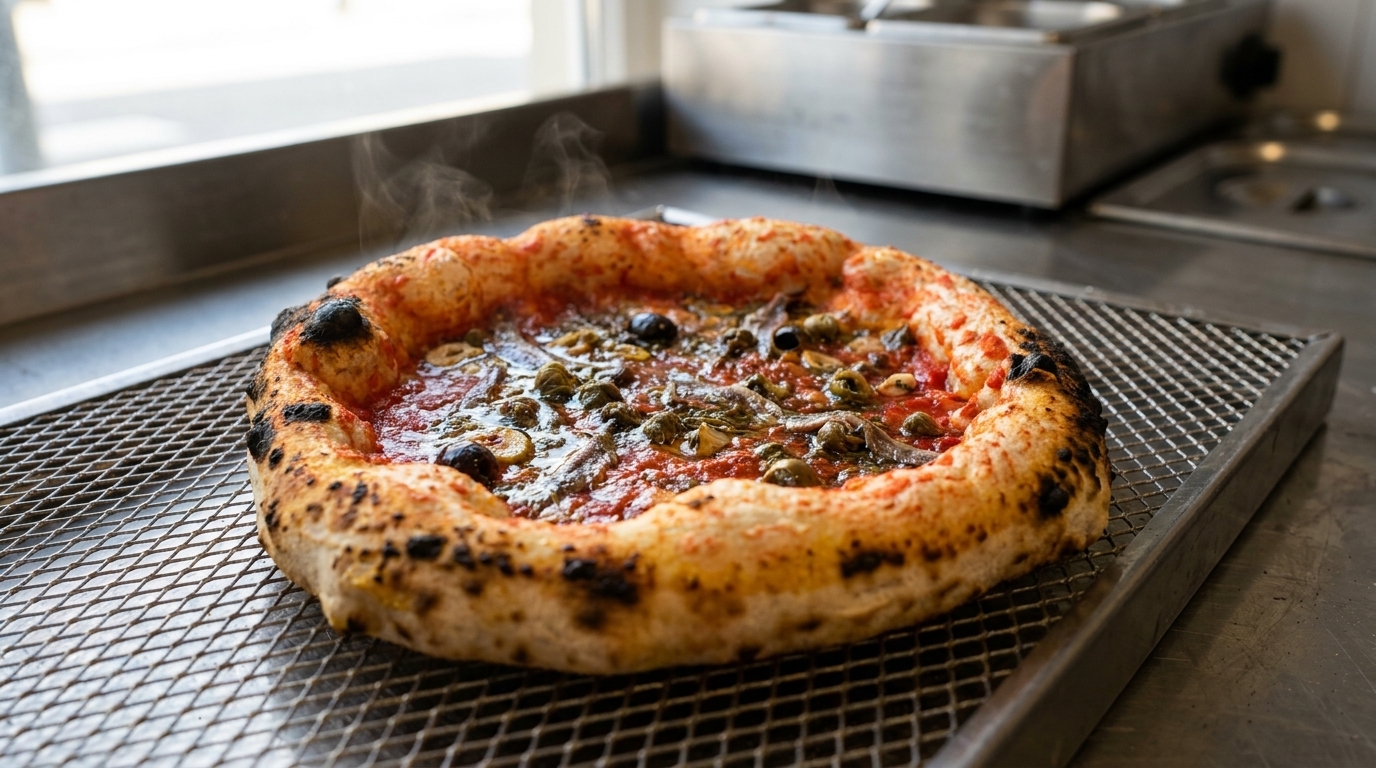
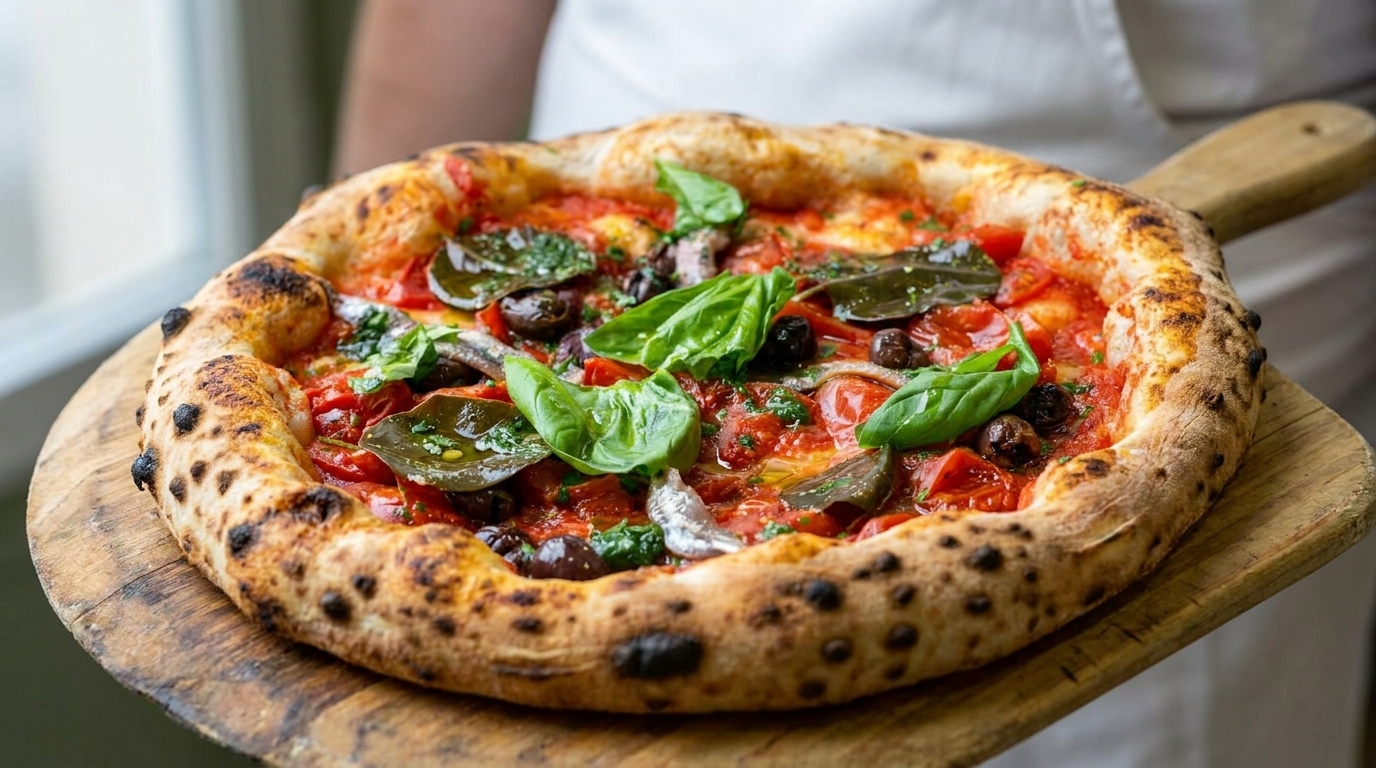
Enjoy a salty, savory flavor explosion with this pan-simmered pizza featuring briny anchovies, smoky bacon, and a perfectly crispy, golden-brown crust.
Skillet pizza is a brilliant alternative for home cooks who want a professional-style crispy crust without a pizza oven. This version uses the intense umami of canned anchovies and the richness of bacon to create a deeply flavorful topping. By simmering the dough in an oiled pan, you achieve a unique crunch that balances beautifully with the gooey melted cheese.
Ingredients
- 250 g white flour
- 5 g dry yeast
- 1 tsp salt
- 1 tsp sugar
- 3 tbsp extra virgin olive oil
- 125 ml warm water
- 100 ml pizza sauce
- 1 tin canned anchovies
- 100 g bacon bits
- 150 g shredded cheese
- to taste hot and sour sauce
Instructions
- 1Add the dry yeast
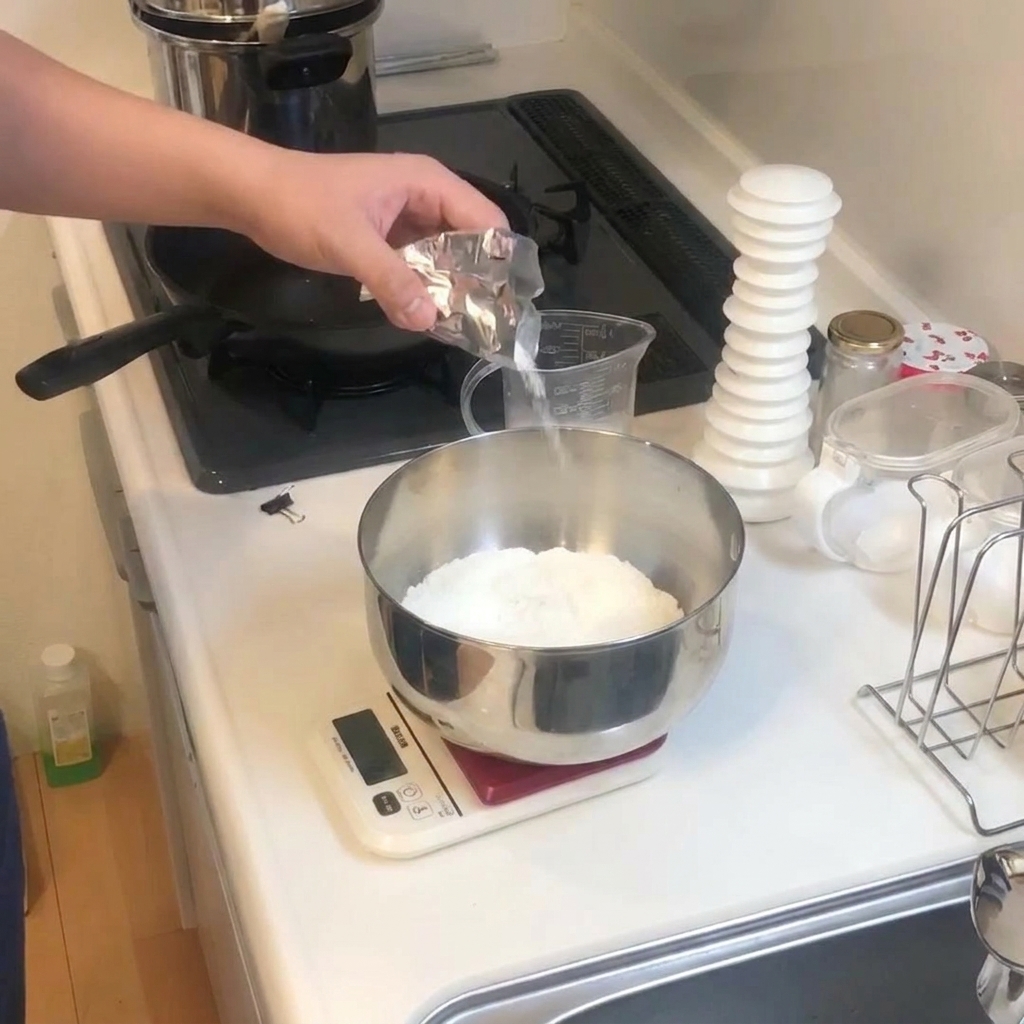
Begin by adding 5g of dry yeast to a bowl containing 250g of flour. Using a foil packet ensures the yeast remains fresh and active, which is essential for a proper rise in your pizza dough.
Tip: If you are using yeast from a larger jar, ensure it has been stored in a cool, dry place and is within its expiration date to avoid a flat crust. - 2Add the salt
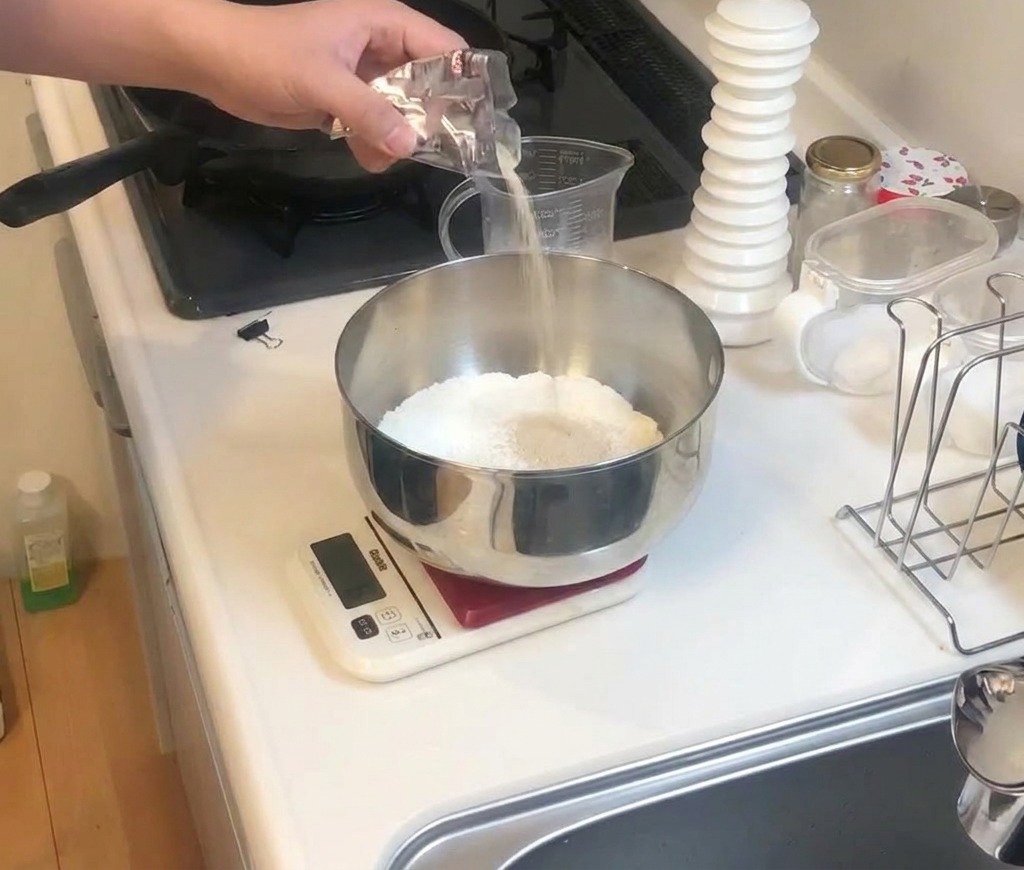
Add a spoonful of salt to the flour mixture. Salt is essential for both flavor and for strengthening the dough structure, which creates a better chew in your finished crust.
Tip: Using a digital scale for dry ingredients like flour and yeast is much more accurate than using measuring cups, leading to more consistent dough every time. - 3Add the sugar
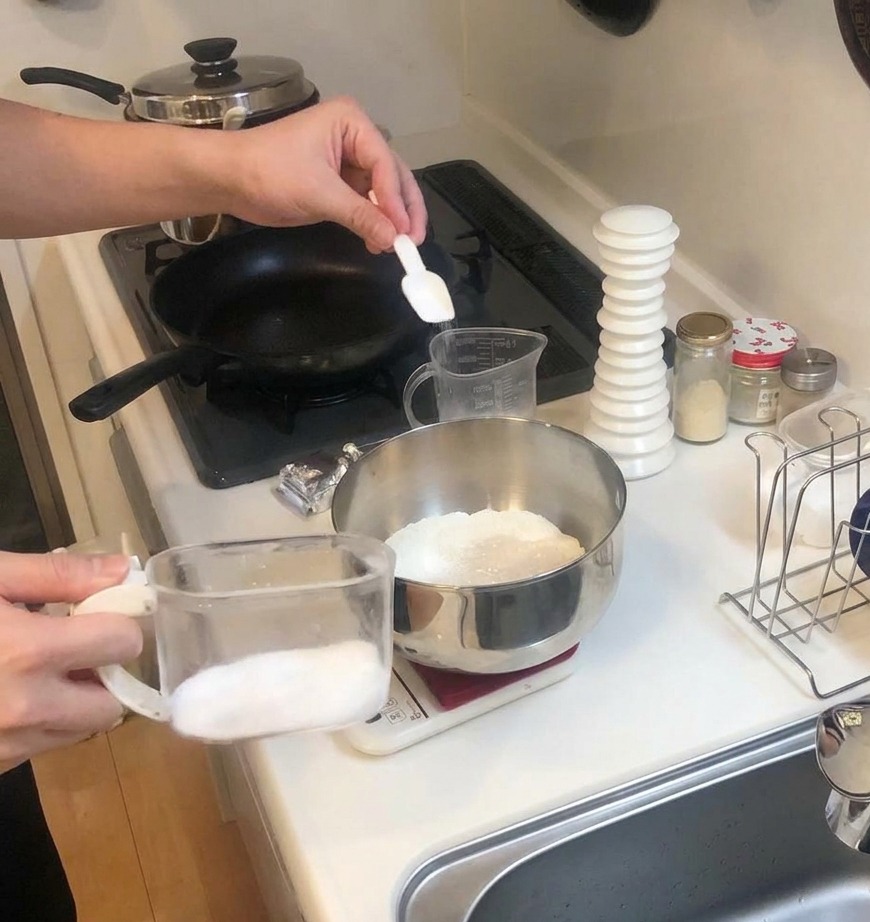
Next, add a spoonful of sugar to the bowl. The sugar helps feed the yeast, ensuring a good rise and helping the crust develop a beautiful golden-brown color during cooking.
Tip: Try to sprinkle the salt around the edges of the flour rather than directly onto the yeast to ensure the yeast has time to activate properly. - 4Add olive oil
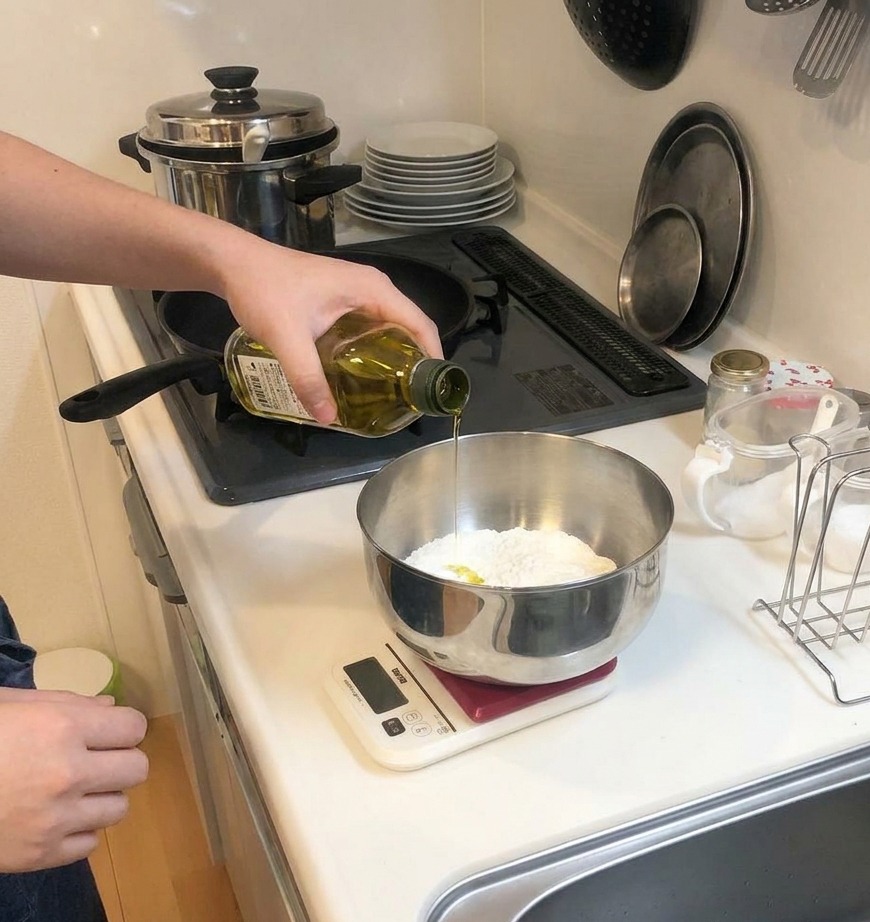
Pour a small amount of olive oil into the bowl with the dry ingredients. The addition of oil makes the dough more supple and easier to work with, while also adding a hint of richness to the crusts flavor.
Tip: Use a good quality extra virgin olive oil for the best aroma and flavor in your homemade pizza dough. - 5Add warm water
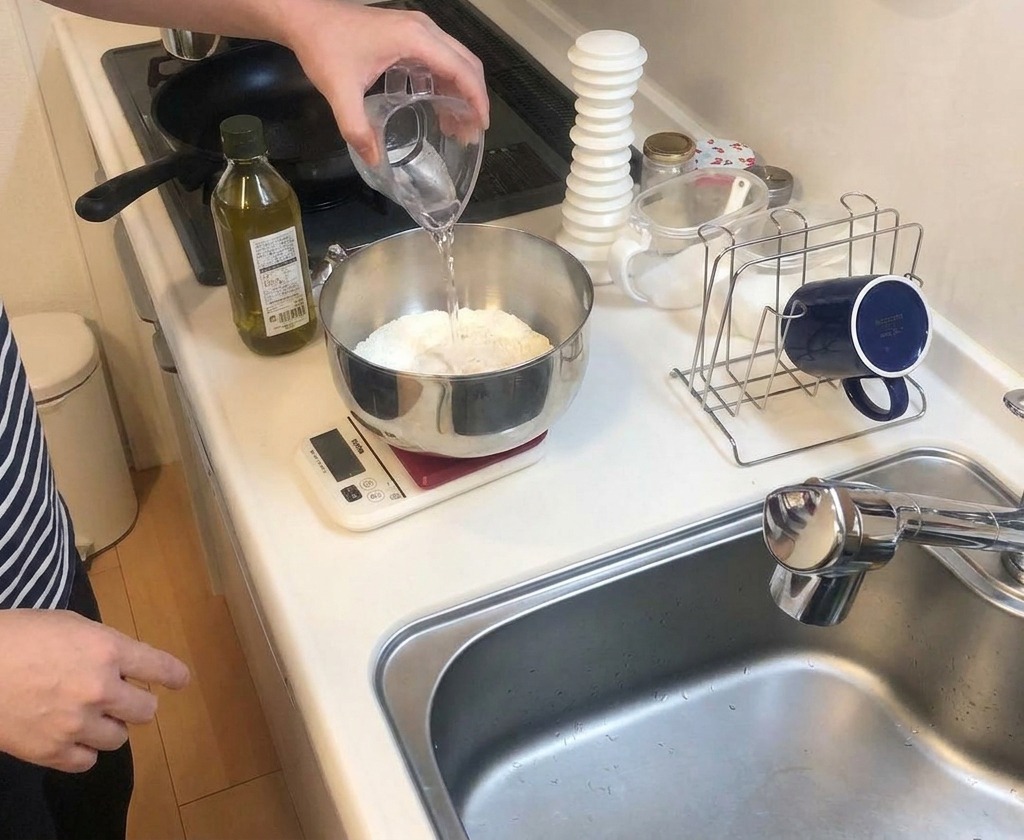
Carefully pour warm water into the bowl with the flour and seasonings. Aim for a water temperature close to body temperature to activate the yeast without damaging it. A ratio of approximately two parts flour to one part water works well for this recipe.
Tip: If the water is too hot, it will kill the yeast; if its too cold, the dough will take much longer to ferment. Test it on your wrist—it should feel comfortably warm. - 6Mix the ingredients together
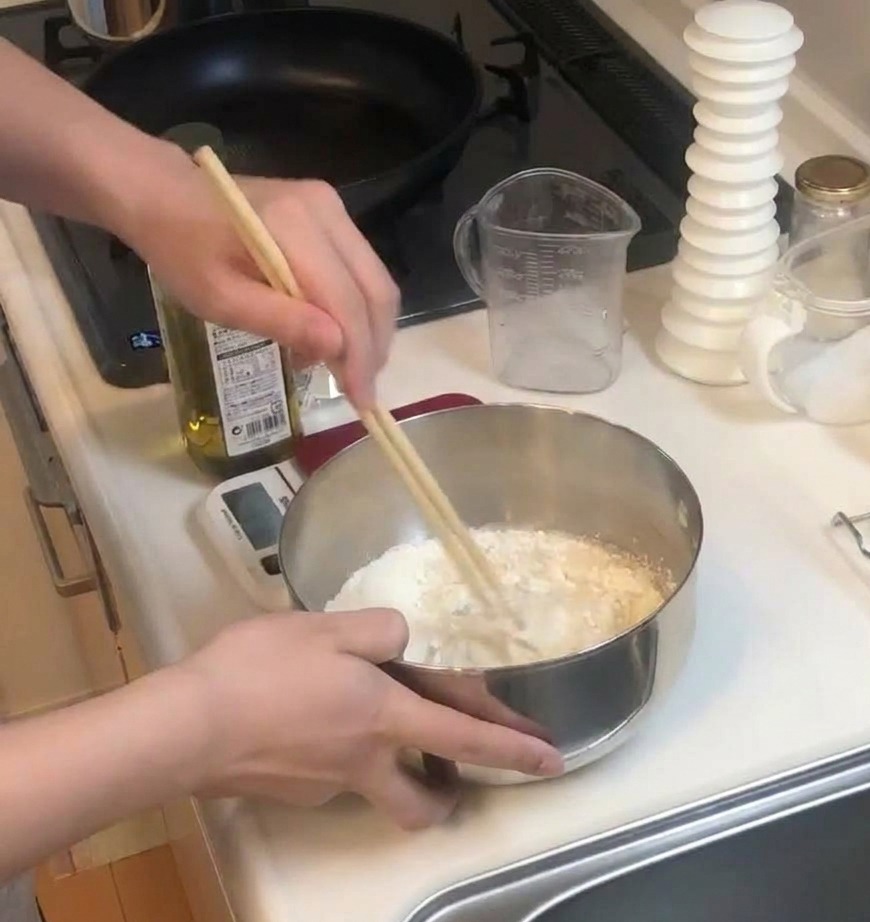
Use a pair of chopsticks to stir the wet and dry ingredients together until they begin to combine. This method is effective for incorporating the liquid into the flour before you start kneading the dough by hand.
Tip: Mixing with chopsticks is a traditional and efficient way to prevent the dough from sticking to your hands during the initial messy phase of mixing. - 7Knead the dough
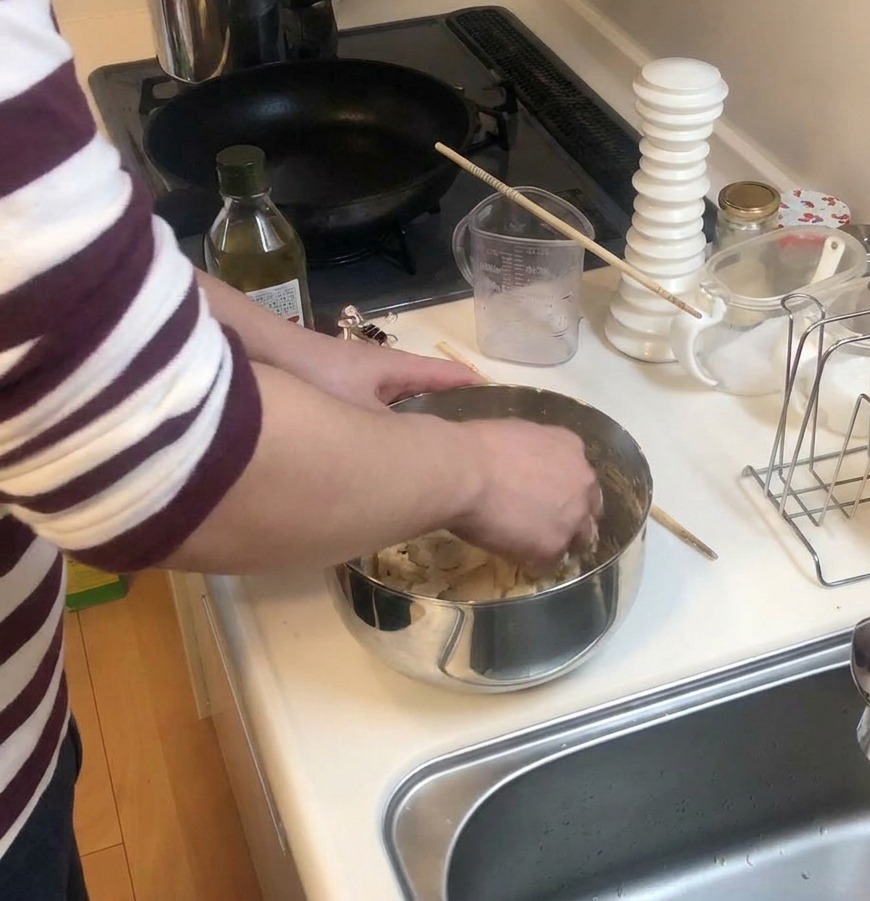
Work the combined ingredients by hand inside the bowl until a cohesive and smooth dough forms. This physical process develops the structure needed for a light and airy crust after fermentation.
Tip: Thorough kneading before the resting phase helps create a better texture in your finished pizza. - 8Check the fermentation
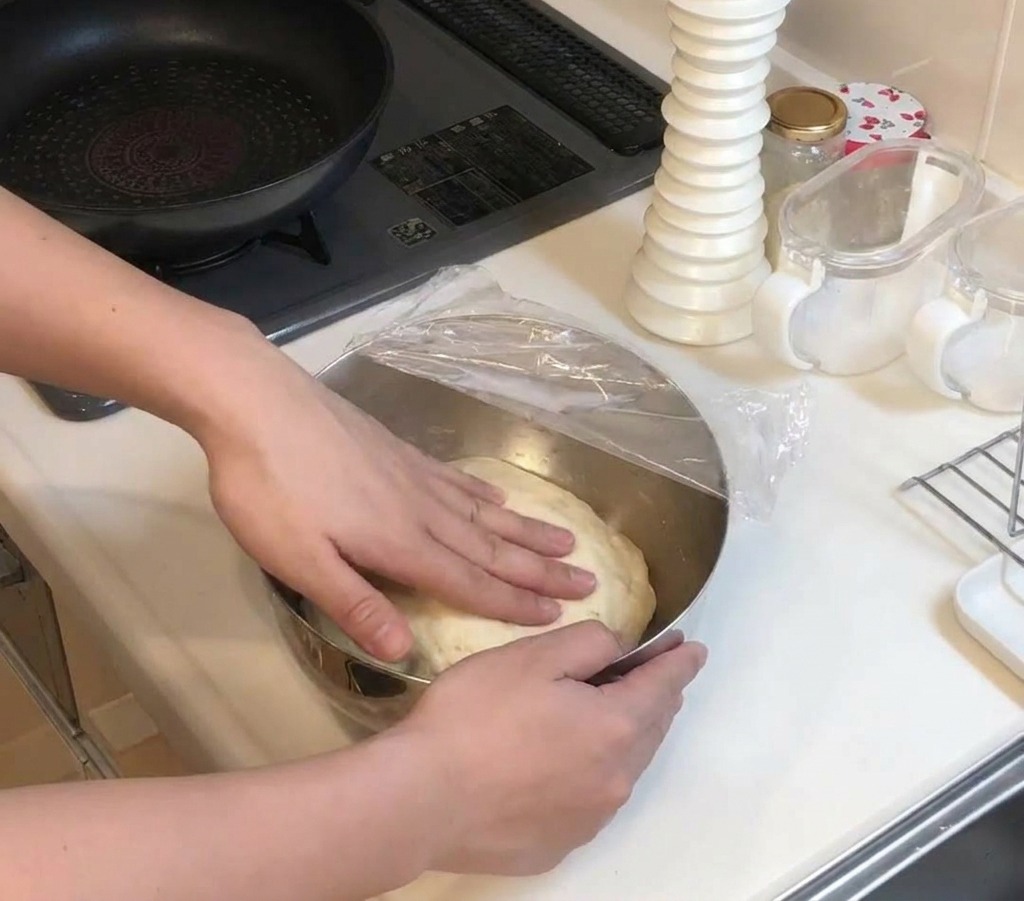
After allowing the dough to rest and rise, check its progress. The dough should have increased in volume and appear soft and airy. You can gently press the surface through the plastic wrap to feel the light, fermented texture of the dough.
Tip: The fermentation time depends on the temperature of your kitchen. Look for the dough to double in size before moving on to the next step. - 9Divide the dough
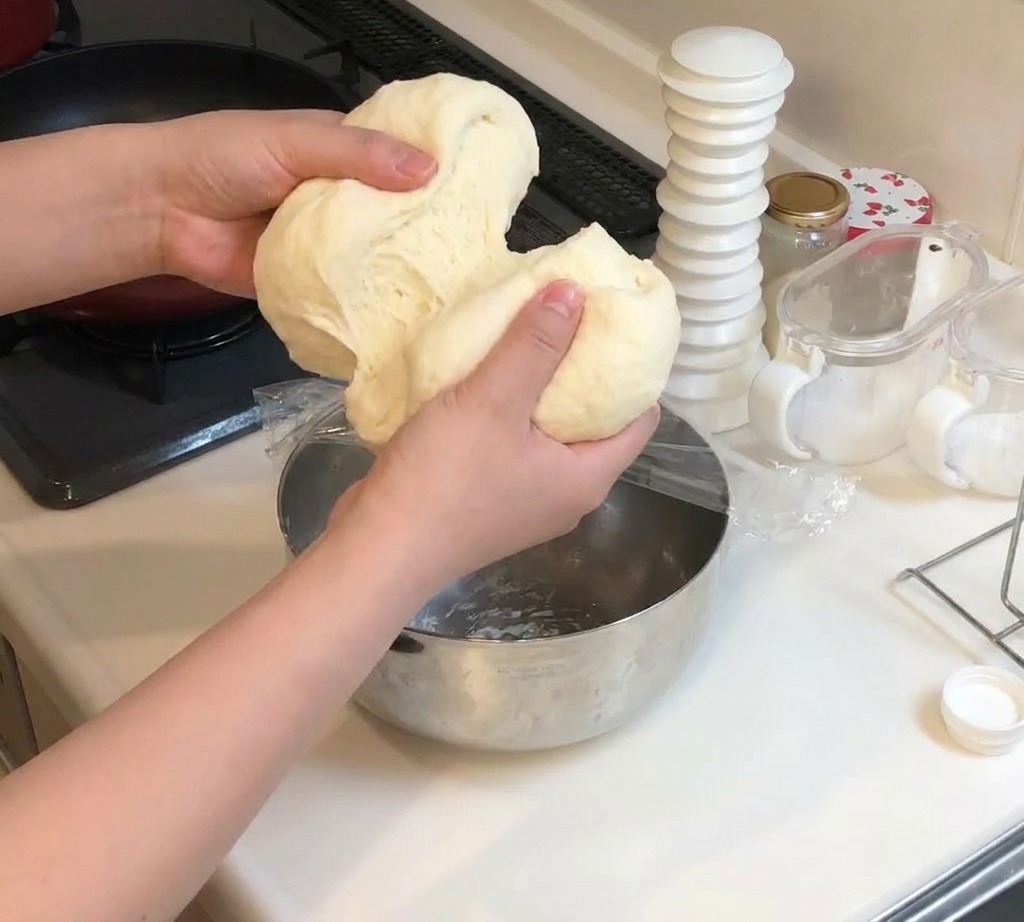
Once the dough is fully fermented, remove it from the bowl and divide it into two equal portions by hand. This amount of dough is perfect for making two individual-sized pizzas with a crispy crust.
Tip: If the dough feels too sticky to handle, lightly grease your hands with a drop of olive oil rather than adding more flour, which can toughen the crust. - 10Oil the pan
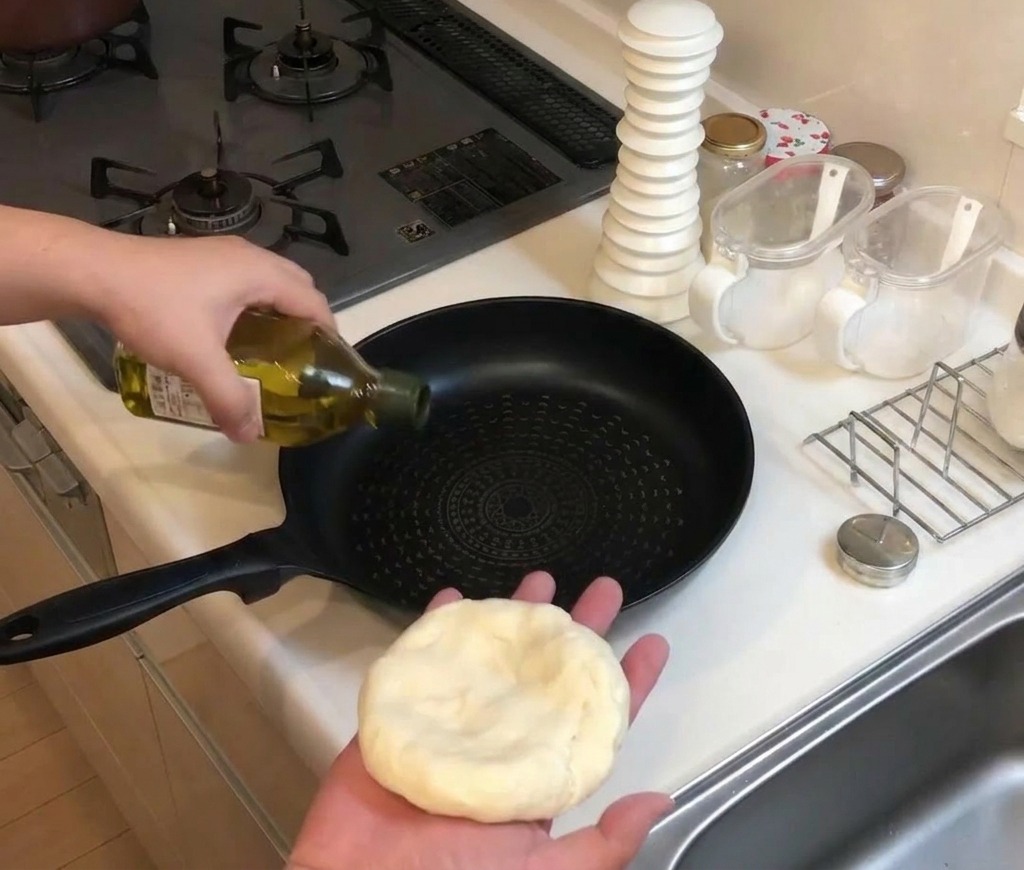
Drizzle a small amount of olive oil into the bottom of a black frying pan. The oil prevents the dough from sticking to the surface and helps fry the bottom of the pizza dough to achieve a very crispy and fragrant crust.
Tip: Use a pastry brush or tilt the pan to ensure the entire bottom surface is coated with a thin layer of oil before adding the dough. - 11Shape the dough in the pan
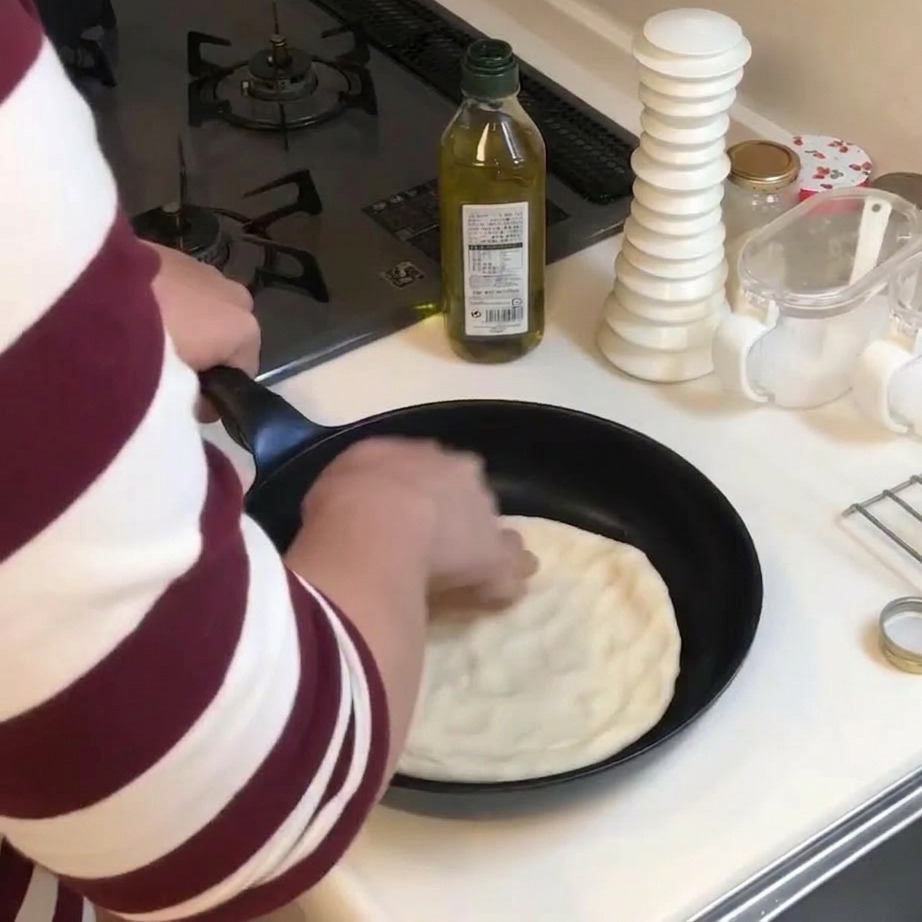
Place a portion of the fermented dough into the oiled skillet. Use your fingers to spread and flatten the dough evenly until it covers the bottom of the pan and reaches the edges.
Tip: Ensure the dough is thin and even to allow for consistent cooking and a crunchy bottom. - 12Add the pizza sauce
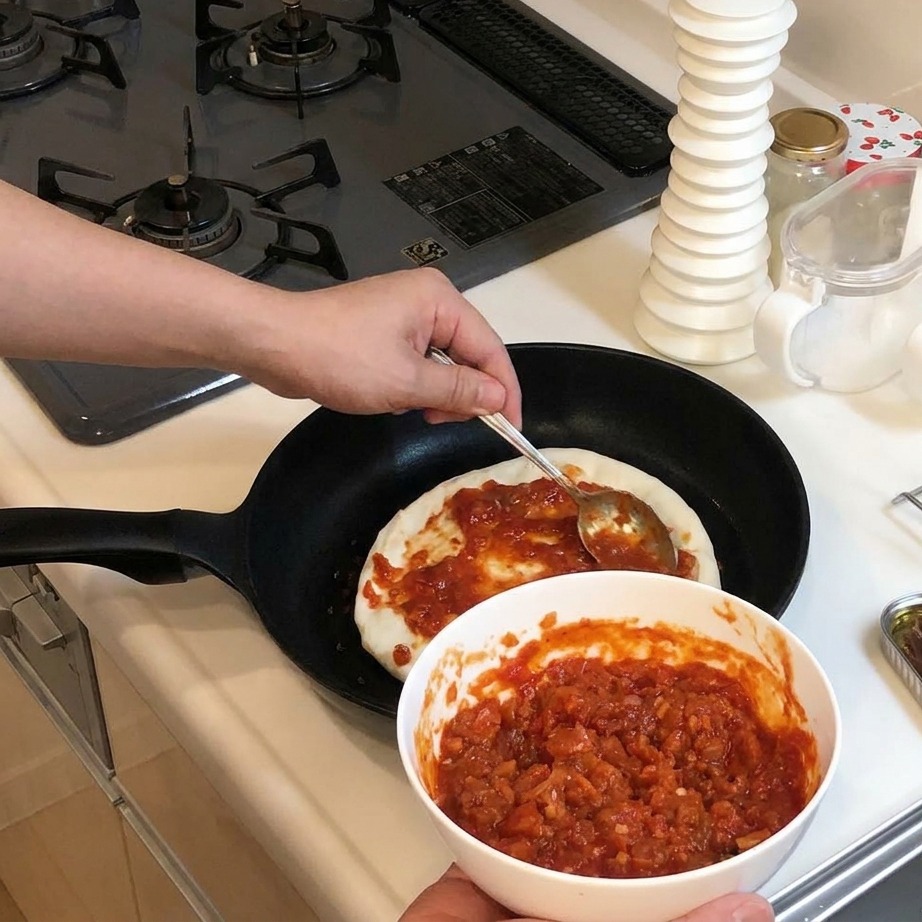
Using a spoon, take the prepared red tomato pizza sauce and spread it in a thin, even layer over the flattened dough. Leave a narrow border around the edge to form the crust.
Tip: Avoid using too much sauce in the center of the dough, as excess moisture can prevent the crust from becoming properly crispy. - 13Topping with anchovies
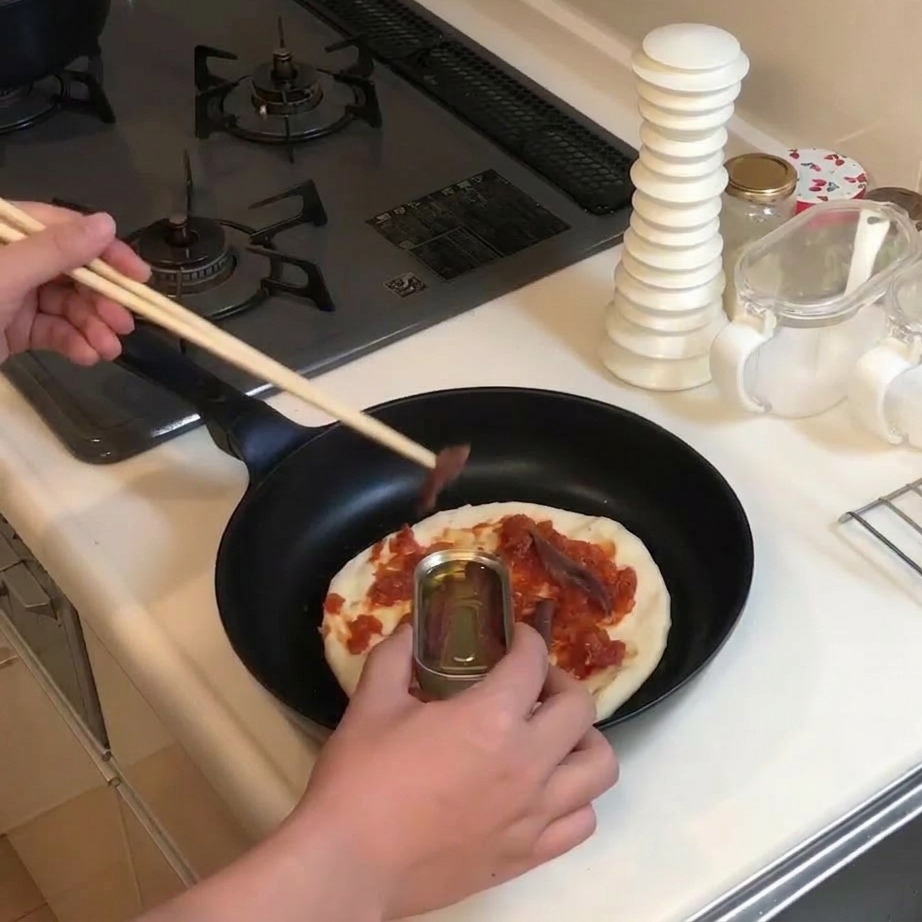
Open a tin of canned anchovies and use chopsticks to carefully place the fish strips over the sauced dough. Distribute the anchovies evenly across the pizza to balance the salty, savory flavor in every slice.
Tip: Since canned anchovies are quite potent, spacing them out ensures they enhance the pizza without overpowering the other ingredients. - 14Add bacon strips
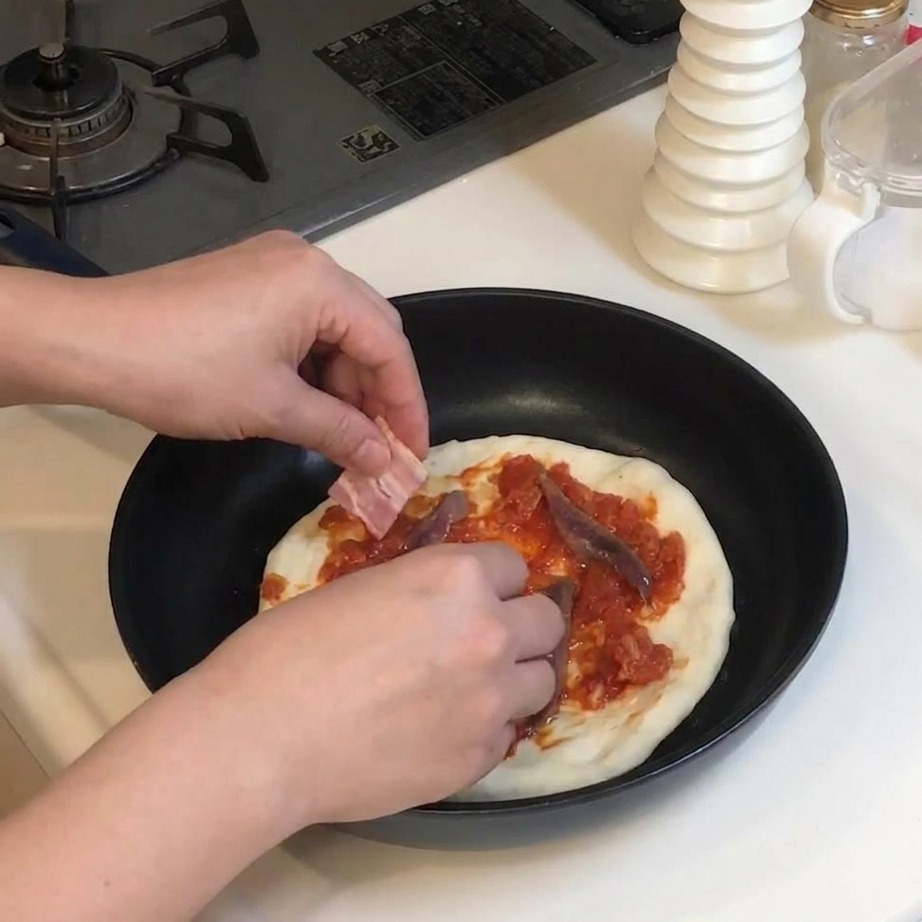
Lay small slices of raw bacon on top of the anchovies and sauce. These will cook through as the pizza simmers, releasing fat that adds extra flavor and richness to the dish.
Tip: Cutting the bacon into smaller, bite-sized pieces allows it to cook more quickly and evenly during the pan-simmering process. - 15Finish with shredded cheese
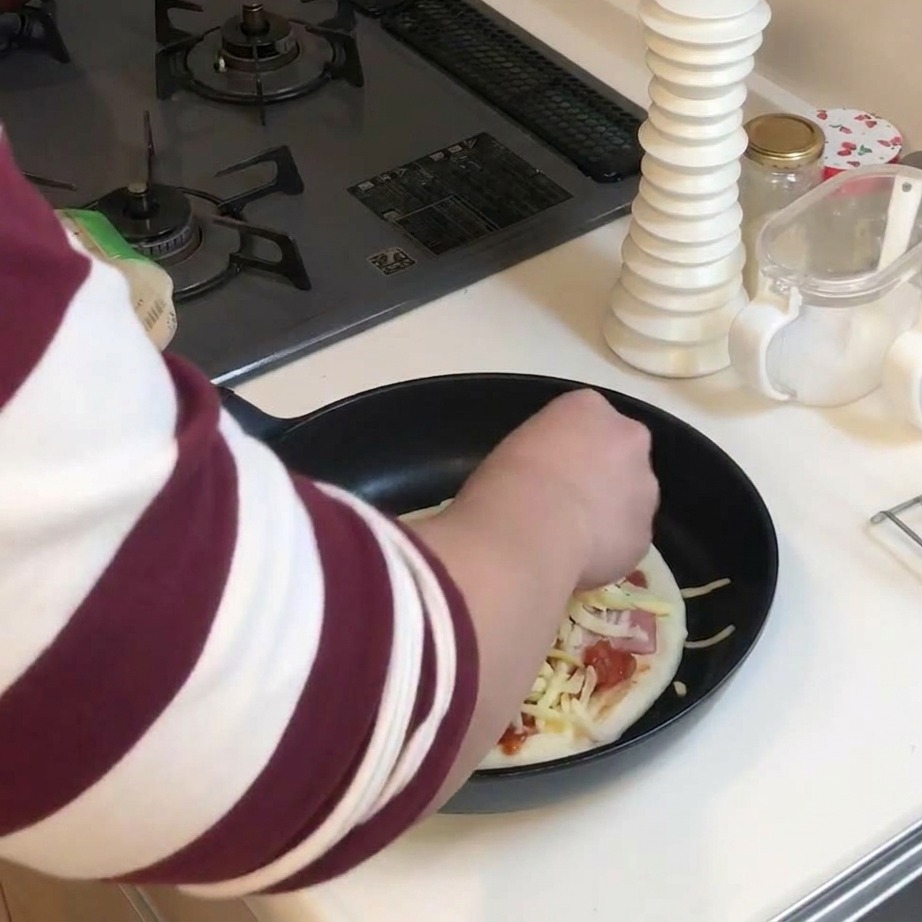
Generously sprinkle a large amount of shredded cheese over the bacon and other toppings. Ensure the cheese covers the pizza thoroughly so it can melt into a gooey, fragrant layer when heated.
Tip: For the best results, use a cheese that melts well, such as mozzarella, and drizzle a final bit of olive oil over the top before cooking. - 16Drizzle and cook
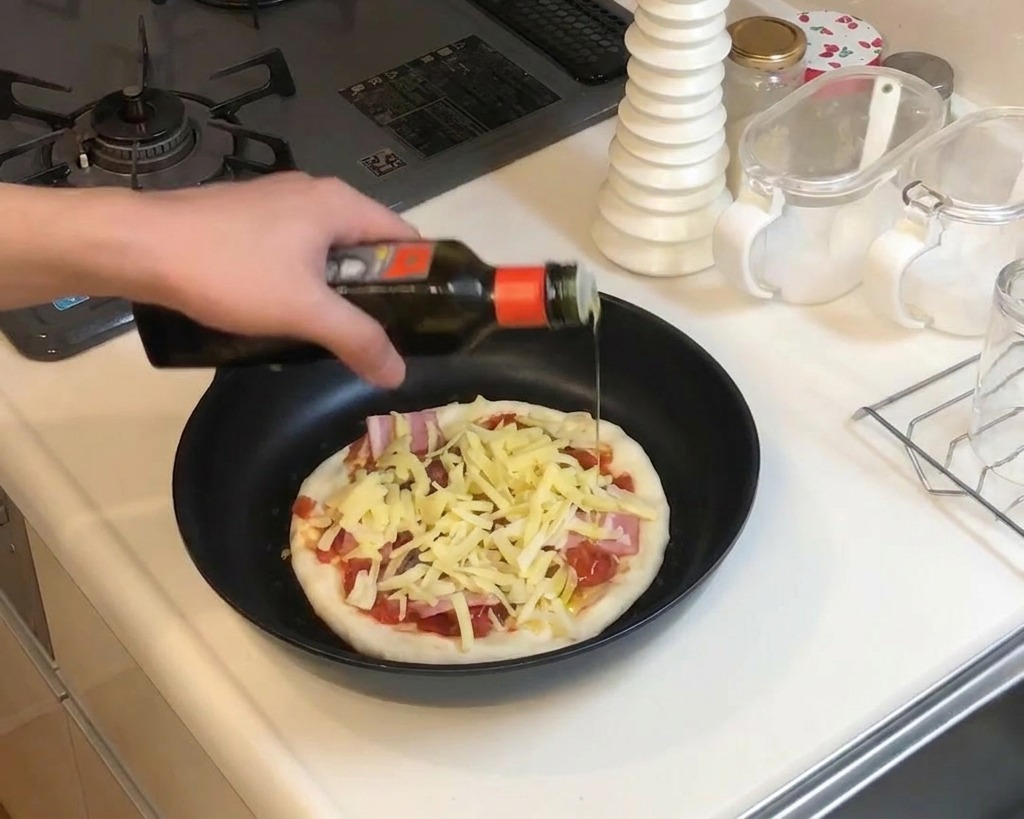
Drizzle a final layer of olive oil over the cheese and toppings. Cover the pan with a tight-fitting lid and simmer over medium-low heat until the dough is fully cooked, the base is crispy, and the cheese is melted.
Tip: Use a high-quality extra virgin olive oil for this step to maximize the fragrance and flavor profile of the finished pizza.