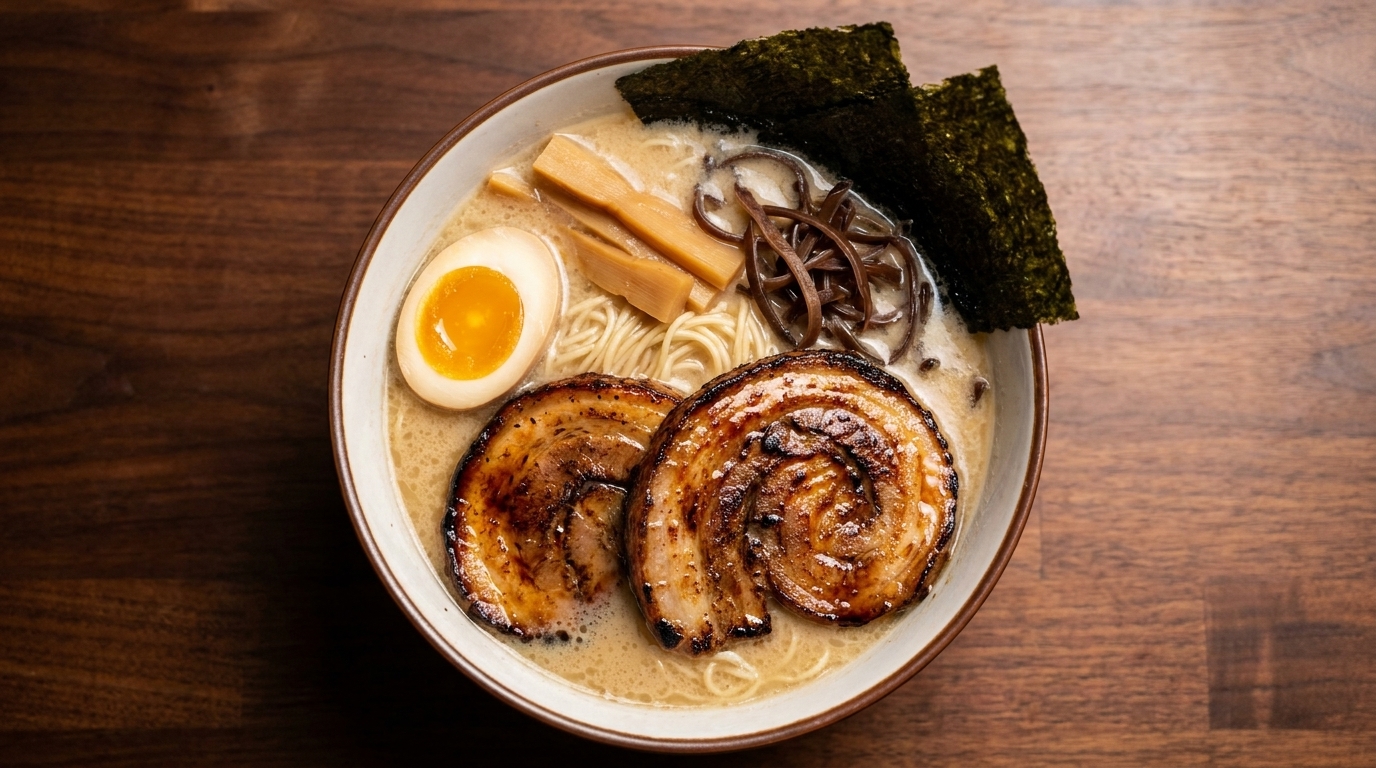
Authentic Japanese Chashu Pork
Tonkotsu Ramen
Master the art of melt-in-your-mouth Japanese Chashu pork belly, served in a rich, creamy Tonkotsu broth with perfectly jammy soy-marinated eggs.
Chashu is the heart of any great bowl of ramen, derived from the Chinese char siu but evolved into a tender, braised delicacy. This recipe pairs succulent, torched pork belly with a velvety Tonkotsu soup base, creating the ultimate comfort meal that rivals any ramen shop. The slow-simmered pork becomes impossibly tender, absorbing a deep savory-sweet glaze.
Ingredients
- 1 kg pork belly slab
- 2 green onions
- 30 g ginger
- 100 ml mirin
- 100 ml sake or cooking wine
- 150 ml light soy sauce
- 1 tsp garlic powder
- 50 g rock sugar
- 4 soft-boiled eggs
- 4 servings ramen noodles
- 1.5 l Tonkotsu soup base
- 100 g bamboo shoots
- 50 g wood ear mushrooms
- 2 sheets nori seaweed
- to taste chili oil
- to taste white sesame seeds
Instructions
- 1Prepare and trim the pork belly
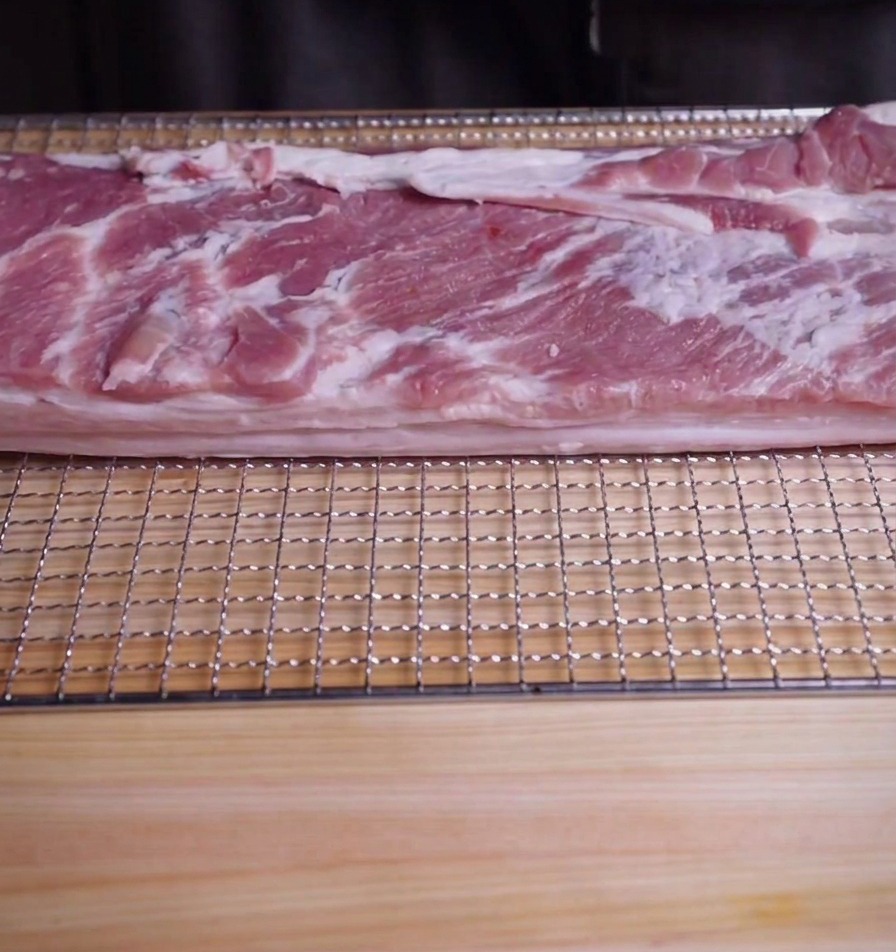
Place a fresh, whole slab of pork belly on a wire rack over your workspace. Use a sharp knife to carefully trim away any excess hanging bits of meat or uneven edges. Creating a clean, rectangular shape at this stage ensures that the pork will roll up tightly and cook uniformly later in the process.
Tip: Chilling the pork belly in the freezer for 15-20 minutes before trimming makes the fat firmer and much easier to slice through cleanly. - 2Tenderize for better flavor absorption
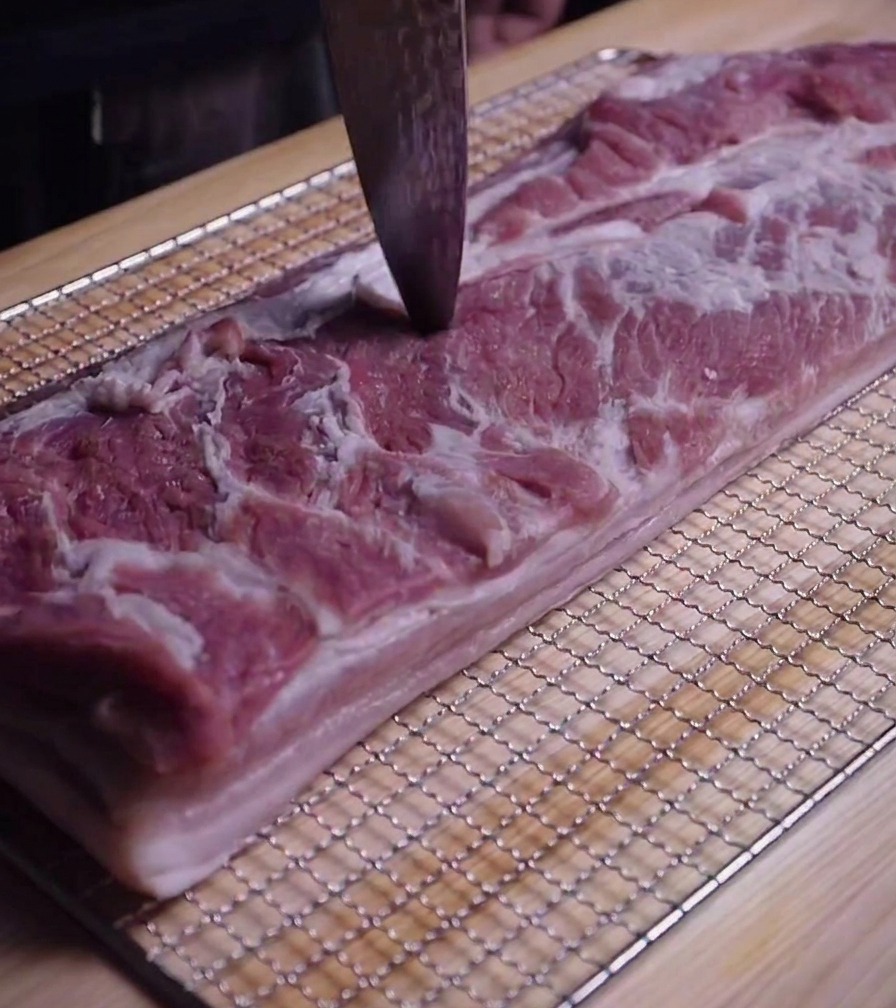
Take the tip of a sharp knife and poke numerous small holes across the entire surface of the pork belly slab. This simple step serves two purposes: it helps break down tough connective tissues and creates small channels that allow the savory braising liquid to penetrate deep into the meat during the long simmer.
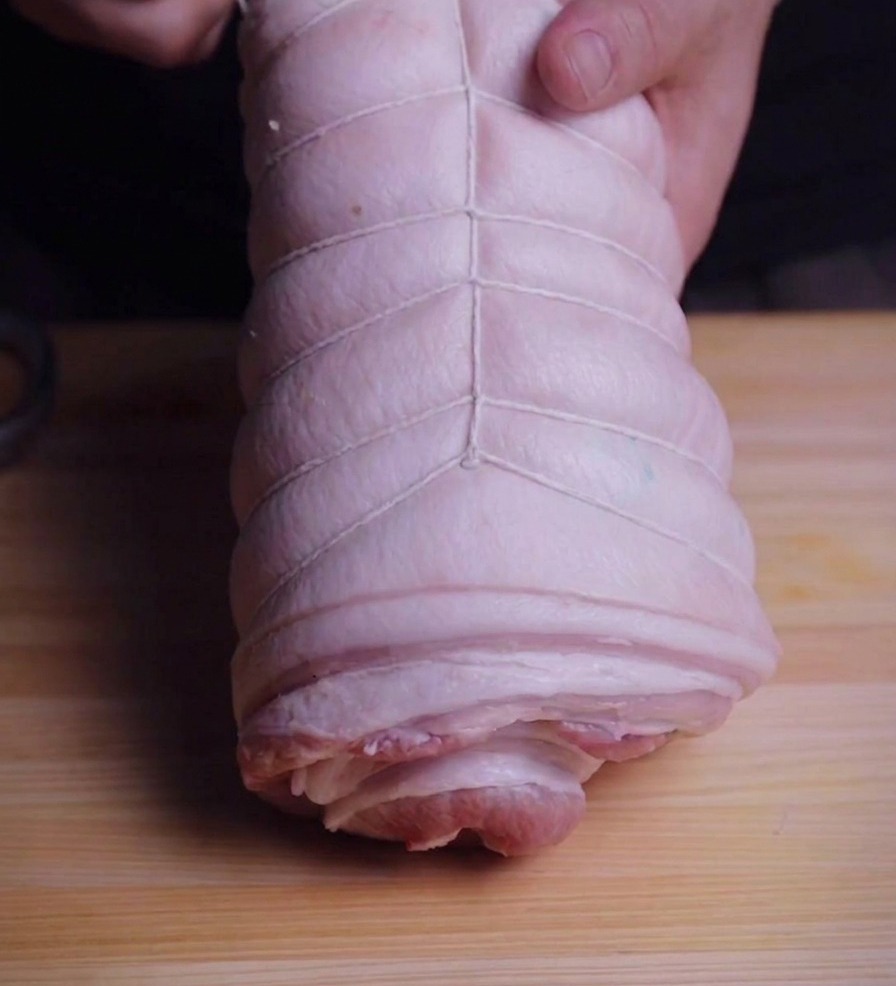
Tip: Try to poke holes through the skin and fat layers as well, as this helps the fat render out more effectively during cooking. - 3Roll the pork belly
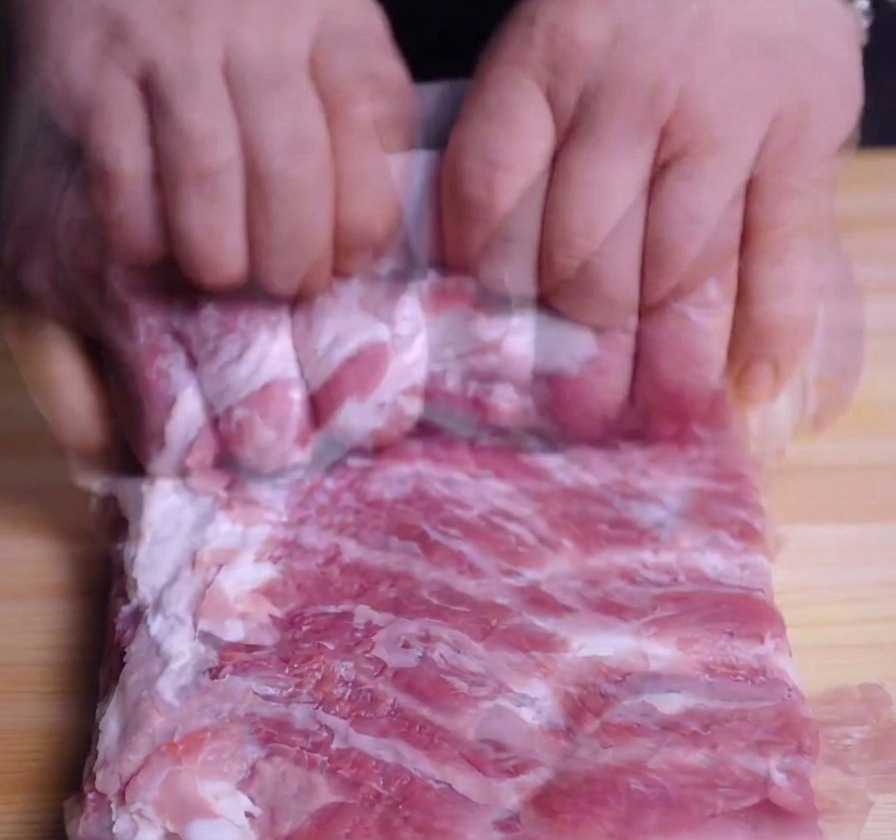
Take the long, trimmed piece of pork belly and roll it tightly into a uniform cylindrical log. Ensuring the roll is compact is essential for the meat to maintain its classic circular shape and cook evenly during the long simmering process.
Tip: Roll as tightly as possible to prevent gaps; if the meat is too thick to roll easily, trim a little meat from the inside surface first. - 4Secure the pork roll with twine
After rolling the pork belly into a tight cylinder, use food-grade kitchen twine to tie it securely. Wrap the string in a crisscross or spiral pattern along the entire length of the roll. Tying it tightly is essential to maintain the round shape and ensure the meat doesnt unroll or lose its form while simmering in the pot.
Tip: Keep the knots evenly spaced about an inch apart to ensure the roll has a consistent thickness for perfect circular slices later. - 5Transfer the pork to the cooking pot
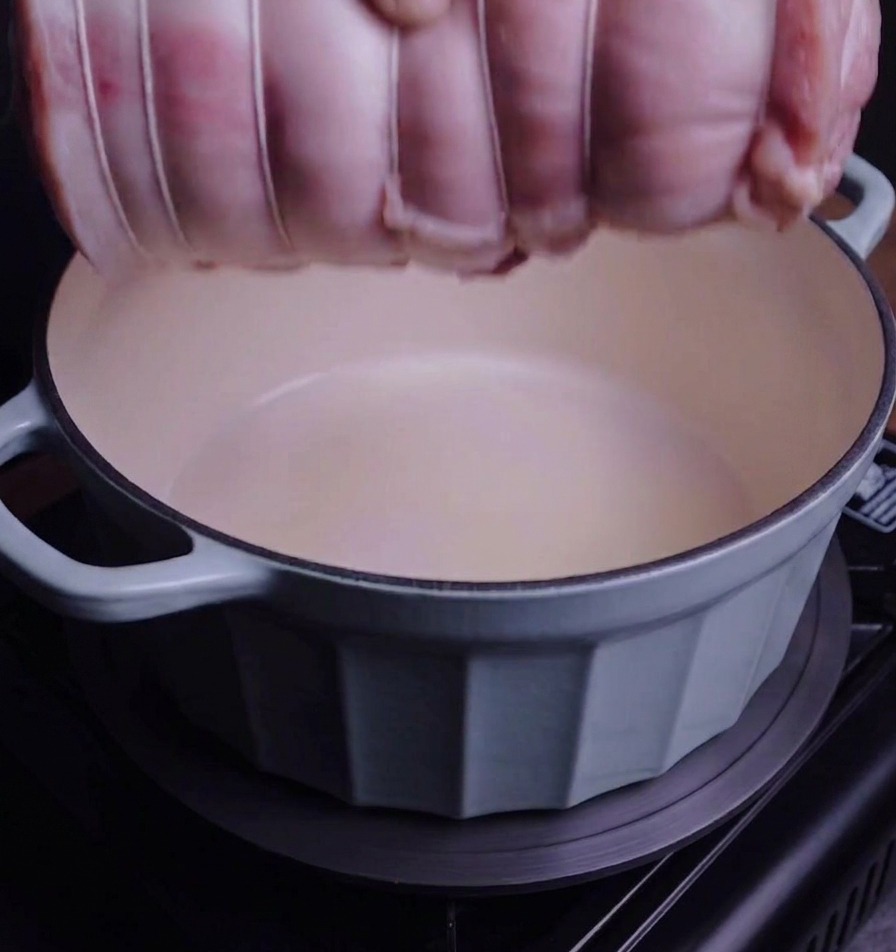
Carefully place the tied pork roll into a heavy-bottomed enamel pot. Using a heavy pot like this helps distribute heat evenly and the heavy lid will lock in moisture. If you prefer a deeper flavor, you can briefly sear the outside of the pork roll in a little oil until golden brown before adding your liquids.
Tip: Ensure the pot is large enough for the pork roll to lie flat on the bottom without touching the sides too tightly, allowing room for the aromatics. - 6Add aromatics and braising liquid
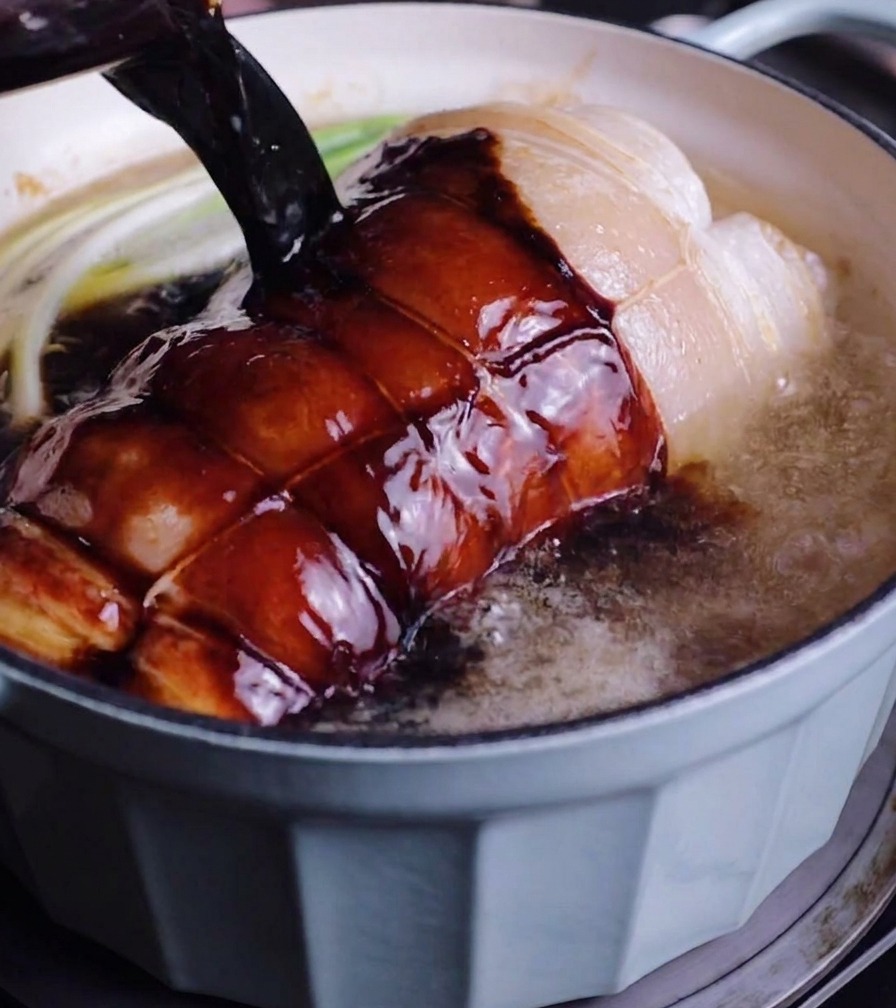
Add fresh scallions and sliced ginger to the pot around the pork. Pour in the dark soy sauce, mirin, and cooking wine, then add the garlic powder and rock sugar. These ingredients create the signature sweet and savory base that defines authentic Japanese Chashu, infusing the meat with a rich mahogany color.
Tip: The rock sugar provides a gentler sweetness and a glossier finish to the sauce than standard granulated white sugar. - 7Cover and simmer the pork
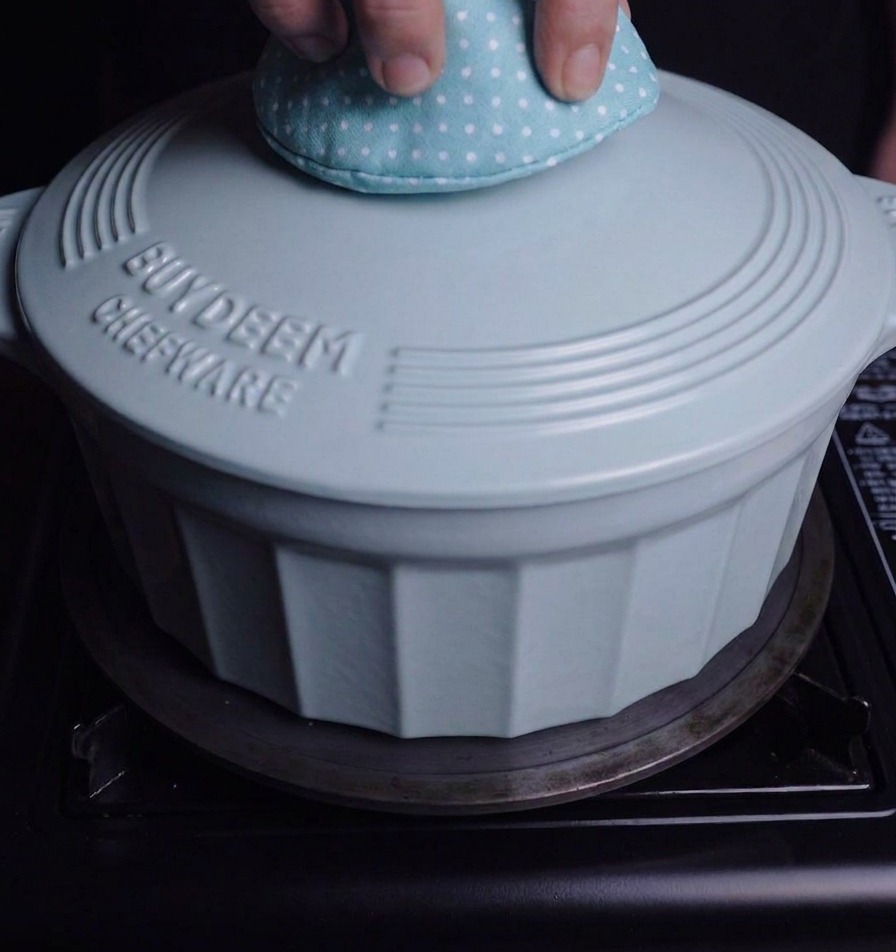
Place the heavy lid on the pot to begin the simmering process. Cook the pork roll on low heat for approximately 60 minutes, remembering to flip it halfway through. The enamel pots design helps lock in heat and moisture, which is essential for making the meat tender while shortening the total cooking time.
Tip: Using a heavy lid creates a self-basting environment that keeps the pork belly moist and ensures the braising liquid penetrates deep into the meat. - 8Marinate with eggs
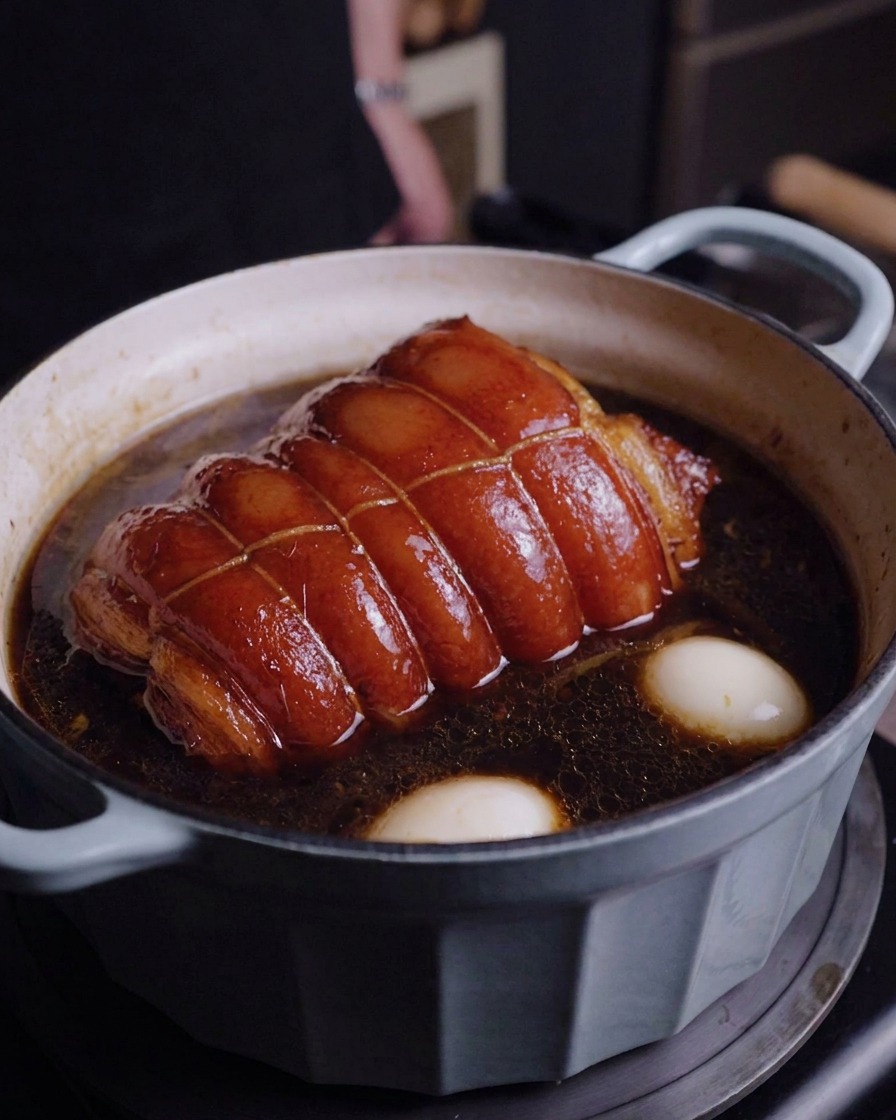
Once the braised pork has cooled to room temperature, add the peeled soft-boiled eggs into the pot with the meat and sauce. Refrigerate the pot overnight to allow the flavors to penetrate both the pork and the eggs.
Tip: For the most intense flavor and a beautiful dark exterior on the eggs, let the pot sit in the refrigerator overnight. - 9Slice the chashu
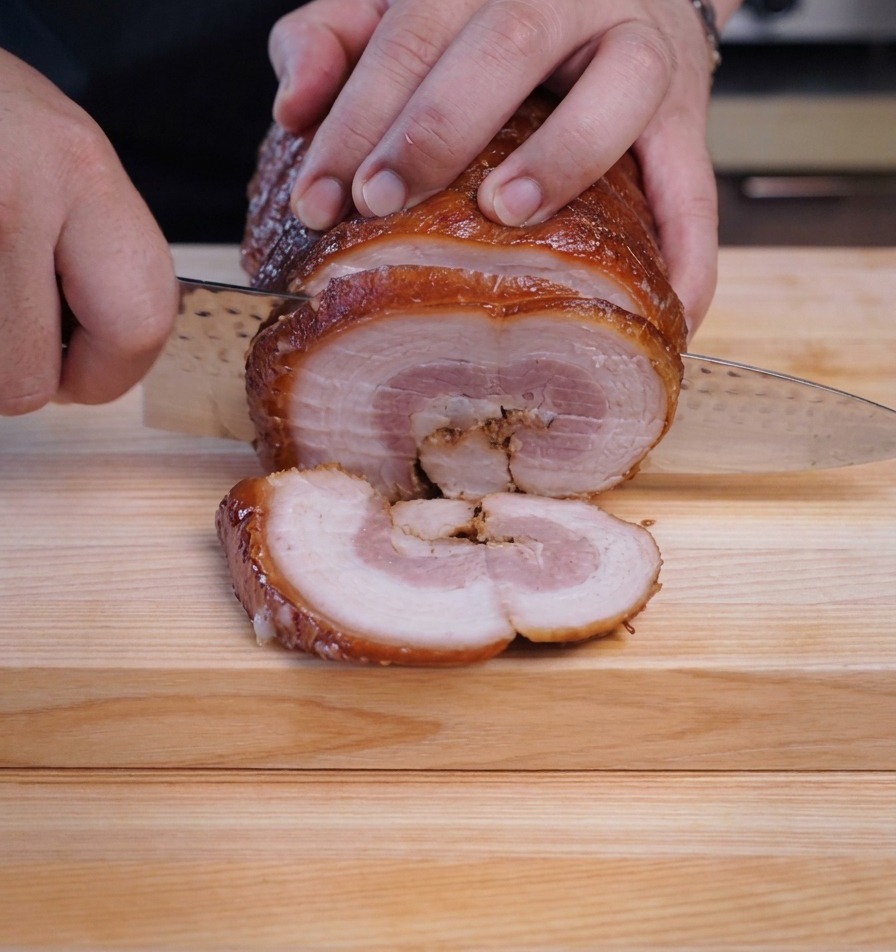
Remove the chilled pork roll from the marinade and carefully snip away the kitchen twine. Use a sharp knife to cut the log into thick, uniform circular slices. Chilling the meat overnight makes it much easier to achieve clean, professional-looking slices.
Tip: Use a gentle sawing motion with your knife to prevent squishing the tender interior of the pork roll. - 10Torch the surface
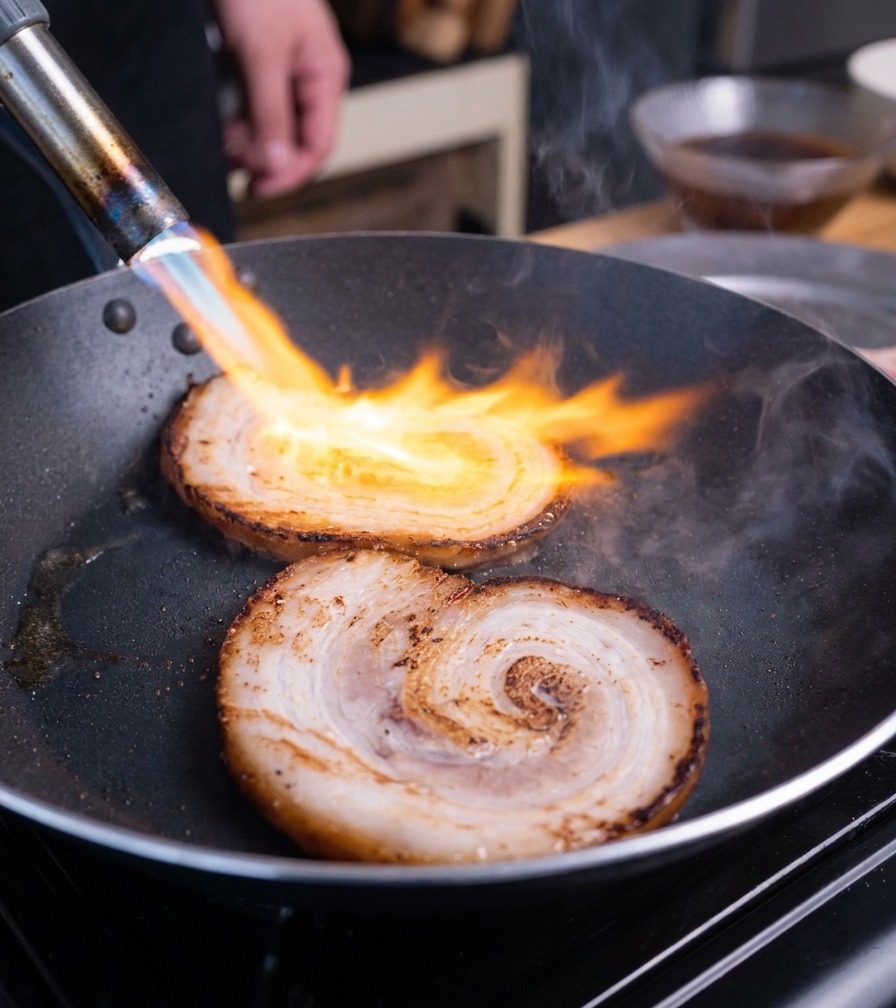
Place the pork slices in a pan and use a kitchen torch to flame the surface until it is lightly charred and bubbling. This process enhances the Maillard reaction, adding a smoky aroma and a savory depth to the finished dish.
Tip: Keep the torch moving constantly to achieve an even char without burning the meat. - 11Glaze the Chashu slices
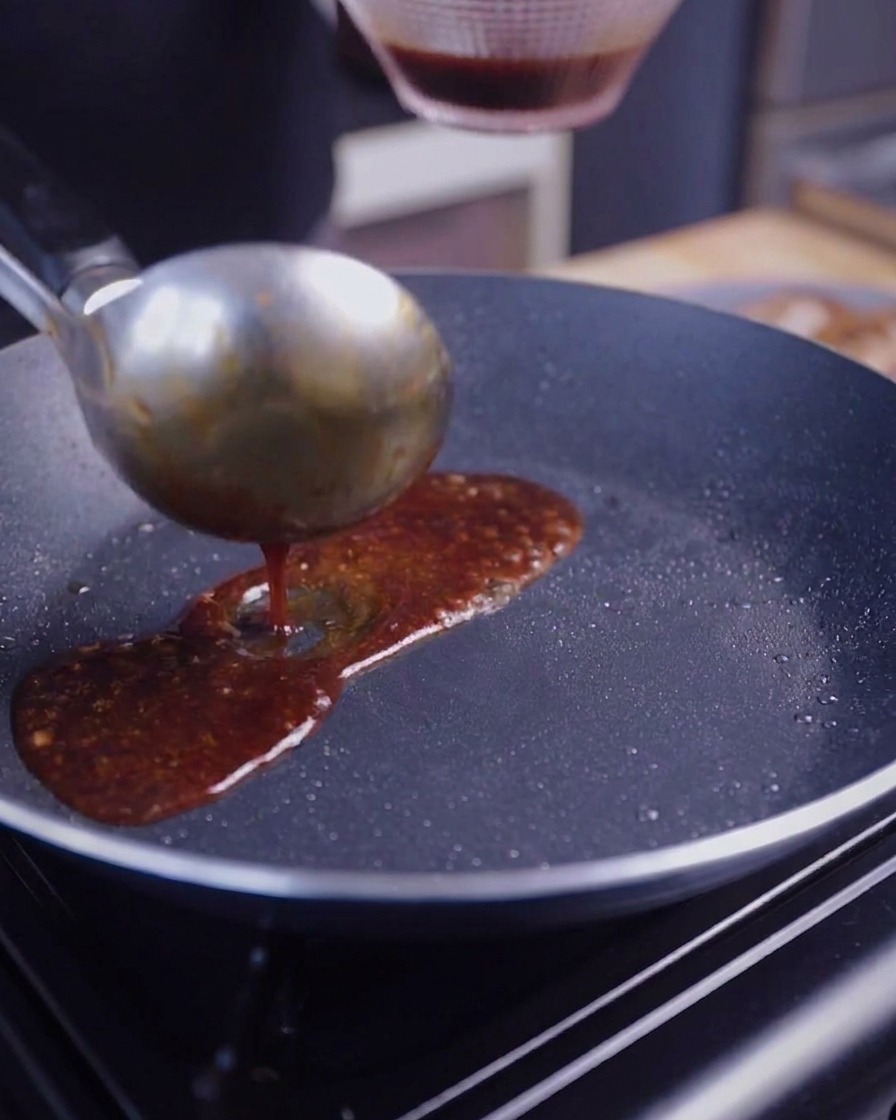
After pan-frying or torching the Chashu slices to enhance the Maillard reaction, thicken the remaining braising liquid over high heat until it reaches a syrupy consistency. Use a ladle to pour this rich, savory sauce over the meat for a glossy and flavorful finish.
Tip: Reducing the sauce concentrates the flavors of the soy sauce and rock sugar, providing a perfect sweet-and-savory balance for the pork. - 12Add noodles to the broth
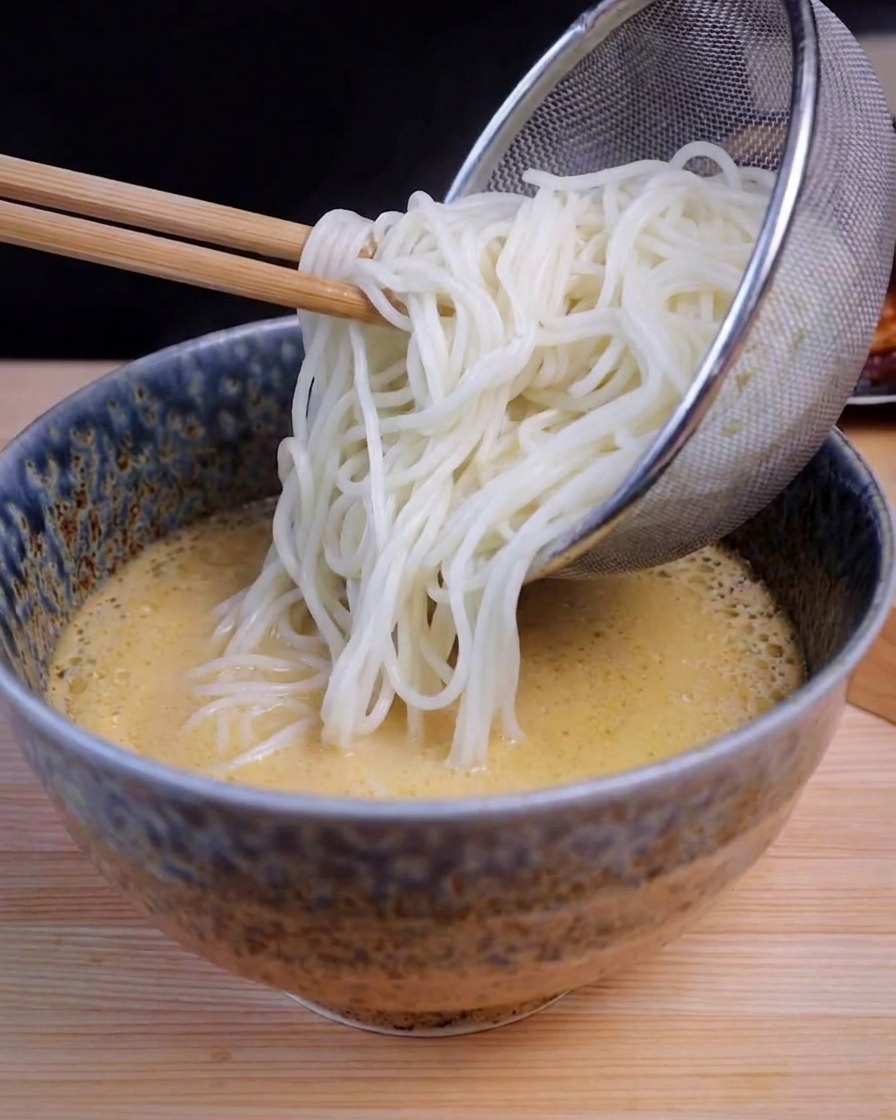
Carefully transfer the cooked white ramen noodles from the mesh strainer into the bowl filled with hot Tonkotsu soup base. Ensure the noodles are well-drained to prevent any excess water from diluting the rich, creamy texture of the soup.
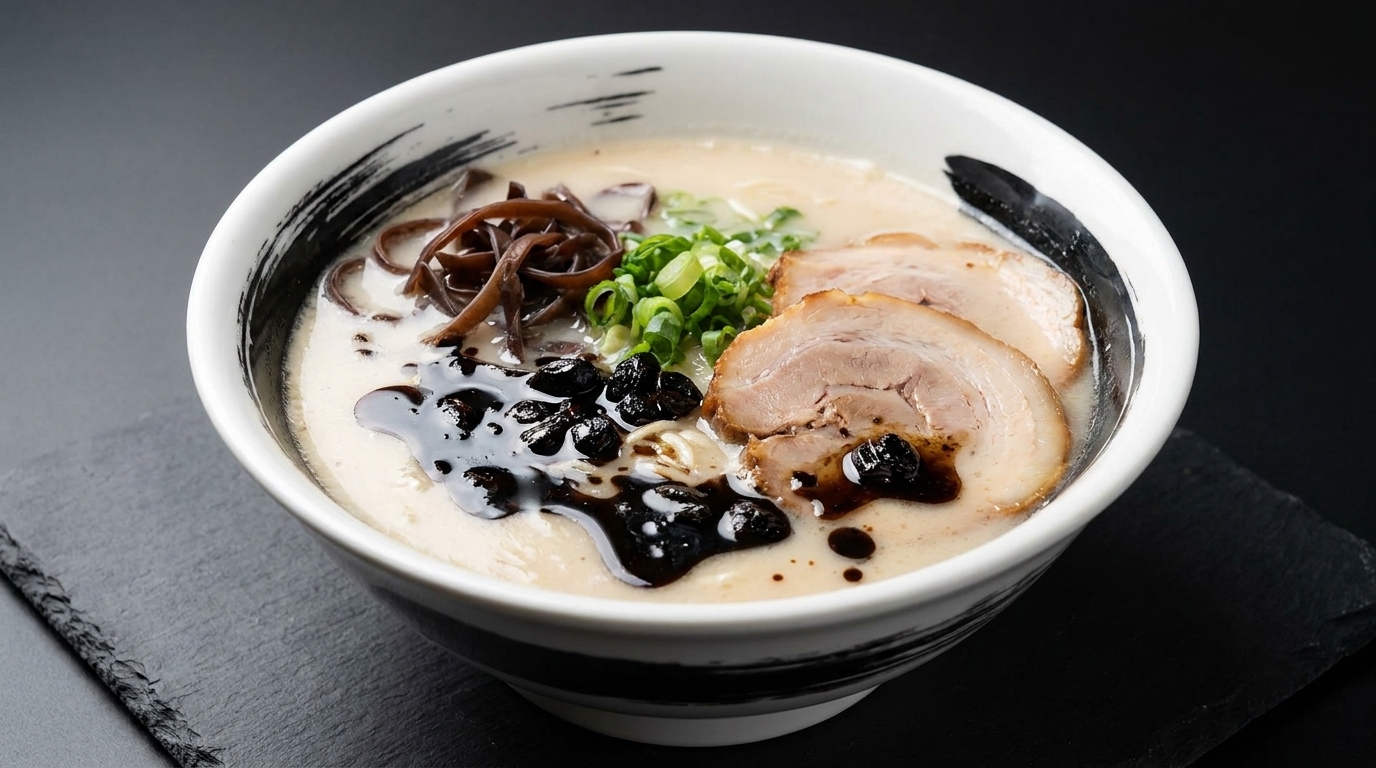
Tip: Give the strainer a few firm shakes to remove all residual cooking water before adding the noodles to the bowl. - 13Top with Chashu pork
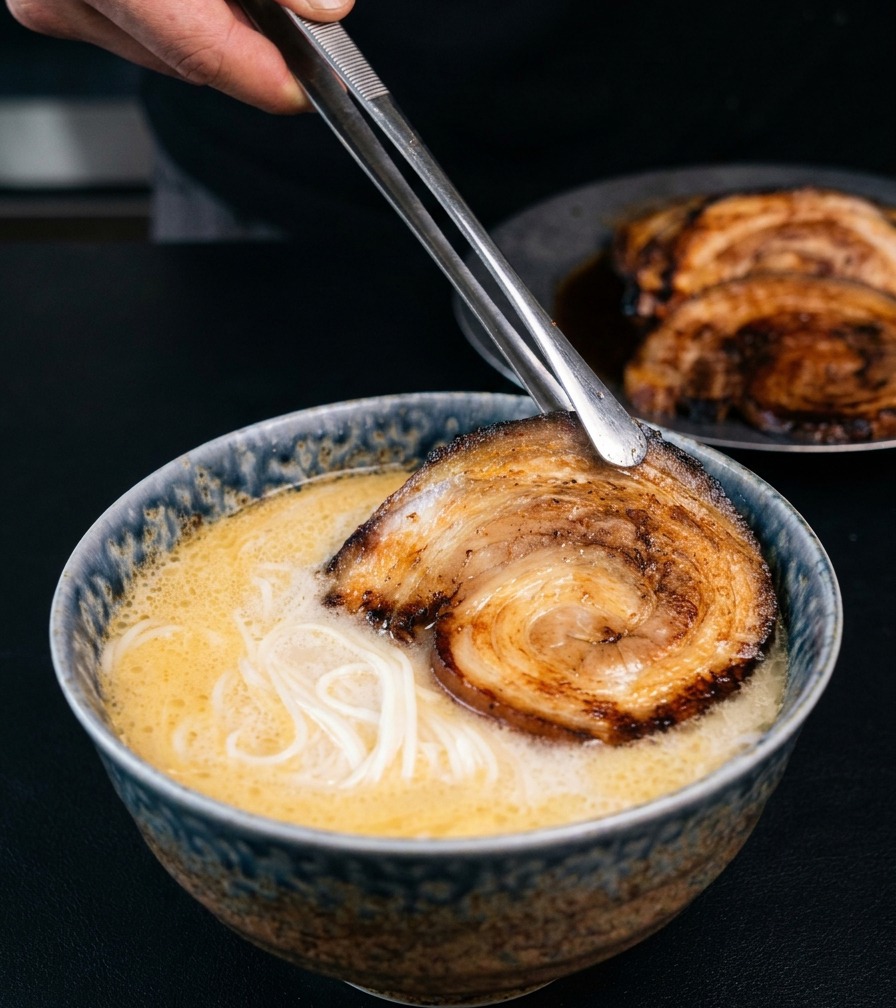
Using metal tongs or chopsticks, carefully place two large slices of the seared Chashu pork belly onto the noodles. The slight char on the meat will release a smoky aroma into the hot Tonkotsu broth as it sits.
Tip: Placing the meat on one side of the bowl leaves space for the other garnishes and makes for a more professional presentation. - 14Add the finishing toppings
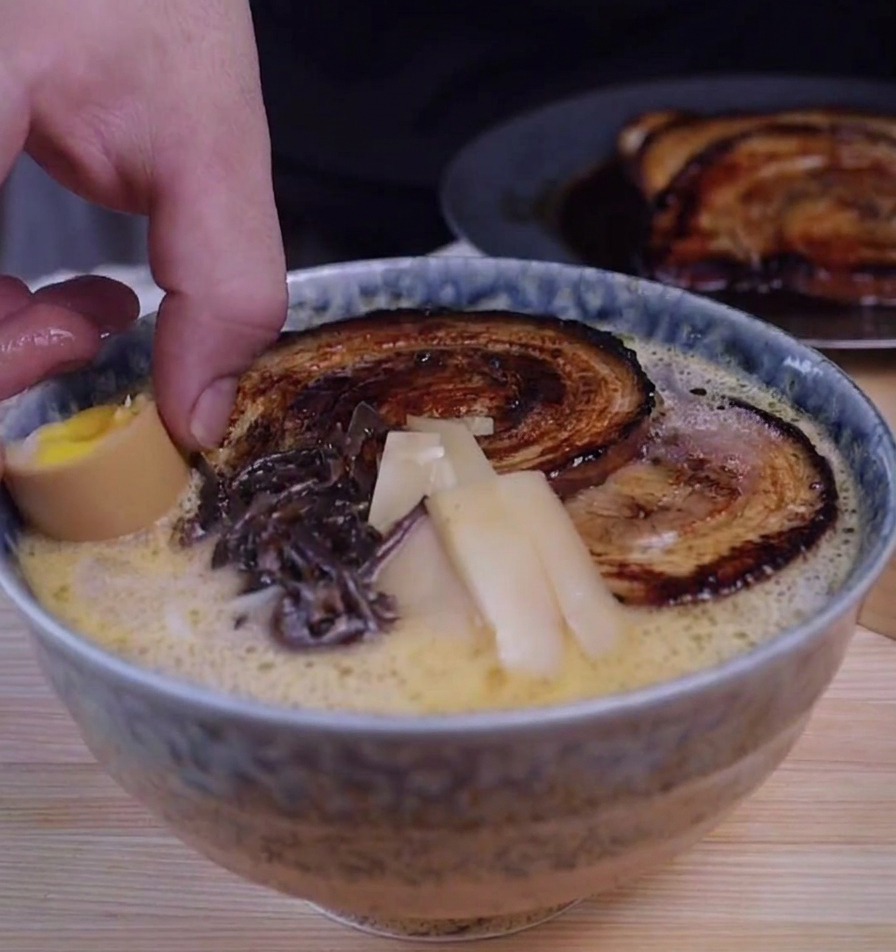
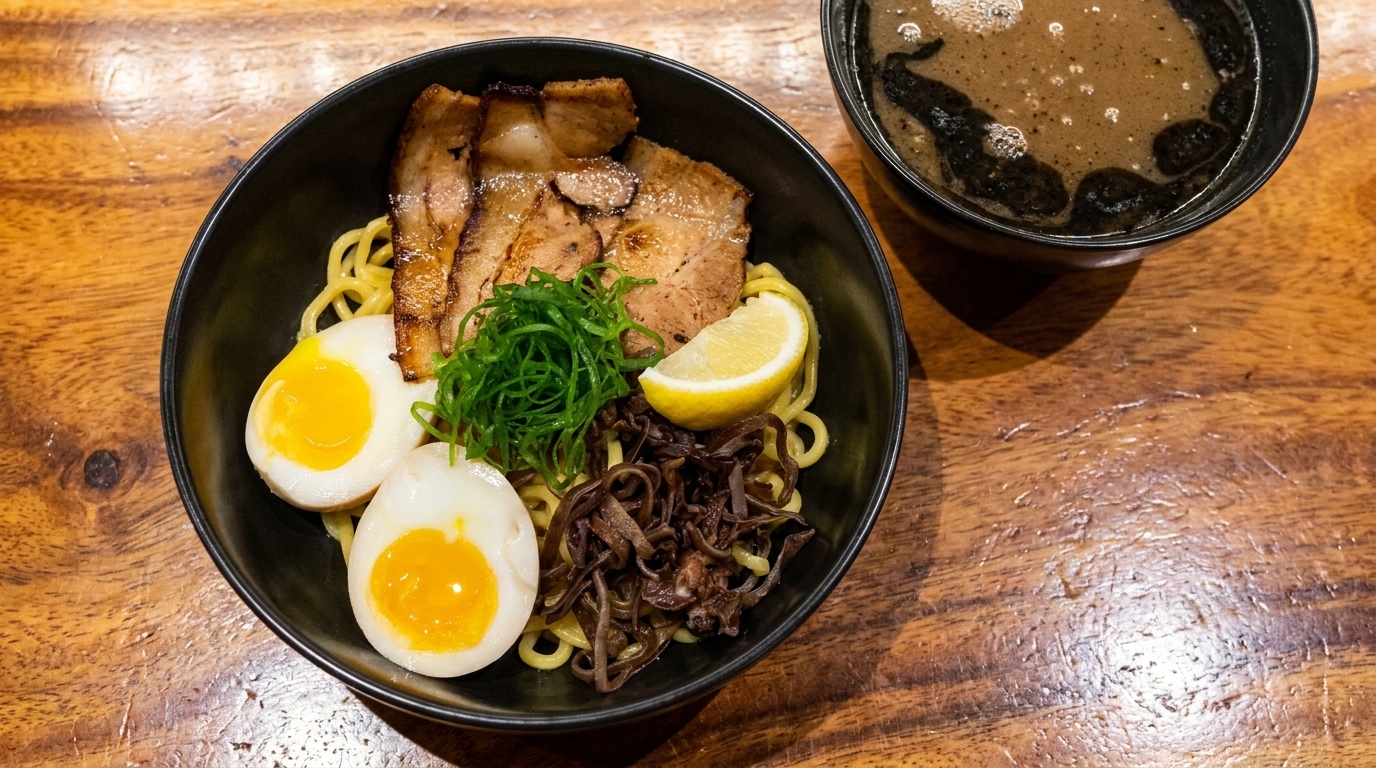
Carefully place the soft-boiled egg halves and marinated bamboo shoots onto the surface of the ramen. These toppings, along with the wood ear mushrooms and charred chashu, complete the traditional assembly and provide a variety of textures that complement the rich tonkotsu broth.
Tip: For the best flavor and presentation, marinate your soft-boiled eggs in the braising liquid overnight. This allows the seasoning to penetrate the whites and gives them a beautiful, appetizing color.