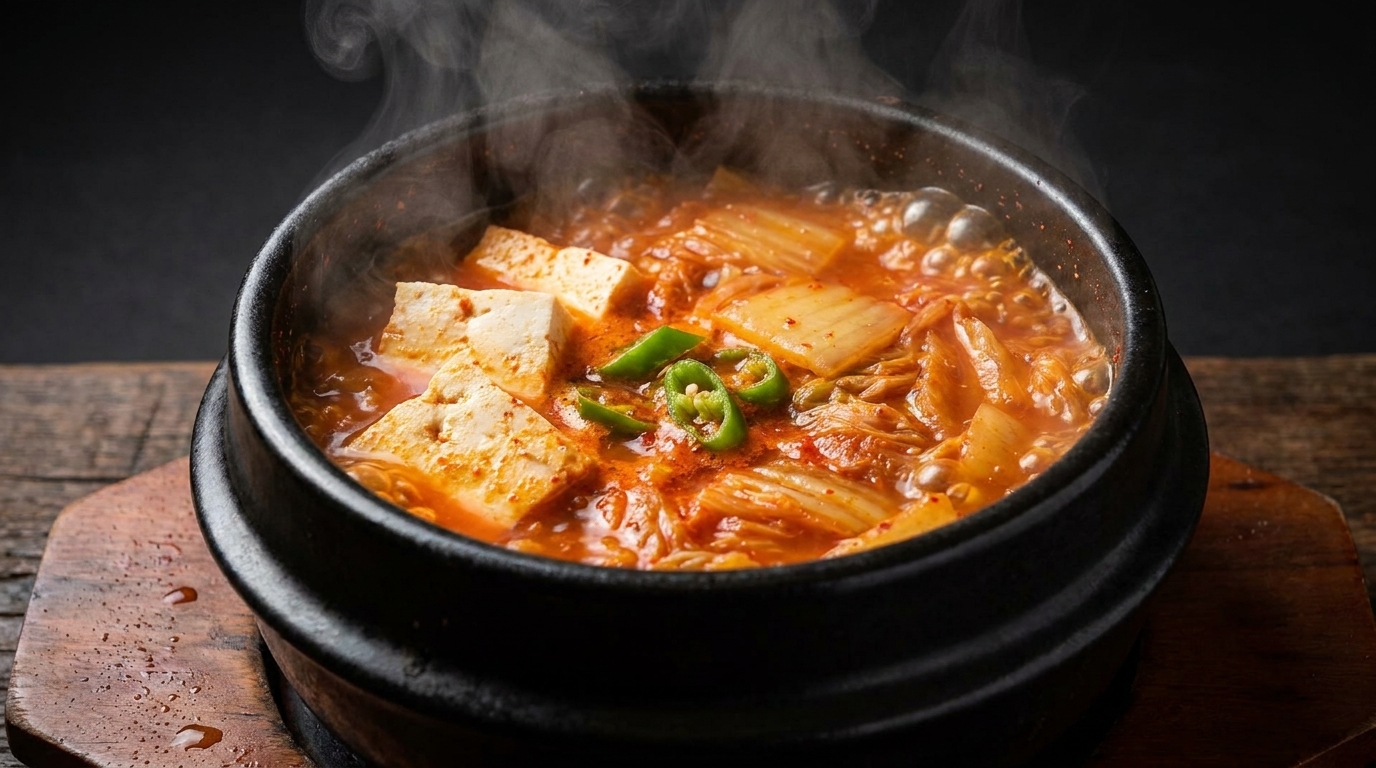
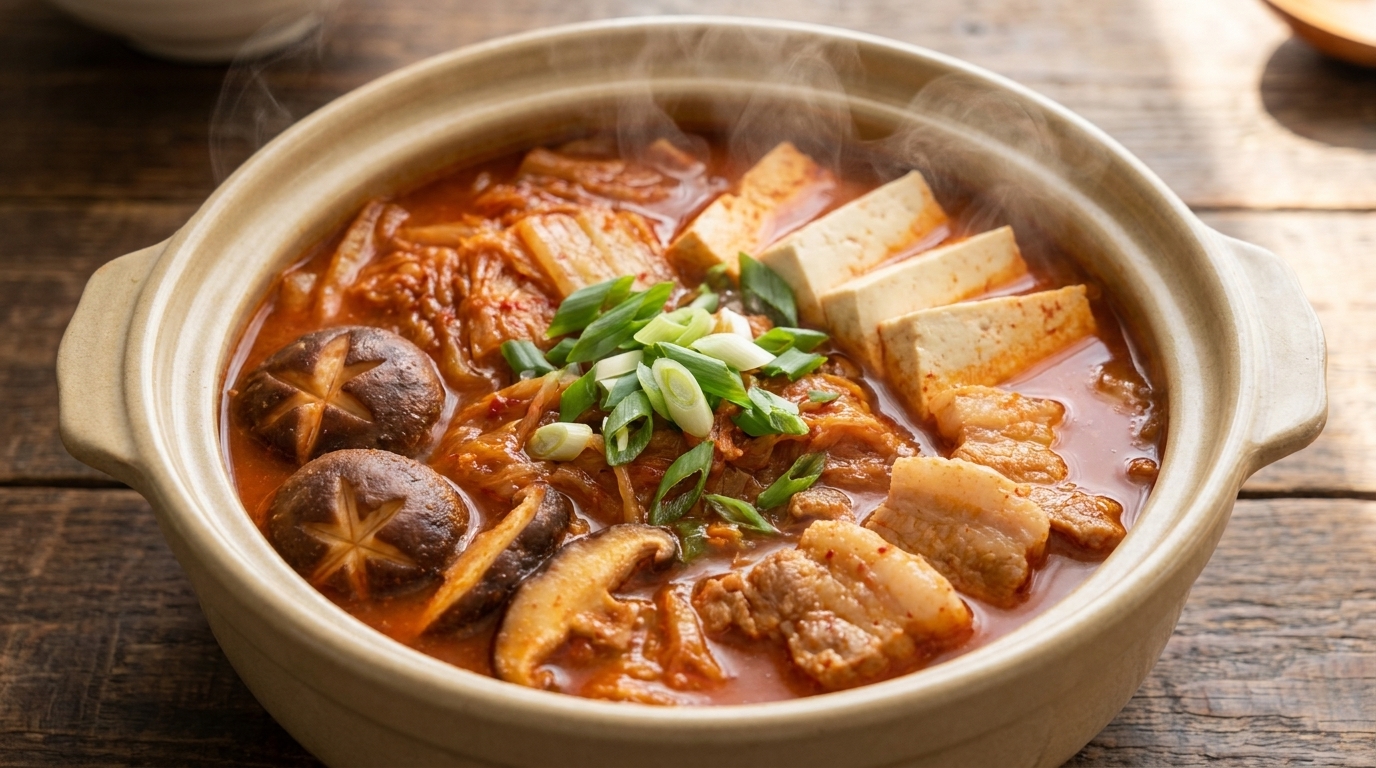
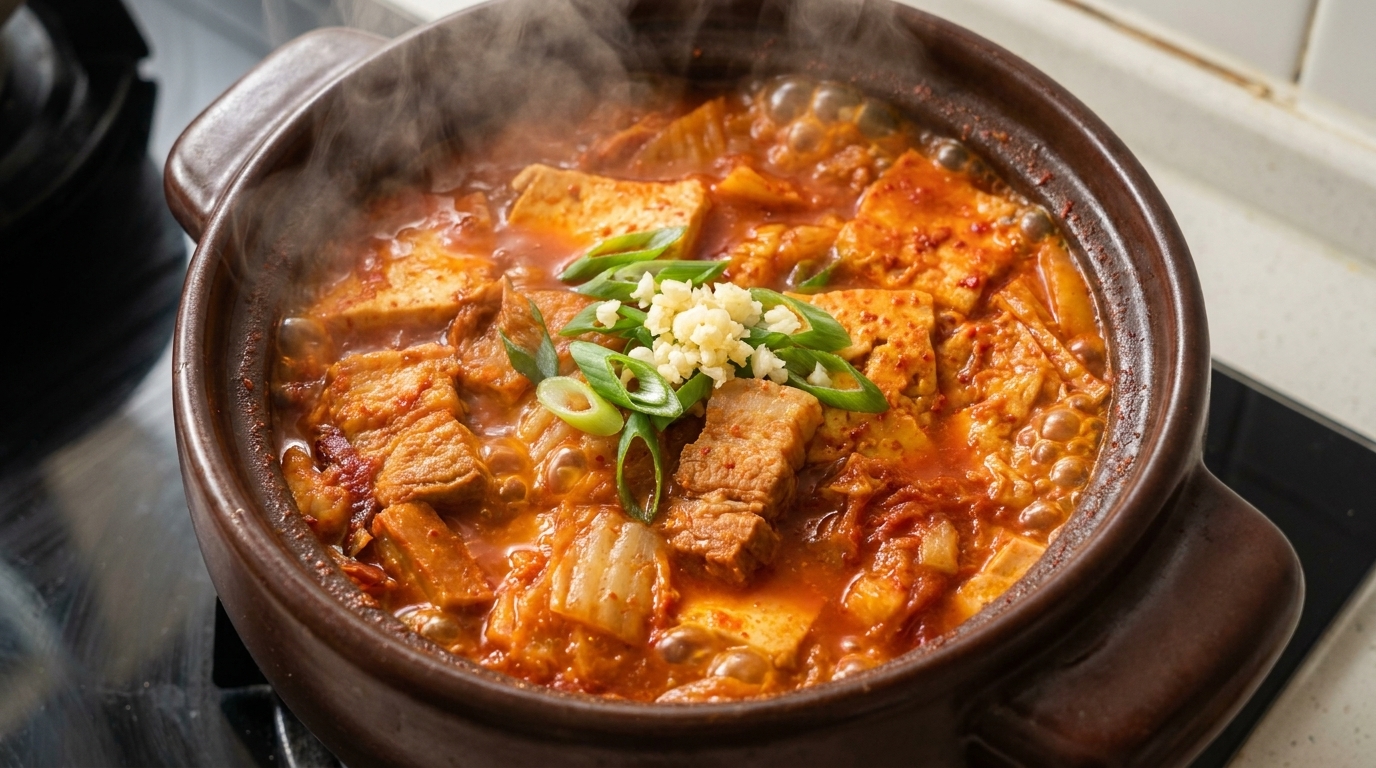
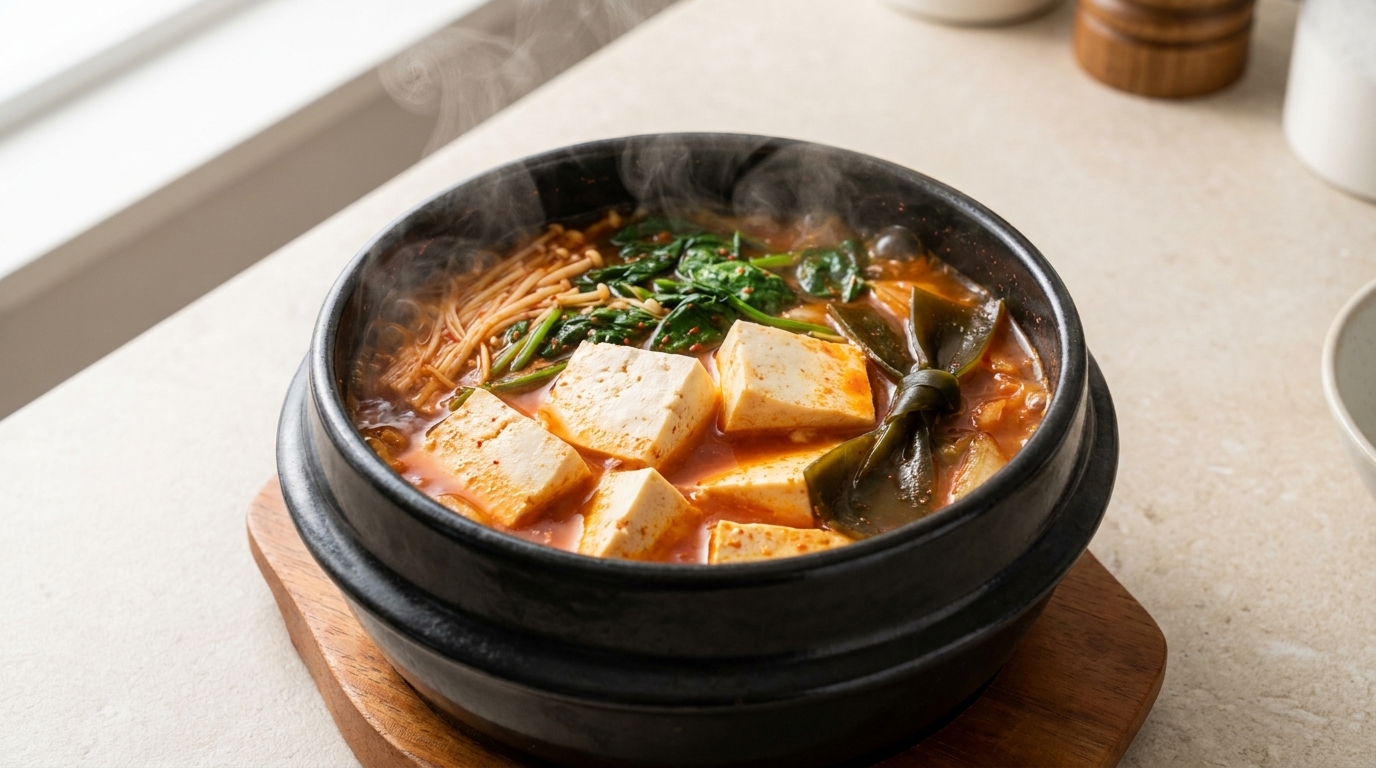
Pork Belly Aged Kimchi Jjim (Braised Kimchi
Whole Pork)
A soul-warming Korean classic featuring whole slabs of succulent pork belly braised with deeply fermented aged kimchi in a rich, spicy, and savory broth.
Kimchi Jjim is the ultimate comfort food in Korean cuisine, celebrated for its complex depth and melt-in-the-mouth textures. The secret lies in using mukeunji—kimchi aged for at least six months—which develops a unique tanginess that perfectly cuts through the richness of the pork belly. This slow-simmered dish transforms humble ingredients into a centerpiece of savory, sour, and spicy flavors.
Ingredients
- 500 g whole pork belly slabs
- 500 g aged kimchi (mukeunji)
- 1 cup kimchi juice
- 1 onion
- 1 tbsp minced garlic
- 50 ml refined rice wine (cheongju)
- 1 tbsp sugar
- 1 tbsp soy sauce
- 2–3 tbsp Korean red chili flakes (gochugaru)
- 0.5 tbsp soybean paste (doenjang)
- handful green onions
- to taste perilla oil or sesame oil
Instructions
- 1Prepare the pork belly base
Thinly slice the onions and layer them at the bottom of a wide pan. Place the two large slabs of whole pork belly directly on top of the onions. This base ensures the meat doesnt stick to the pan while the onions release their natural sweetness into the meat as it cooks.
Tip: Using whole pork belly rather than pre-sliced pieces keeps the meat juicier during the long simmering process. - 2Add initial aromatics
Add one spoonful of minced garlic and one soju cups worth of refined rice wine over the pork belly. The rice wine is essential for removing any gamey smell from the pork, while the garlic provides a savory foundation for the stew.
Tip: If you dont have refined rice wine, you can substitute it with dry white wine or a bit of diluted cooking mirin. - 3Season the meat

Distribute the garlic and rice wine evenly across the surface of the pork belly. This ensures every part of the meat is seasoned and the wine can effectively neutralize any strong odors during the braising process.
Tip: If you do not have refined rice wine, mirin or a splash of dry white wine can serve as a suitable substitute. - 4Layer the aged kimchi
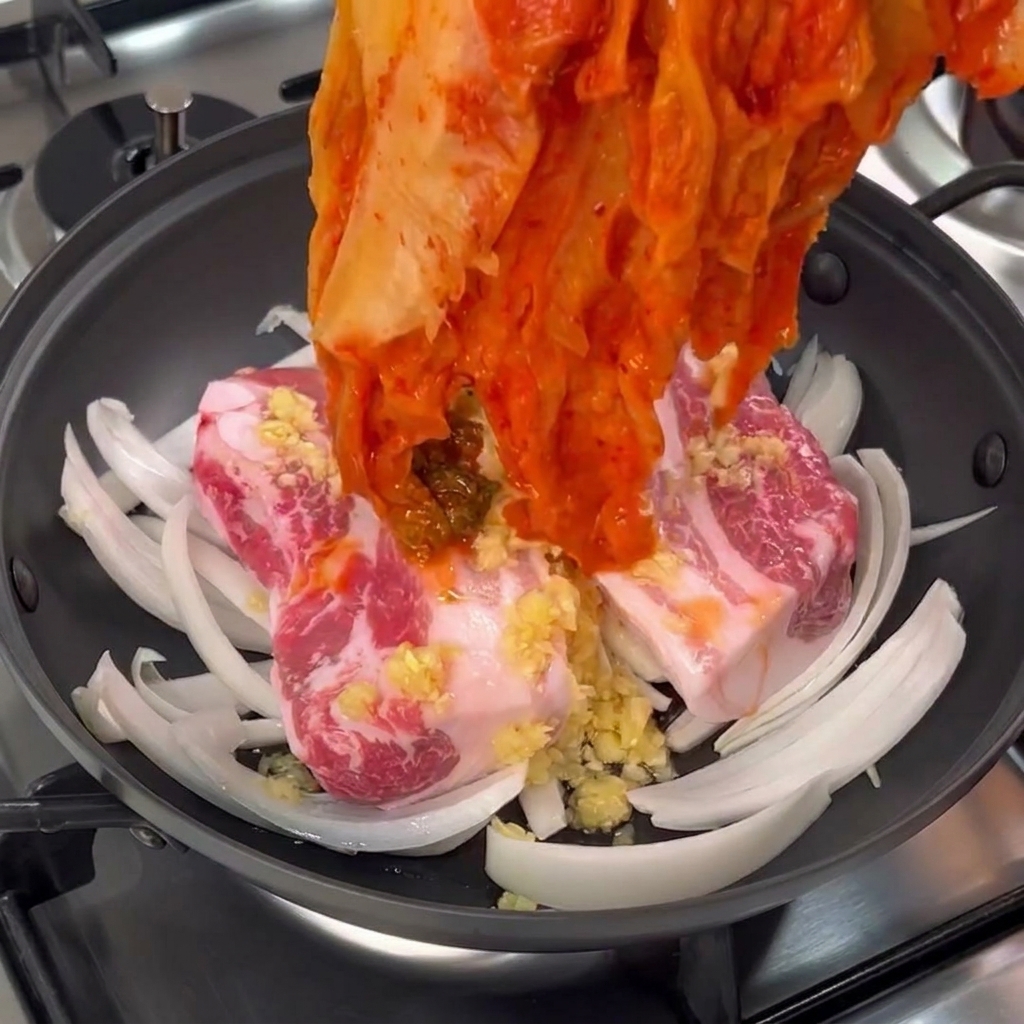
Place approximately 500 grams of whole aged kimchi directly on top of the pork belly slabs. Using well-fermented aged kimchi (mukeunji) is the secret to this dish, as it provides the intense, tangy foundation for the braising liquid.
Tip: Avoid washing the kimchi before use; the fermented seasoning on the leaves is packed with the flavor needed for the jjim. - 5Pour in the kimchi juice
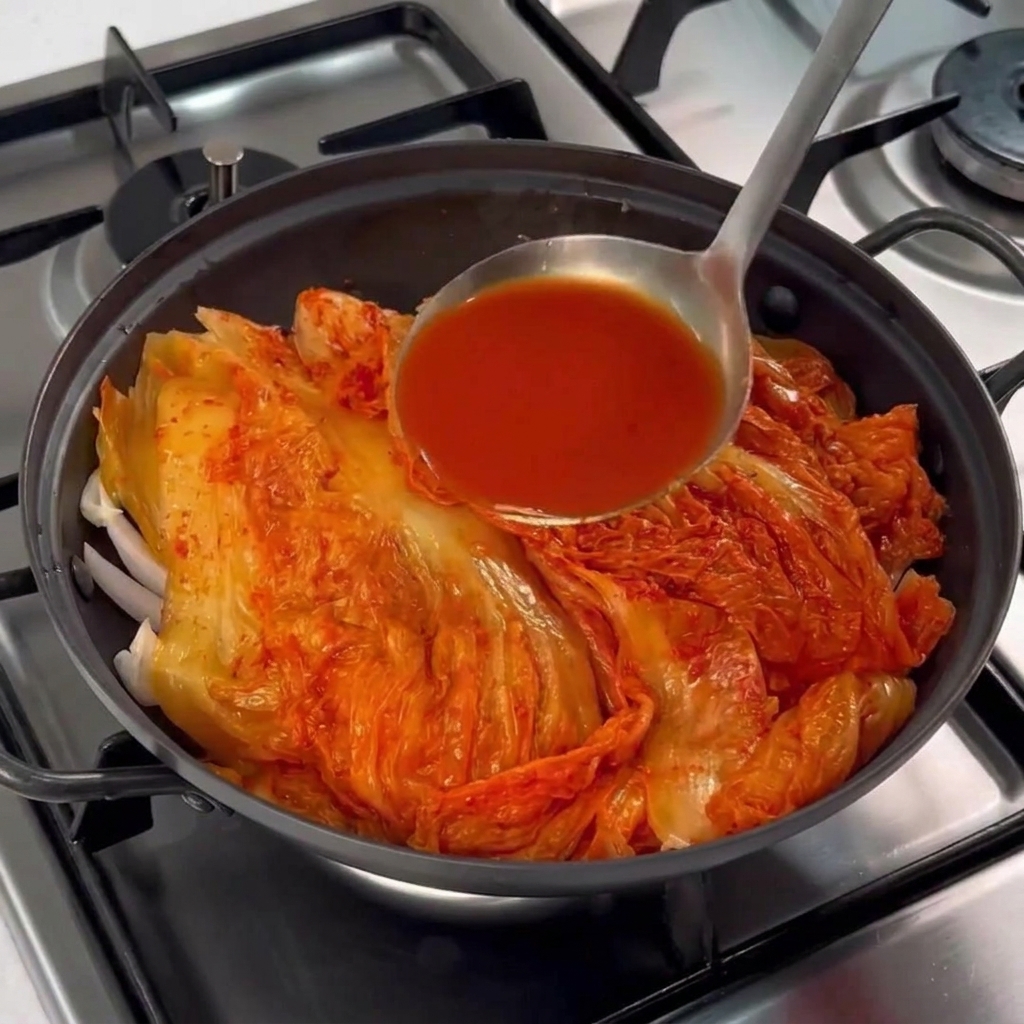
Add one ladle of the red kimchi juice from the container over the kimchi and meat. This juice contains concentrated spices and fermentation liquids that will help create a rich, savory broth as the dish simmers.
Tip: If your aged kimchi is exceptionally sour, you may want to add a bit more sugar later in the process to balance the acidity. - 6Season with sugar
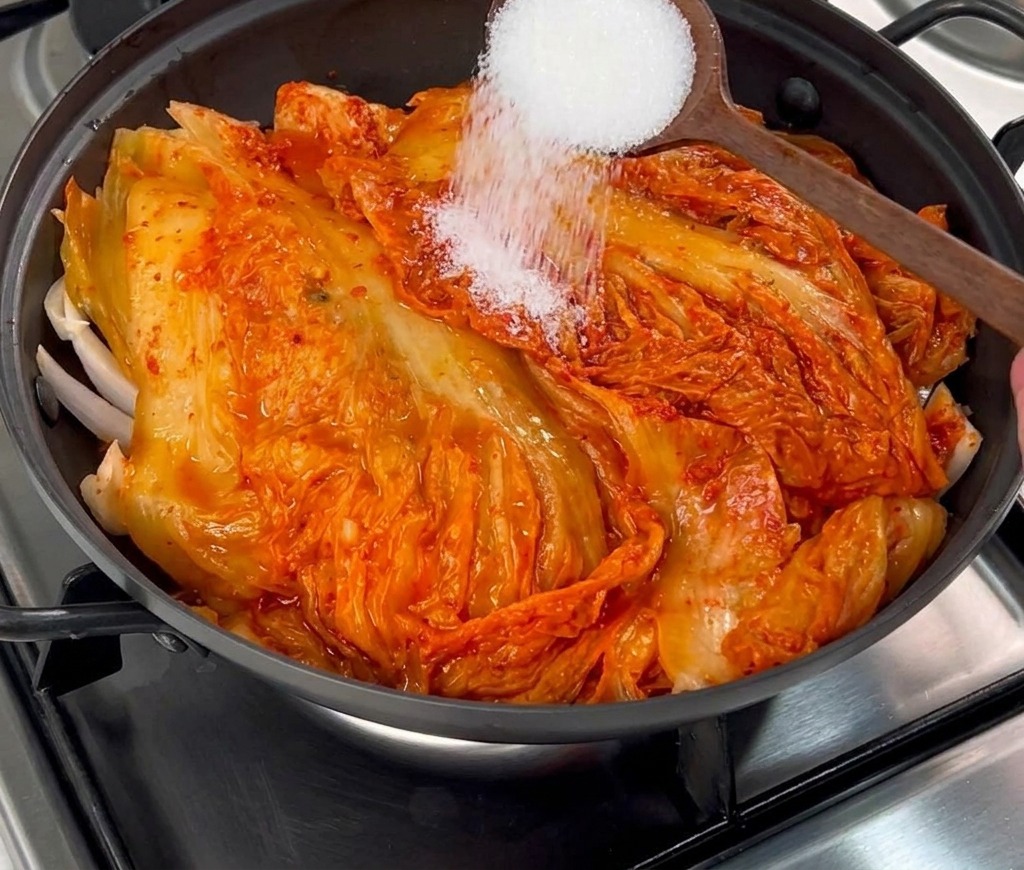
Sprinkle one spoonful of white granulated sugar over the layers of aged kimchi and pork belly. The sugar is essential as it balances the intense acidity of the fermented kimchi and helps harmonize the flavors of the dish.
Tip: The amount of sugar can be adjusted depending on the sourness of your aged kimchi; more fermented kimchi may require a bit more sugar. - 7Add soy sauce
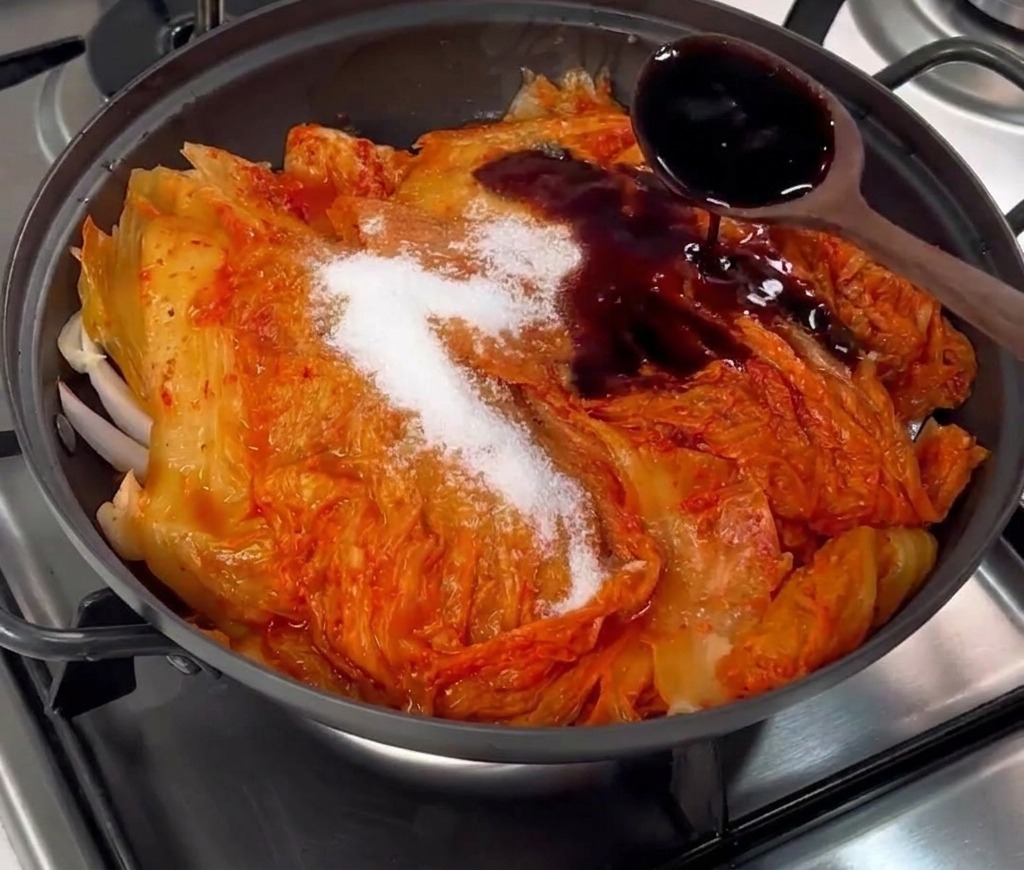
Pour some soy sauce into the pan along with the other seasonings. This provides a deep savory umami and the necessary saltiness to complement the fatty pork belly and the tartness of the kimchi.
Tip: Since kimchi and soybean paste are already salty, add the soy sauce gradually to suit your personal taste preferences. - 8Season with chili flakes
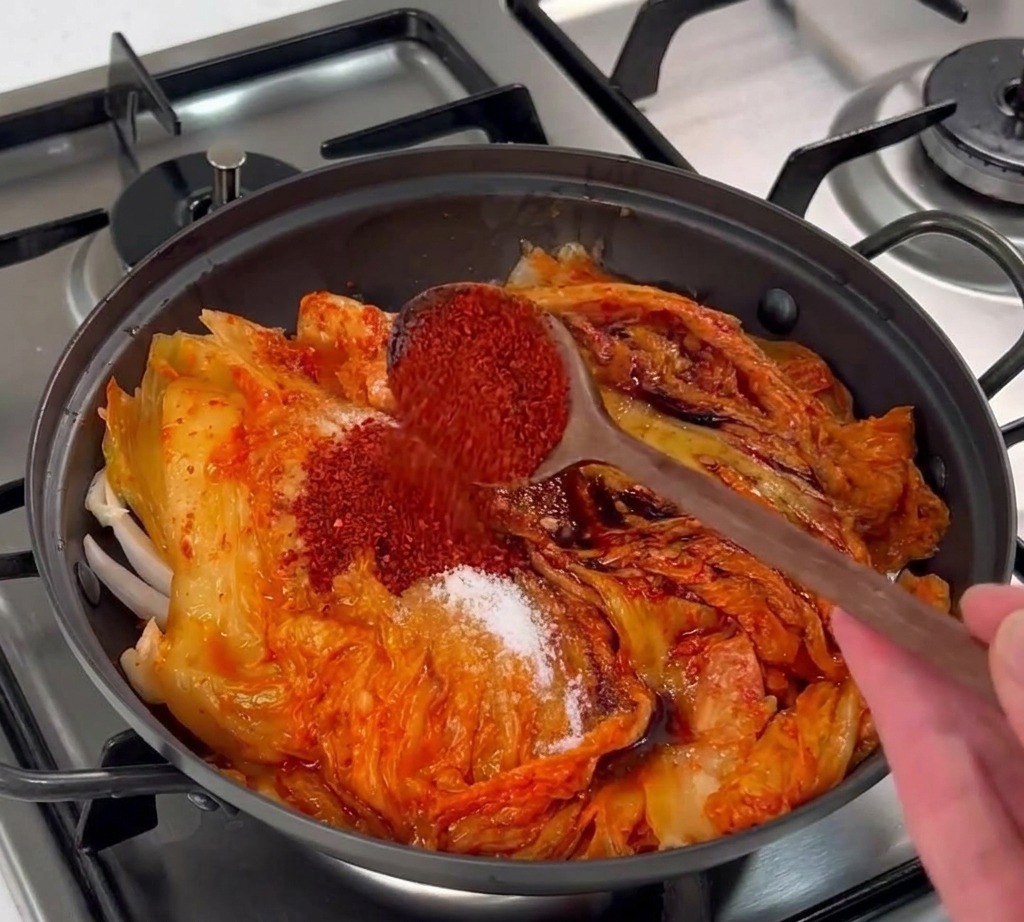
Add two to three spoons of red chili flakes (gochugaru) over the kimchi and pork. This provides the characteristic heat and vibrant red color to the jjim. You will also add a spoonful of sugar, soy sauce, and half a spoon of soybean paste at this stage to balance the acidity of the aged kimchi.
Tip: Adjust the amount of chili flakes based on your spice tolerance and the saltiness of your soybean paste. - 9Include soybean paste
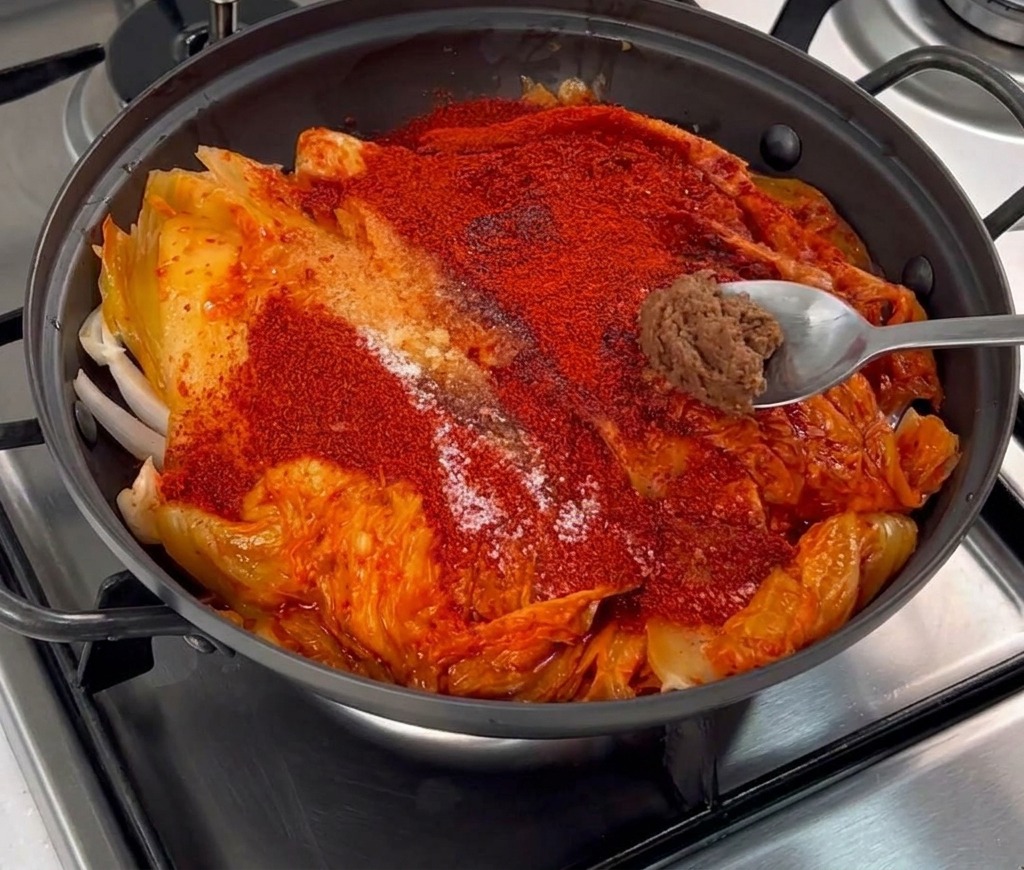
Add half a spoonful of soybean paste to the pan. This addition creates a rich fermented base that deepens the flavor profile of the stew beyond the heat of the chili flakes.
Tip: Be sure to spread the paste or stir it into the liquid later to ensure it does not clump in one spot. - 10Add water to the pot
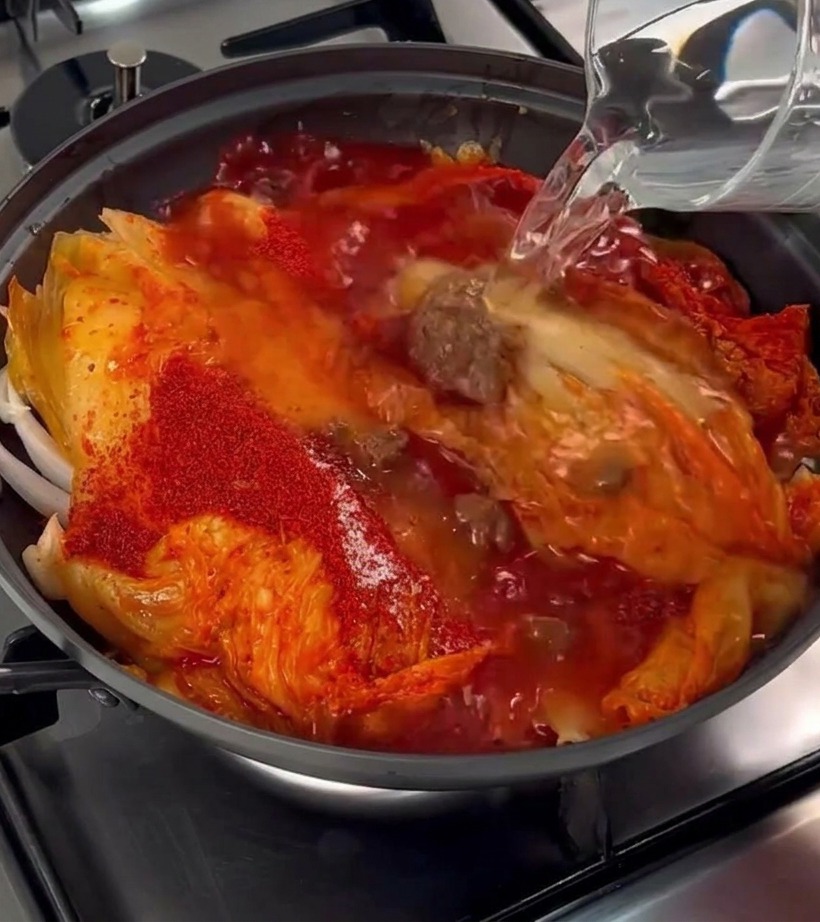
Pour clear water into the pan until the pork belly and aged kimchi are just partially submerged. This liquid will combine with the kimchi juice and seasonings to create a rich, flavorful broth as the stew simmers.
Tip: Use just enough water to almost cover the ingredients; adding too much can dilute the deep, fermented flavor of the aged kimchi. - 11Garnish and prepare to simmer
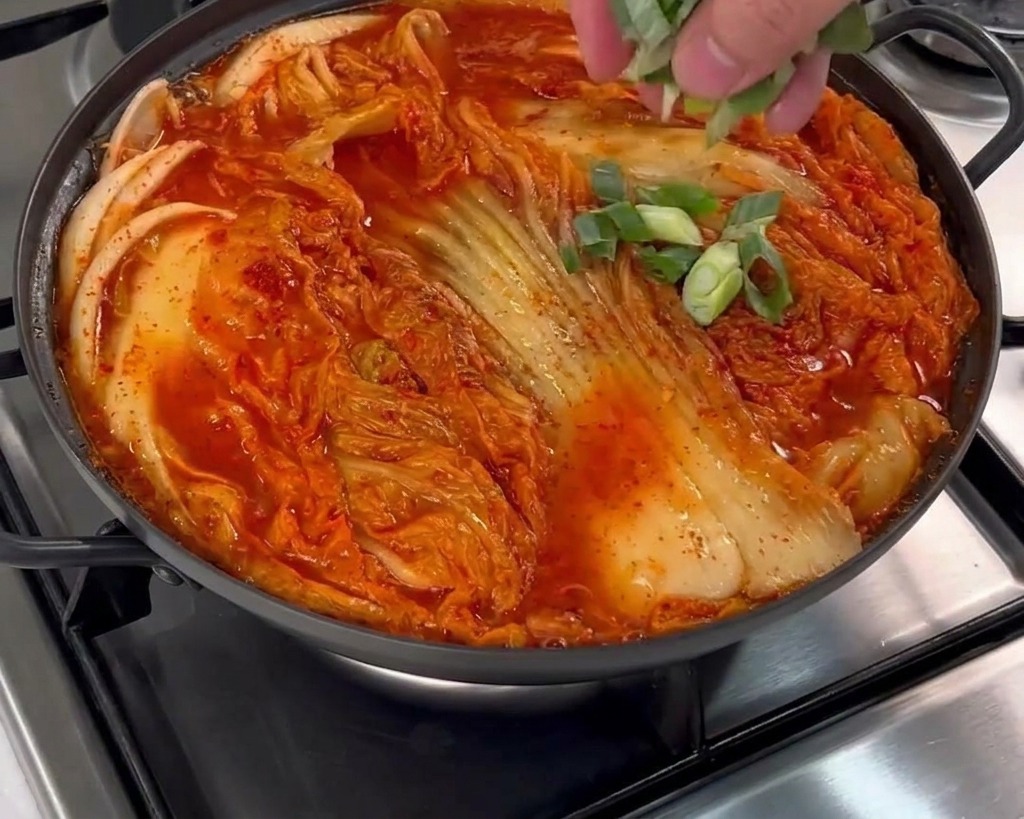
Scatter a handful of chopped green onions over the prepared ingredients. This adds a fresh aromatic layer that will infuse the broth as it begins to heat up and combine with the spices.
Tip: The long simmer time is key to making the pork belly tender enough to melt in your mouth. - 12Cover and simmer the stew
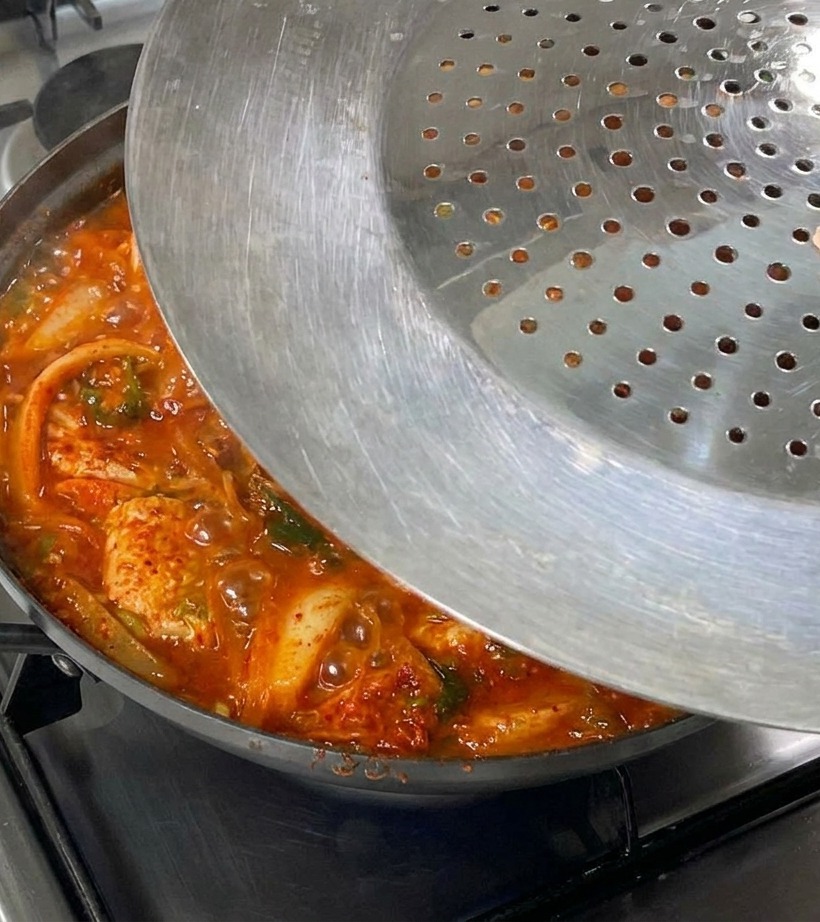
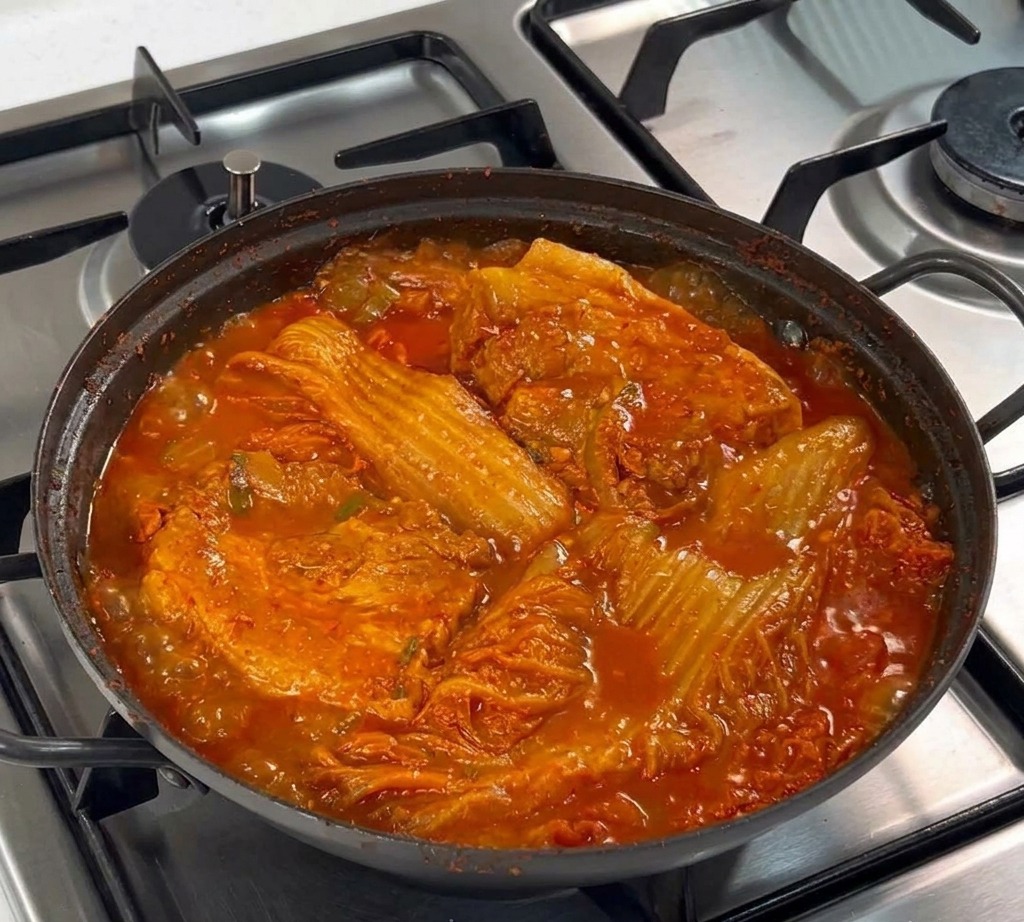
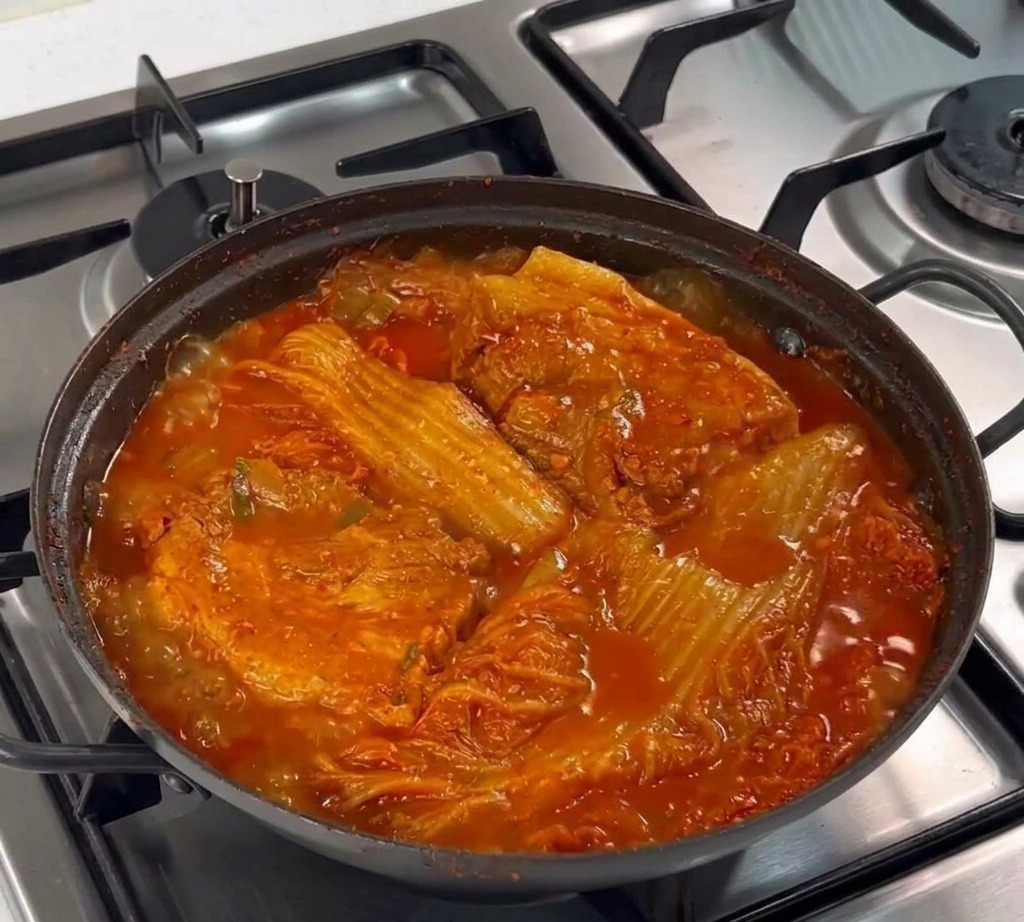
Once the stew begins to boil, cover the pan with a lid and reduce the heat to medium. Simmer for about 40 to 50 minutes. This slow cooking process ensures the whole pork belly becomes incredibly tender while the kimchi releases its full range of flavors.
Tip: Keep the lid on to maintain a consistent simmering temperature and prevent the liquid from evaporating too quickly, which keeps the meat moist. - 13Finish with a touch of oil
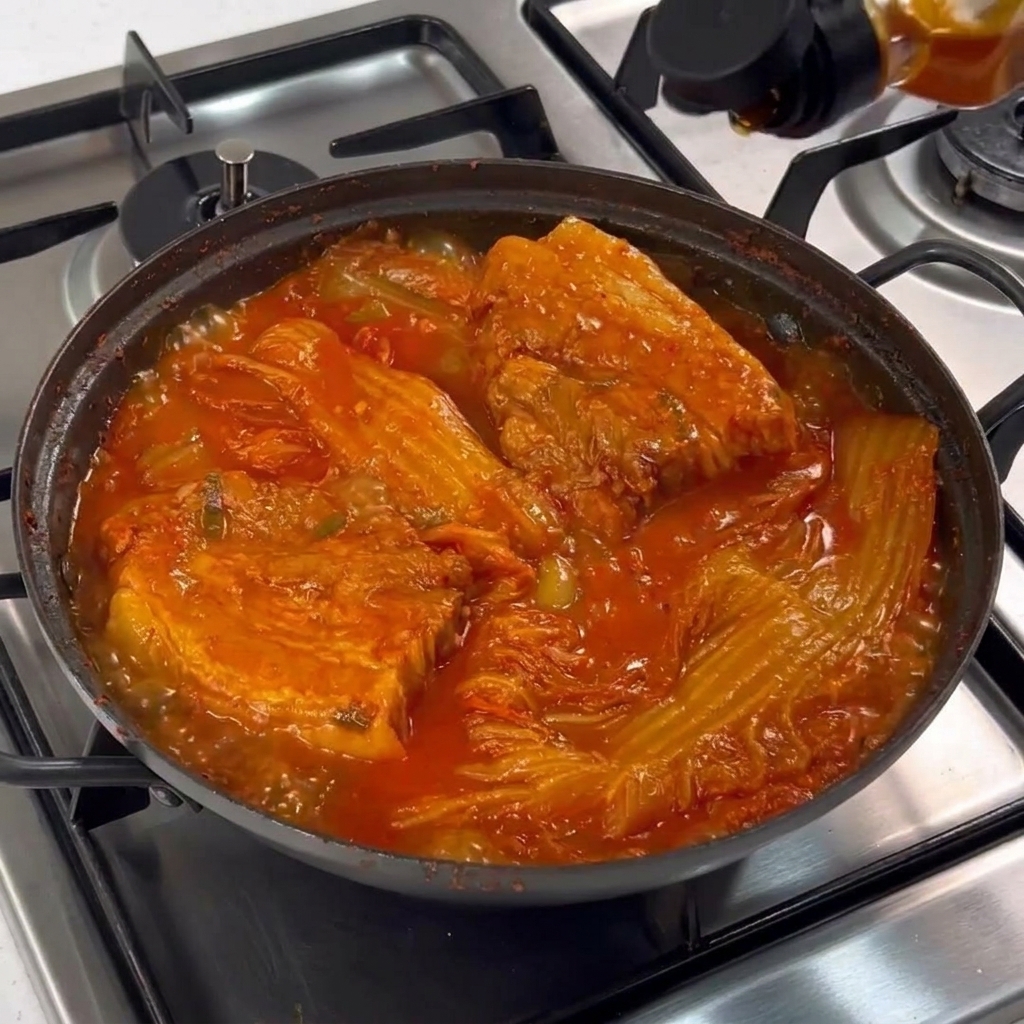
As the aged kimchi and pork belly reach the end of their long simmer, the sauce will have thickened and the flavors intensified. To round out the savory and spicy notes, drizzle a small amount of perilla oil or sesame oil over the surface. This adds a beautiful sheen and a toasted aroma to the finished jjim.
Tip: Add the oil at the very end of cooking to preserve its delicate aroma and prevent it from becoming bitter. - 14Slice and serve
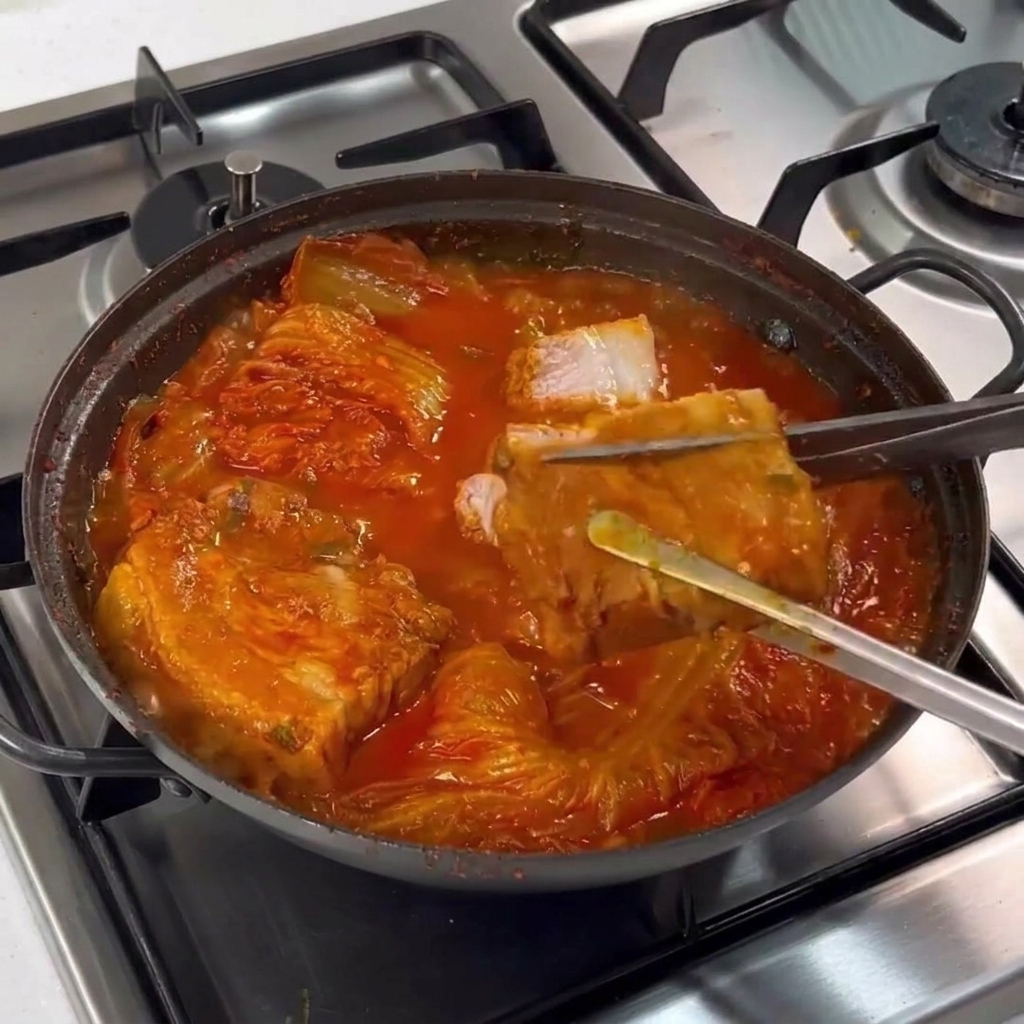
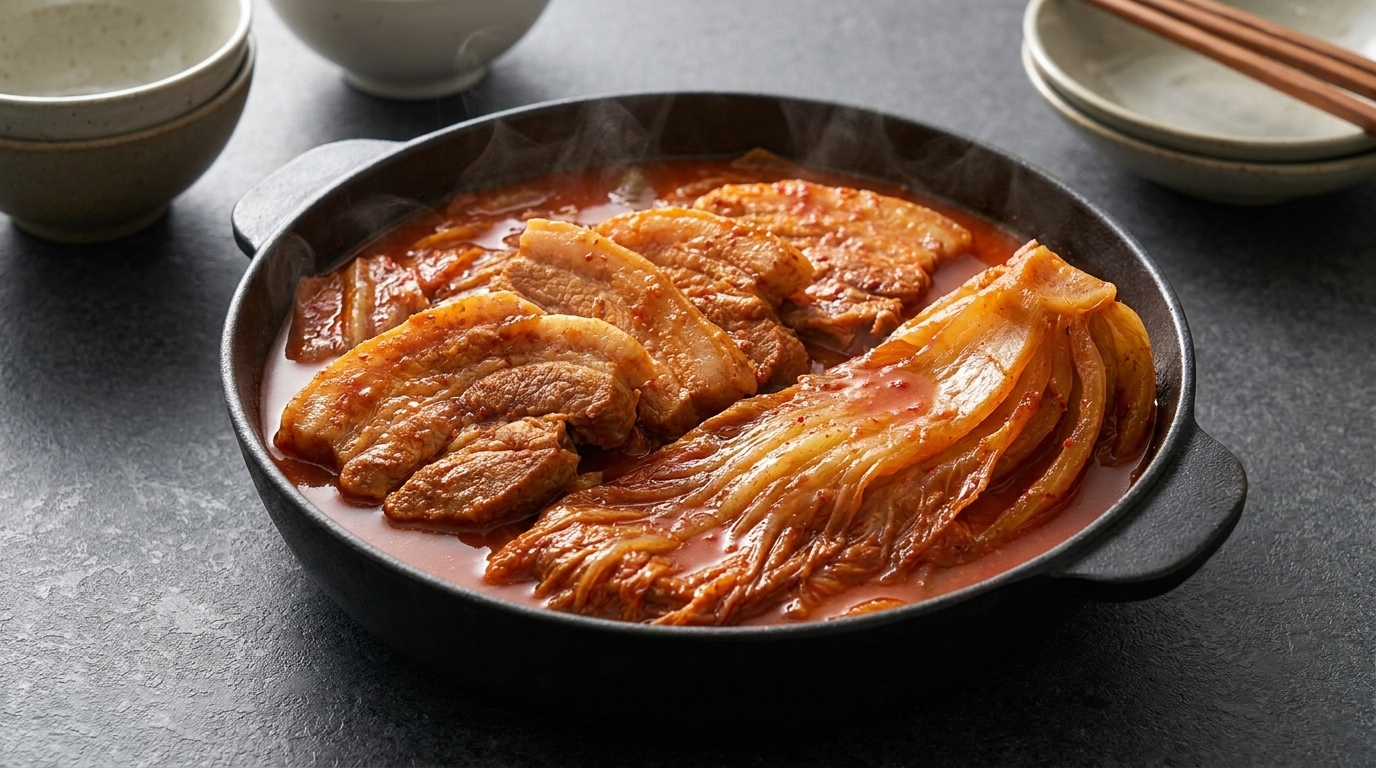
After the long simmer, the pork belly will be incredibly tender. Use tongs and scissors to cut the whole slabs into bite-sized pieces directly in the pan. Mix the pieces with the softened kimchi and the reduced sauce before serving.
Tip: Cutting the meat at the very end prevents it from drying out during the long cooking process.